If you’ve ever used Apple Maps on your iPhone or iPad, you would know how frustrating it feels when you can’t properly plan your routes like adding stops between your starting point and final destination. When you want to stop at multiple destinations on your route, you’ll have to change your current and final destinations multiple times. This is usually bothersome, and you won’t be able to plan your route in a better way. Although Apple Maps directions are easy to understand and Siri’s assistance brings a lot of conveniences, we would often have to switch to some third-party app to plan an efficient multi-stop route. Well, Apple has kicked off those annoyances with the latest versions of iOS, iPadOS, and macOS. Gone are those days when you could enter only the final destination and had to follow a turn-by-turn route on Apple Maps.
The latest iOS 16 brings the long-awaited feature to Apple Maps that allow users to add multiple stops on a route. Yes, you’ve heard it right! You can now add multiple destinations on your long road trips.
While iOS 15 offered brand-new ways to navigate and explore nearby areas, the 2022 iOS 16 update adds the much more useful multi-stop routing feature to iPhone’s default Maps app. Well, this was a much-needed and much-awaited feature, and it puts the Apple Maps app closer to Google Maps and other competitors.
In addition to multi-stop routing, iOS 16 brings some more additions and improvements to the Maps app. Apple has added the new Transit Fares feature to Maps that will give you an idea of your journey’s cost. That’s not all. You can add transit cards to your Wallet, see low balance reminders, and refill your cards, without leaving Maps.
Since iOS 16 is in beta (public beta) right now, so are its features. Apple might make some modifications in Multistop routing and other iOS features in the polished version that
we’ll see in a few weeks with the iPhone 14 Series.
How to use Multi-stop routing in Apple Maps?
Can I add multiple destinations in Apple Maps on my iPhone?
Yes, you can add multiple destinations in Apple Maps on your iPhone. Apple introduced the new multi-stop routing feature in iOS 16 that lets you add multiple stops to your trip’s itinerary. This feature isn’t available on any of the previous versions of iOS. Therefore, you can add multiple destinations in Apple Maps only on iPhones that are running iOS 16.
Also Read: How to edit a sent message on an iPhone or iPad
Which devices allow you to add multiple stops in Apple Maps?
You can use the multi-stop routing feature in Apple Maps on iOS 16, iPadOS 16, and macOS Ventura. Here’s the list of Apple devices that allow you to add multiple destinations in Apple Maps. Make sure they run the latest version of their compatible software.
- iPhone 8 and the latest models
- iPad Mini 5, iPad Mini 6, iPad Air 3 & newer models
- iPad 5 & above models
- iPad Pro 9.7, iPad Pro 10.5
- All models of iPad Pro 11 and iPad Pro 12.9
- Mac Studio, iMac Pro
- Mac Pro (2019 or later)
- iMac (2017 or later)
- MacBook and MacBook Pro (2017 or later models)
- Mac mini and MacBook Air (2018 or later)
Also Read: iOS 16 vs iOS 15: Is it worth upgrading?
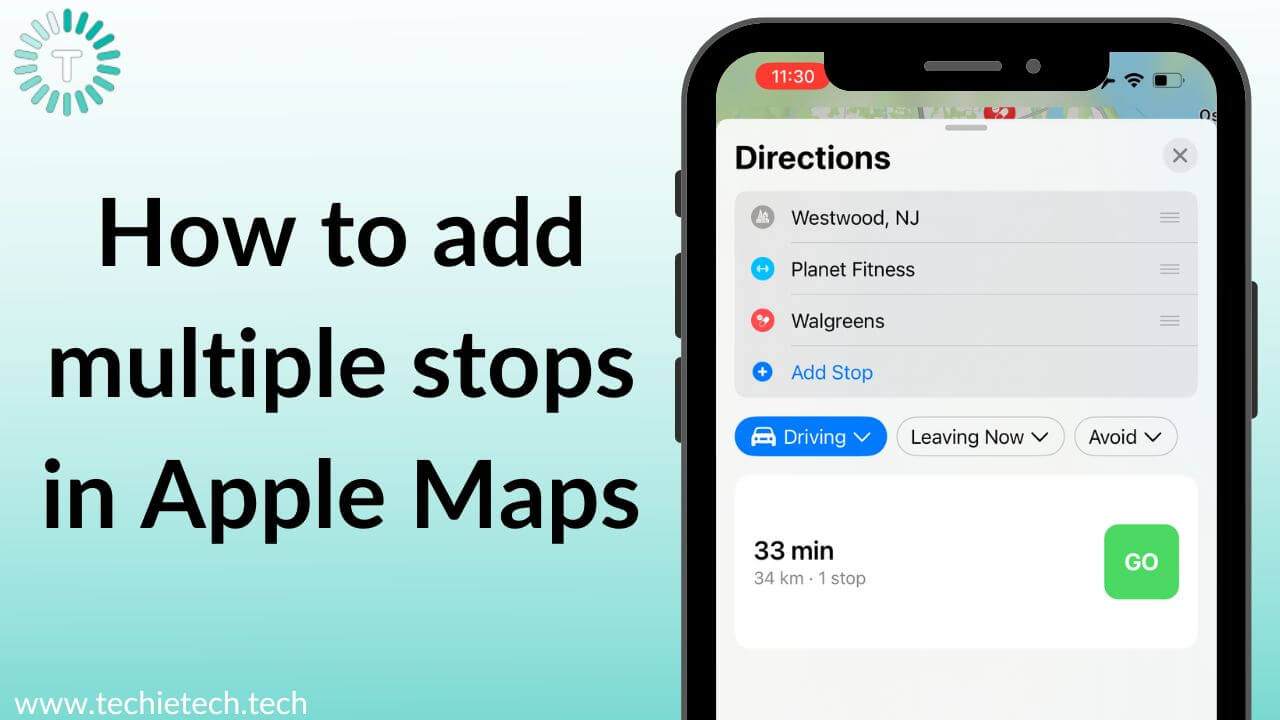
How to add multiple stops in Apple Maps?
It’s pretty straightforward to add multiple stops in Apple Maps. You can add up to 15 stops, including your starting point & final destination. Therefore, next time you’re going for bicycle touring or a long road trip with your friends, you can easily add a sightseeing spot or stop by your favorite cafe a take a coffee break. You don’t have to change your destination every now & then when you stop by for breaks. You can easily plan a complete route for your road trip before you start navigating. Even better, if you’re already driving or cycling, you can add stops in your route using
Siri voice commands. In short, the multi-stop routing feature in iOS 16 is gonna make your journey more enjoyable and comfortable.
It’s worth mentioning that the multi-stop routing feature is only available for driving and cycling directions. You can only add a single destination for other transportation styles like walking, biking, and public transit.
Here’s how to add multiple stops in Apple Maps 2022:
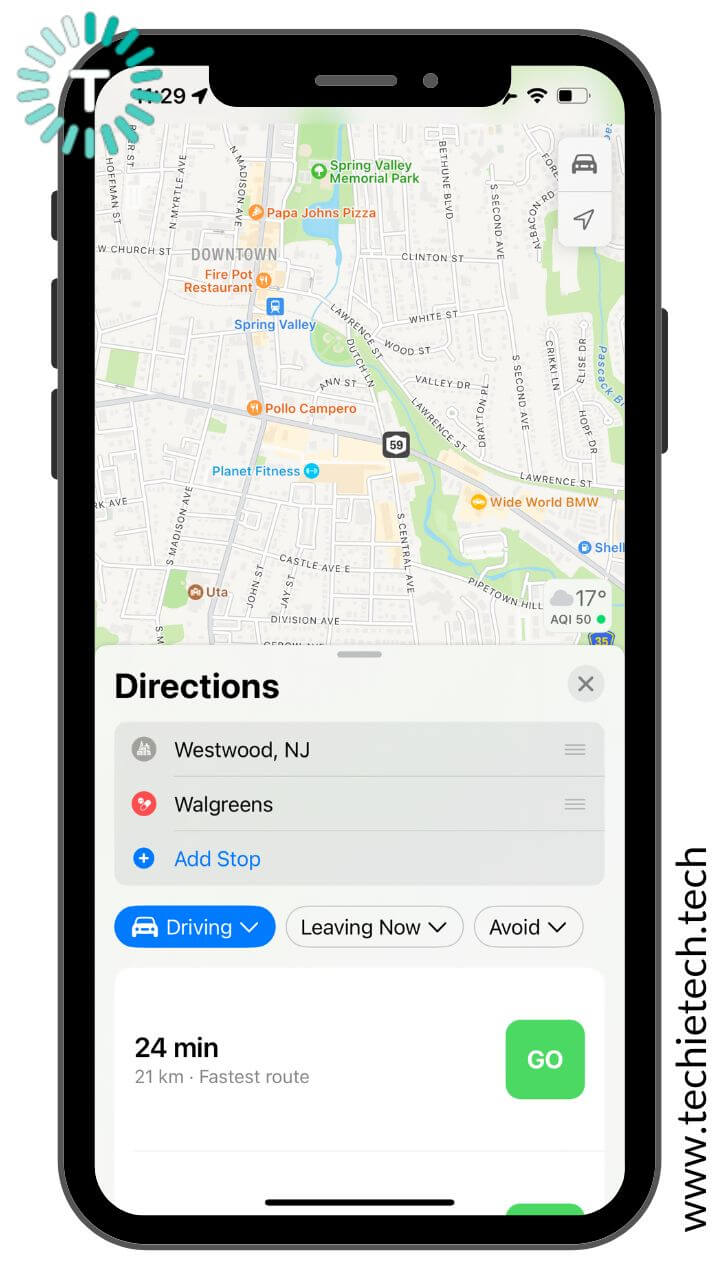
1. Open the Maps app on your iPhone running iOS 16.
2. Enter your destination in the search bar.
3. Then, tap Directions. Make sure to select your mode of travel (Driving or Cycling).
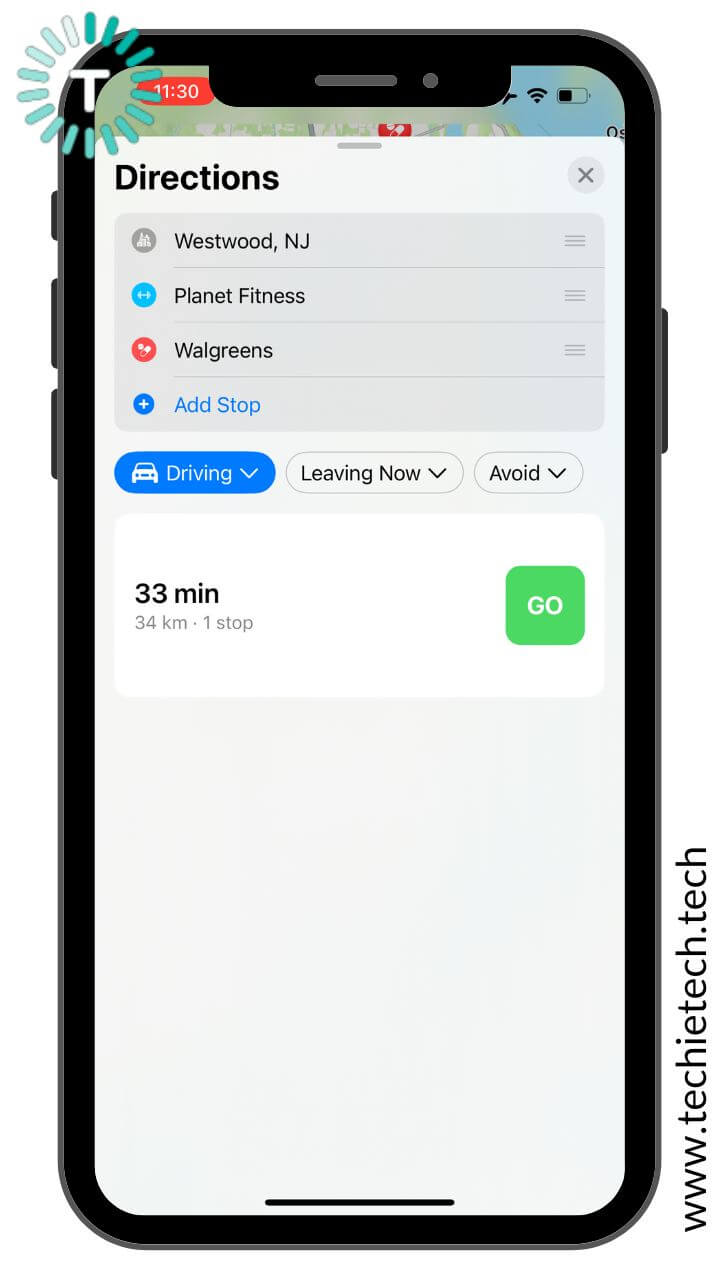
4. Tap Add Stop (available under the Directions section, right below your arrival point).
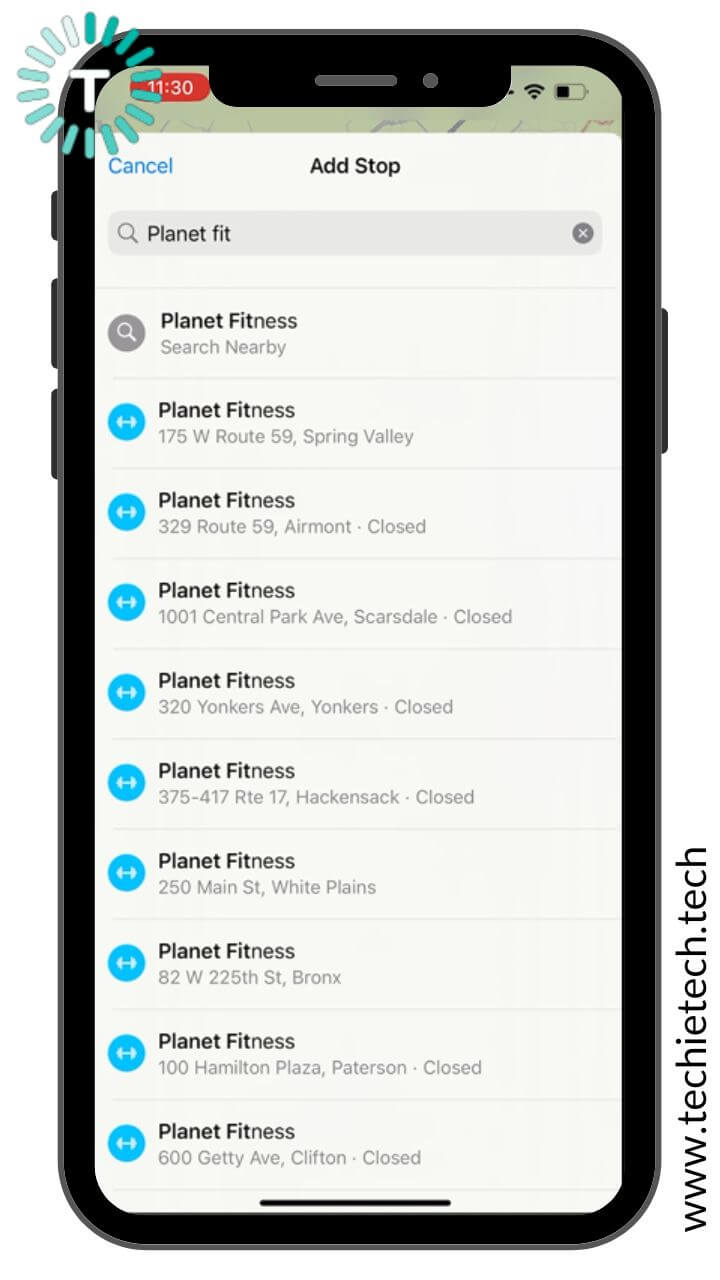
5. Then, search for the place you want to stop by. Once you see the correct stop, tap it, and it will be added to your trip’s itinerary.
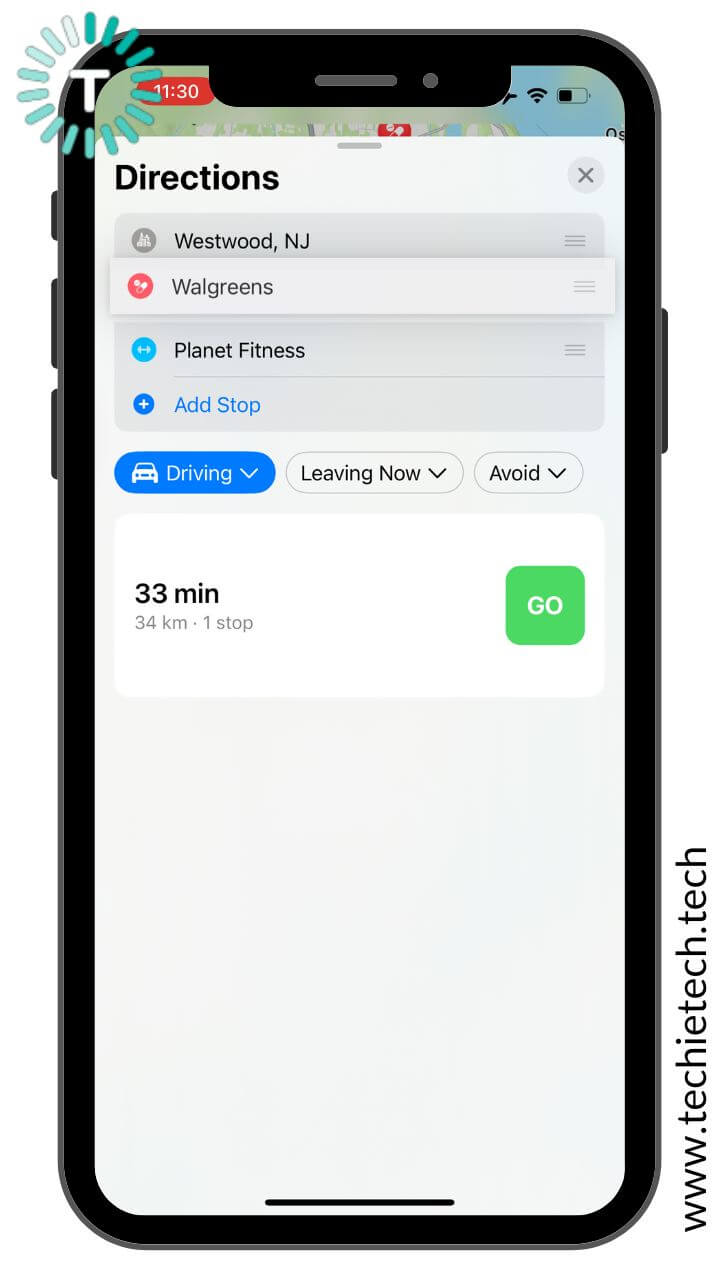
6. Please note that when you add multiple stops, Maps won’t optimize your route automatically. When you add a stop, that new stop ends up being your final destination. So, you’ll have to put them in the right order by yourself (just drag & drop them into a correct sequence). To avoid any complications, you can plan your route on paper and then start adding stops in Maps to get that correct order. If you’ve got a Mac, you can plan your trip’s route beforehand and then sync it to your iPhone or any other Apple device.
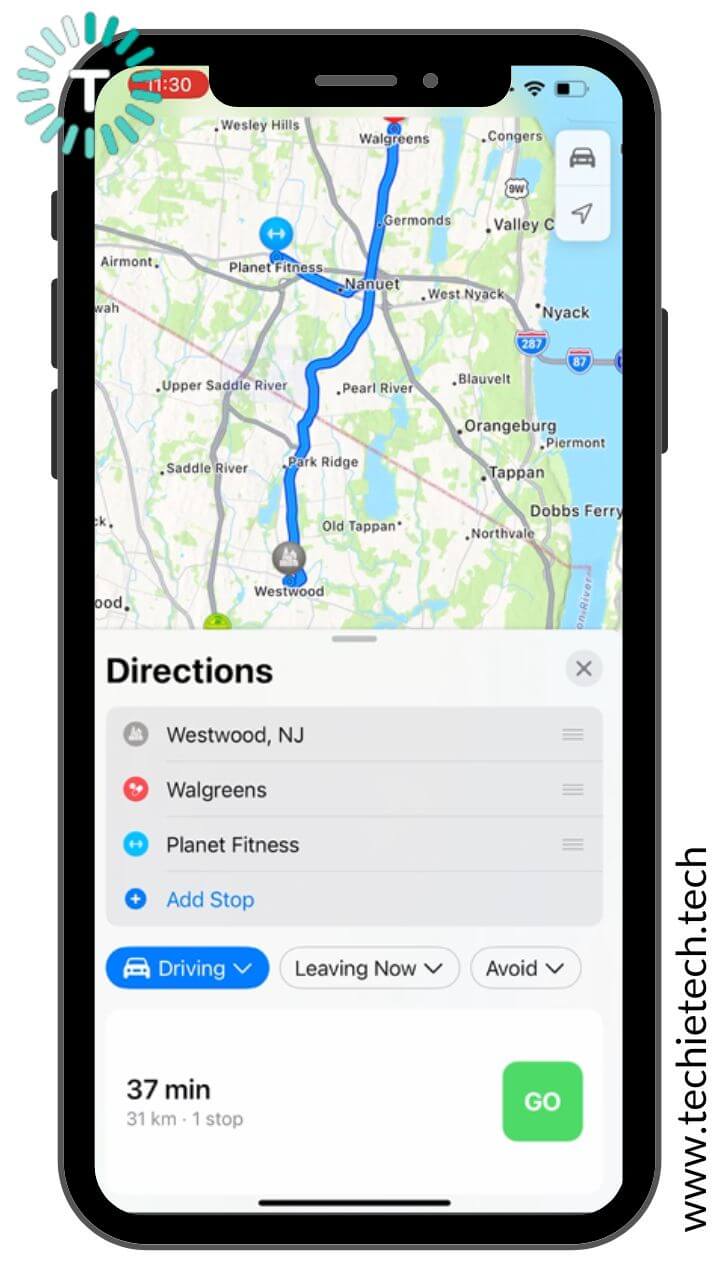
7. So, before you move further, make sure to put the current stop in the correct order.
8. You can add more stops in the same manner.
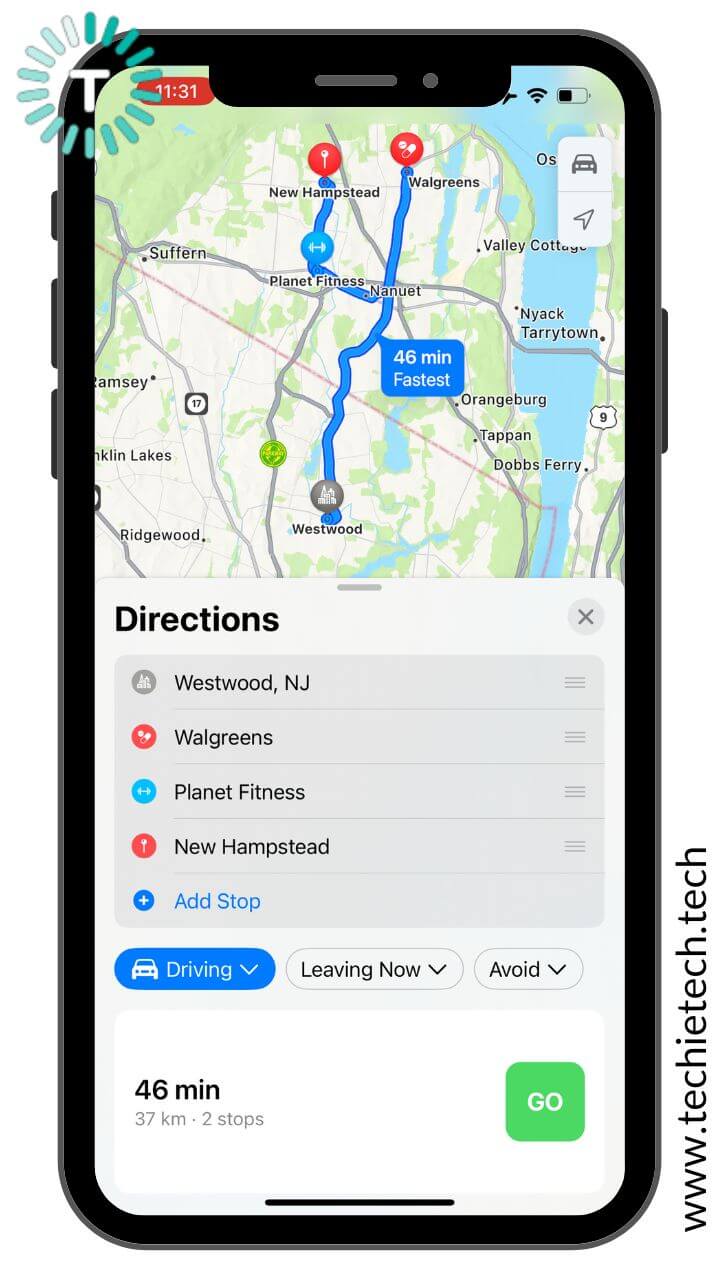
9. Each time you add a new stop, Apple Maps will update the route to show you how much time the entire trip will take.
10. For Driving directions, make sure you’ve selected Driving from the drop-down menu. You can also add additional info like your leaving time and whether or not to avoid highways & tolls. Apple Maps will show you the routes to reach your destination. You can choose the best route that suits you.
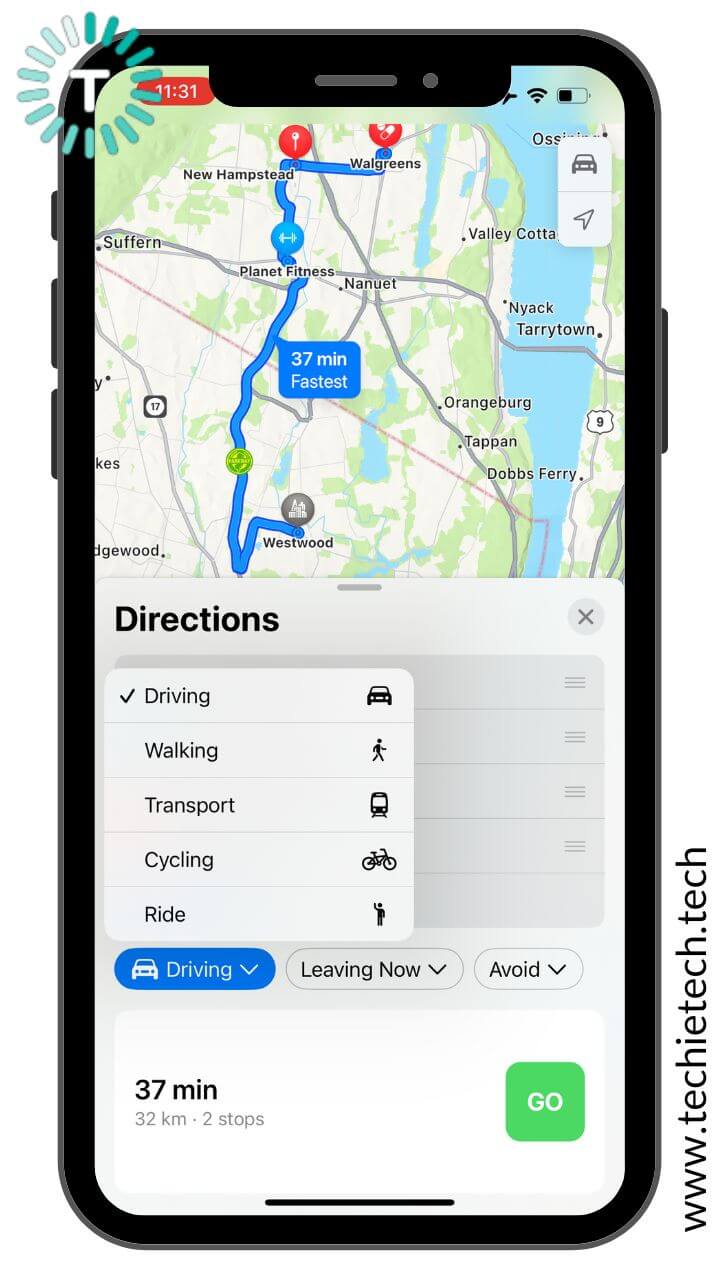
11. For Cycling directions, you’ll need to select Cycling from the drop-down menu.
12. If multiple routes are available, you can tap the Go icon that’s available alongside the route that you want to take.

That’s it! You’ve now multiple added stops to your Apple Maps trip. You can follow the same steps to more stops (up to 15) in Apple Maps. That’s not all. With iOS 16, Apple Maps allow you to rearrange the order of your stops or delete them.
Also Read: How to use translate language, currency, and more in iPhone camera
How to edit a trip with multiple stops in Apple Maps?
Once you’ve added all the stops, you can change their order (including the starting point & destination) and plan your trip the way you want to. Therefore, if you think that stop A is on an entirely different route than stop B, and it will take a lot of time & can even hamper your trip, you can simply delete it. Also, if you see that adding stop X after stop Y will give a faster route, you can easily shuffle the order.
When we’re talking about this, it’s extremely important to know that you can only edit your trip before you start the navigation. If you’ve already started it, you can only delete the stops, and not rearrange them.
Here’s how to rearrange or delete stops in Apple Maps:
1. To rearrange the order of your stops, simply drag and drop a stop in your preferred sequence.
2. In case you want to delete a stop from your route in Apple Maps, left swipe it, and tap the Delete option.
3. After you delete, rearrange, or add a stop, Apple Maps will recalculate your route. Therefore, you might have to set your preferences like when you’re leaving and what you want to avoid on your trip.
Also Read: How to Recall a sent message on an iPhone and iPad
Plan your routes on Mac
If you’ve got a Mac, you can easily plan your trip beforehand, and then share the details to your iPhone. After all, when you’re planning a cycling day or a big trip with multiple stops, it’s a smart idea to prep everything in advance. This will help you find the best route for yourself and plan your trip in a better way. Impressively, with automatic route syncing, you can easily plan a multi-stop route on your Mac, and then sync it with your iPhone, iPad, or Apple Watch when you’re all set to move out. While you’re doing this, make sure you’ve signed in with the same Apple ID on your Mac and the other devices.
You can check out this Apple Support page to know the details on how to plan a route on Apple Maps.
Also Read: How to use iPhone as a webcam on Mac
Did you test the multi-stop routing feature on your iPhone? Don’t forget to share your favorite iOS 16 feature in the comments below.