Your Apple ID is a personal account that allows you to access Apple services like Apple Music, App Store, iCloud, iMessage, FaceTime, and more. If you’ve got multiple Apple devices, you can add them to the same Apple ID, and sync data across all your Apple devices. In this way, your Apple ID becomes an all-in-one login for everything Apple. It’s worth mentioning that your Apple ID includes the sign-in information that you use across Apple services. Besides, it also has all the complete details related to the contact, payment, and security, such as trusted phone numbers or security questions.
Now that your Apple ID becomes a way to access your Apple devices, data, and accounts, it becomes very important to keep it safe so that you don’t run into security issues. It’s a good idea to review your Apple ID device list from time to time and remove the devices that you don’t need any longer. This will help prevent security issues.
Removing any device from your Apple ID is quite simple Having said that, there are a few important things that you must know before you start the process. To make things easier, we’ve included all the necessary details and four different ways to remove any device from your Apple ID. Let’s get started.
What are Trusted devices for an Apple ID?
Trusted devices for an Apple ID are all those devices that are linked to a specific Apple ID. When you sign in to a new Apple device using an Apple ID, that device will automatically be added to the list of trusted devices for that particular Apple ID. The device remains in the list until you it manually. If you don’t trust a device anymore or no longer use it, you can remove it from the Apple ID list anytime.
In this article, we’ve mentioned four ways to delete any device from your Apple ID list. Before we jump to the process, let’s take a moment to understand what happens when you remove a device from the Apple ID list.
How to check the list of devices where my Apple ID is being used?
If you want to see the list of devices that are currently linked to your Apple ID, here’s how to do that.
On your iPhone or iPad
- Go to Settings and tap on your name.
- Scroll down and you’ll see a list of devices where you’re currently using your Apple ID.
- Tap on any device name to see its info like model number, version, and serial number.
On your Mac
- Head to Apple Menu > System Preferences.
- Click on the Apple ID option.
- Click on any device name to see its info like model, serial number, and OS version.
Use the web
- Open Apple ID Account Page and enter your Apple ID info.
- Scroll down to the Devices section to see the list of devices that you’re currently signed in with your Apple ID.
What happens when I remove a device from my Apple ID?
Before you remove any device from your Apple ID, it’s important to know what will be its consequences. When a device is removed from the Apple ID list, that device will no longer receive verification codes for the two-factor authentication for your Apple ID (in case you’ve set it up). Besides, that device won’t have access to iCloud and other Apple services, including Find My, until you sign in again with two-factor authentication.
Of course, the device won’t reappear in the Apple ID list unless you sign in again.
Therefore, you should never remove the devices that you still use. This is because doing so will refrain you from iCloud or other Apple services. That means you won’t be able to sync or
backup your data using iCloud. You should remove only those devices from the Apple ID list that you’re not using or are planning to set it up with a new Apple ID.
Let’s talk about another important thing here. There can be instances when you want to sell or give away your Apple device. In such cases, it’s not enough to unlink that device from your Apple ID. You must also sign out manually by inserting the password to avoid any complications. For instance, if you’ve turned ON Find My iPhone and linked your Apple ID with that device, the buyer would not be able to use it or even set up his ID. Therefore, make sure to take the necessary steps before you sell your Apple device. To be on the safer side, make sure to backup all your data before handing the device to someone else. Don’t miss our guide on how to backup any iPhone.
Four ways to remove any device from Apple ID
Before we get started, you must know that you cannot remove the same device from the Apple ID list that you’re using for the process. For example, if you’ve linked an
iPhone 11, an iPad Pro, an iPhone 12 Pro Max, and a MacBook Air with your Apple ID. Now, if you’re using your iPhone 11 to remove a device from the Apple ID list, you can remove any device except the iPhone 11 itself.
You can remove a device from your Apple ID in four different ways. First, you can remove a device linked to your Apple ID using an iPhone or iPad. The second method involves using a Mac. In case you don’t have an additional iOS device or a Mac, you can use the Apple ID Account page or iCloud web app to get the job done.
1. Using an iPhone or iPad
Using an iPhone or iPad offers an easy way to remove a device from your Apple ID. You don’t need any additional app or software. Just head to the Settings of your iOS device, follow a few simple steps, and you’re done.
How to remove a device from Apple ID on iPhone/iPad?
1. On your iPhone or iPad, head to Settings and tap on your Apple ID (available at the top of the screen)
2. At the bottom, you’ll see a complete list of devices that you’ve added to your Apple ID. You can also check device info like model number, version, and serial number.
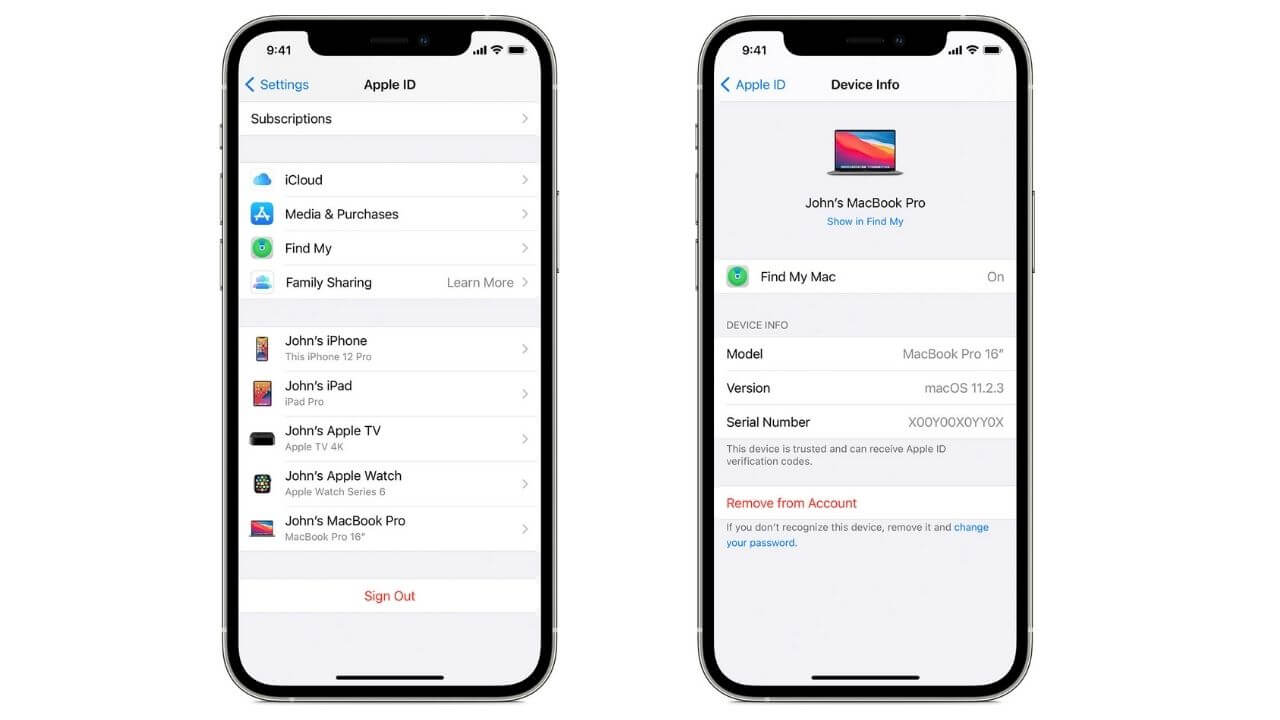
3. Now, tap the device that you want to remove from your Apple ID.
4. Tap the “Remove from Account” option.
5. Again, tap “Remove” to confirm your decision.
After a few seconds, the selected device should be removed from your Apple ID. If you want to remove more devices from your Apple ID, repeat the same steps for each device.
Also Read: How to Hide Apps on iPhone and iPad?
2. Using a Mac
You can also use a Mac to delete a device from the Apple ID list. If you’re a Mac user, it’s one of the easiest and quick ways to remove any device from the Apple ID. Let’s have a look.
How to remove a device from Apple ID using a Mac?
- On your Mac, go to the Apple menu > System Preferences.
- Click on the Apple ID option.
- On the left pane, you’ll see a list of your Apple ID devices.
- Click on the device that you want to remove from Apple ID.
- Click “Remove from Account”
- Now, click “Remove”
Repeat the above steps for each device that you want to remove from your Apple ID.
Don’t miss our guides on how to fix MacBook Pro Touch Bar issues. Also, if Touch ID is not working on your MacBook, browse through our troubleshooting guide enlisting 10 effective ways to fix such issues.
3. Using Apple ID Account Page
In case you don’t have access to an iOS device or a Mac, you can go to the Apple ID Account Management Portal to delete any device from your Apple ID. You can use an Android or Windows device to log in to the Apple ID Account Page. It works across desktop and mobile browsers.
How to remove a device from Apple ID using Apple ID Account Page?
1. On your device, open the browser and visit the Apple ID Account Page.
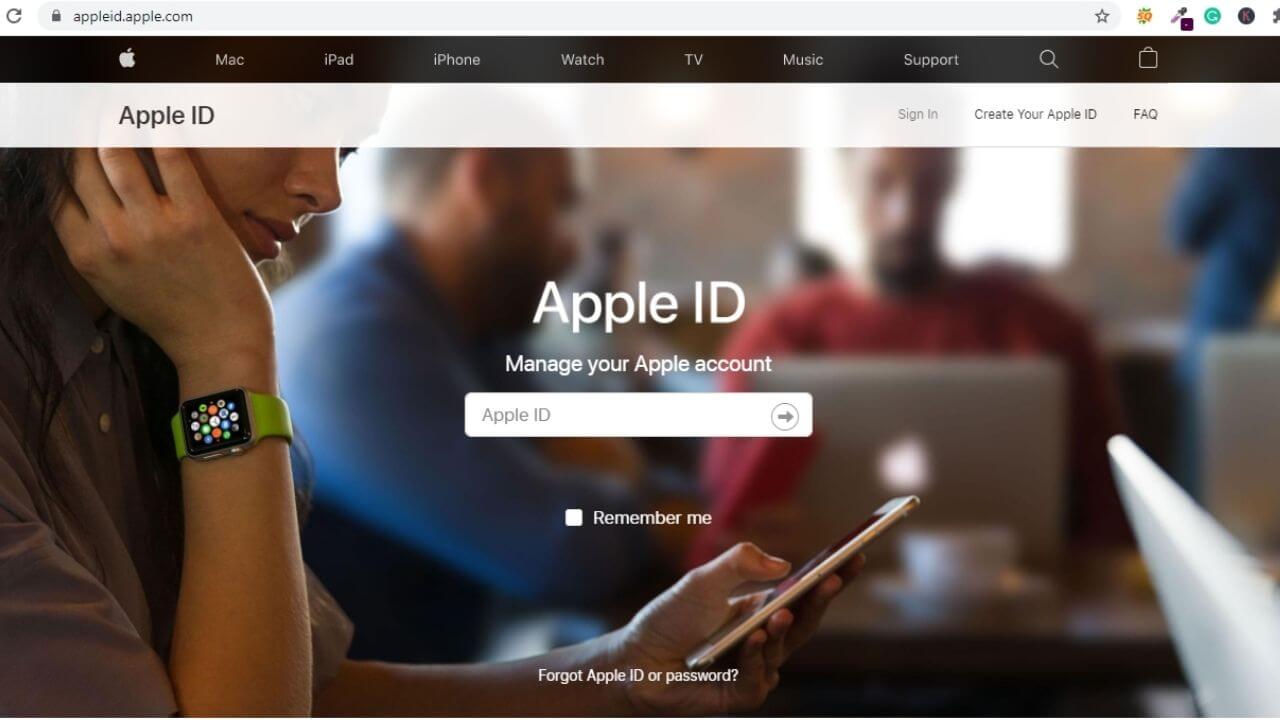
2. Enter your Apple ID and password to sign in.
3. Next, scroll down to see the Devices section.
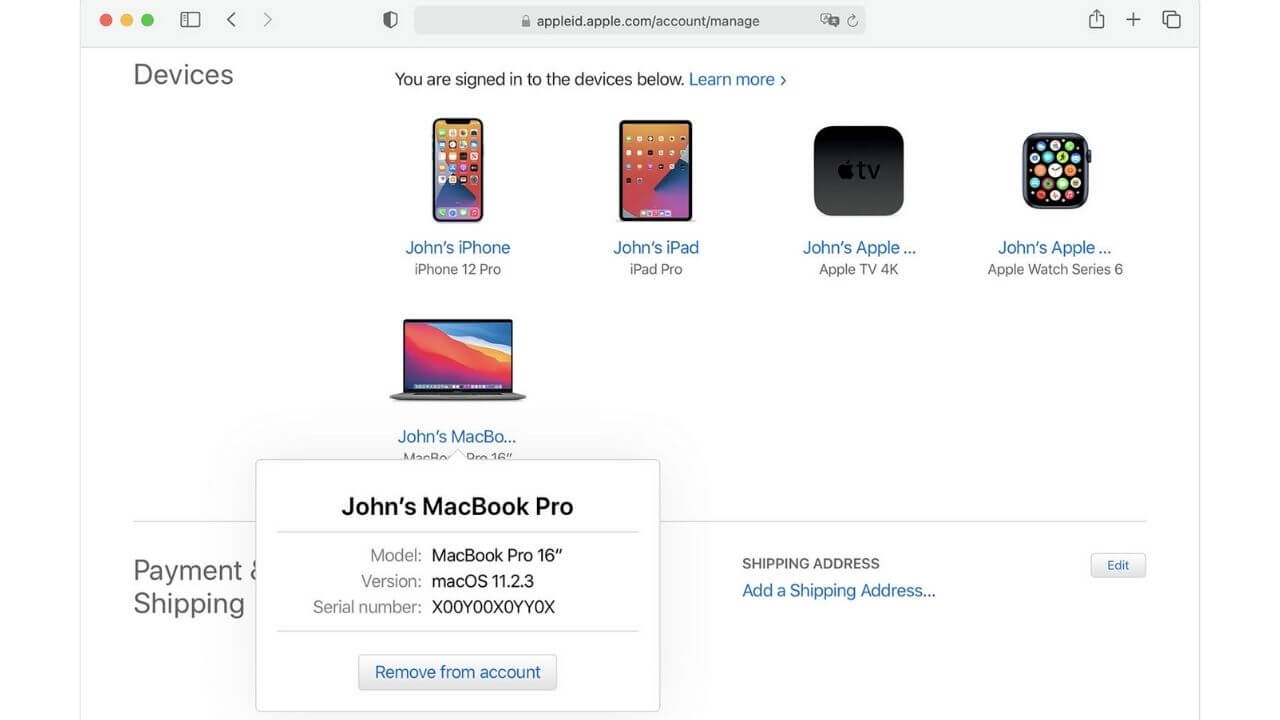
4. Now, select the device that you want to remove.
5. Click the Remove from Account Link.
Remove other devices in the same way and then sign out from the portal.
Also Read: How to fix AirDrop not working on iPhone?
4. Using iCloud
You can also head to iCloud.com to remove any device from your Apple ID. The process is straightforward and requires a few steps to get the job done. If you’re using a computer to log into iCloud for the first time, you’ll be asked to Trust this Computer and follow the two-factor authentication.
How to remove a device from Apple ID using iCloud?
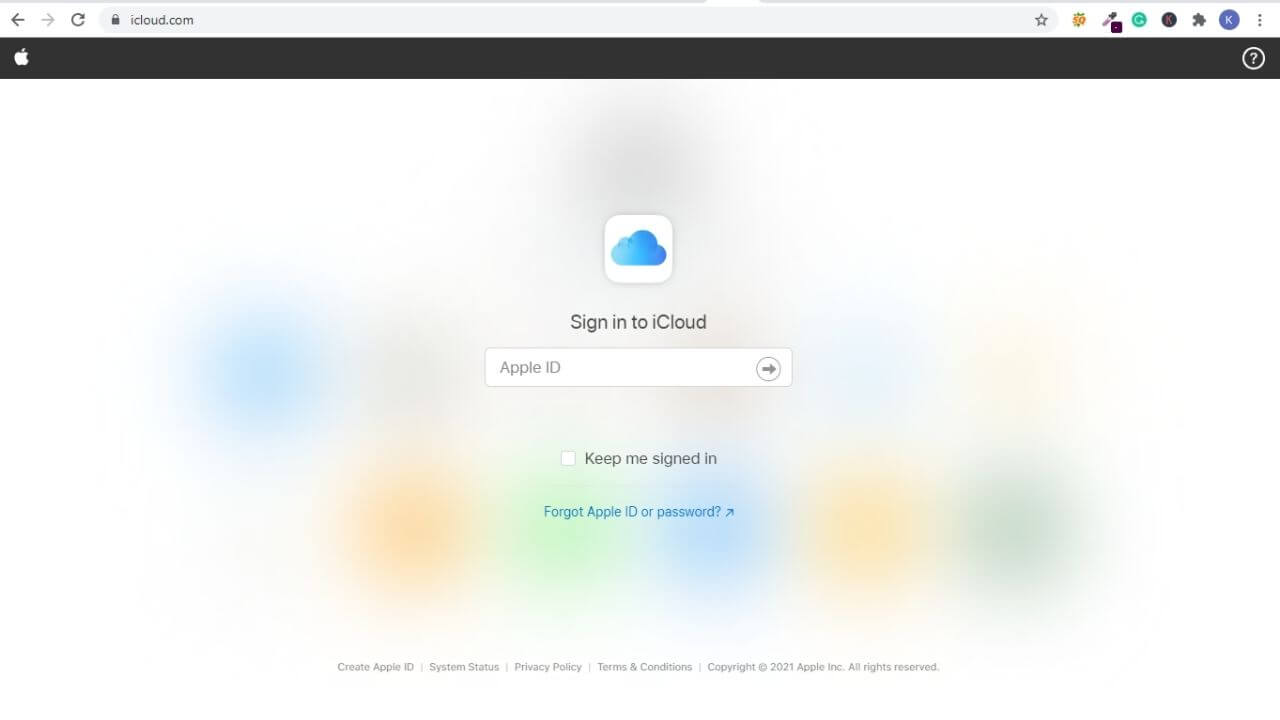
1. Go to iCloud.com and enter your Apple ID.
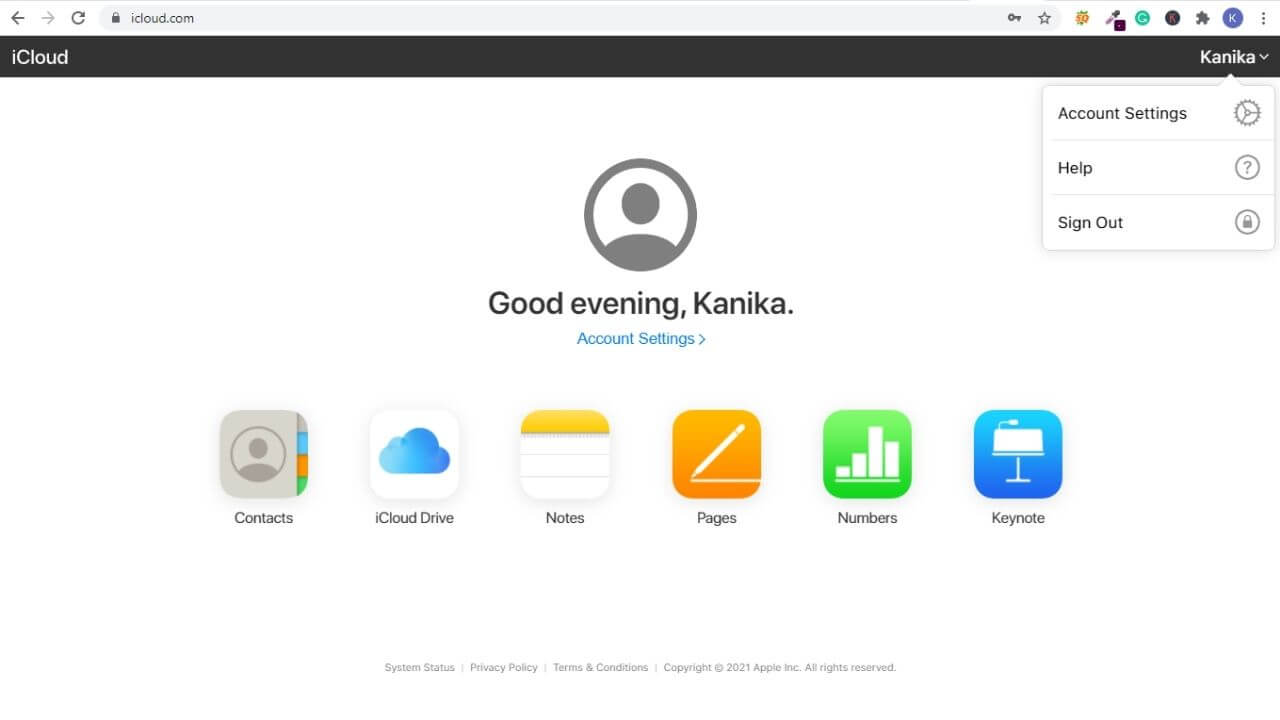
2. Click on your name present at the upper-right corner.
3. Select “Account Settings”.
4. Under the My Devices section, select the device that you want to remove from your Apple ID.
5. Click the x-shaped icon present next to the device.
6. Click “Remove” to confirm your decision.
Once you’ve removed the device(s), sign out of iCloud.
Also Read: How to fix iMessage not working on iPhone?
That was all from our side on how to remove any device from Apple ID. You’ve seen it’s a very easy process and can be using an iPhone, iPad, or Mac. Besides, you can always head to Apple Account Page or iCloud web page to get your work done.
Which method do you use to delete a device from your Apple ID list? Share your views in the comments section below.