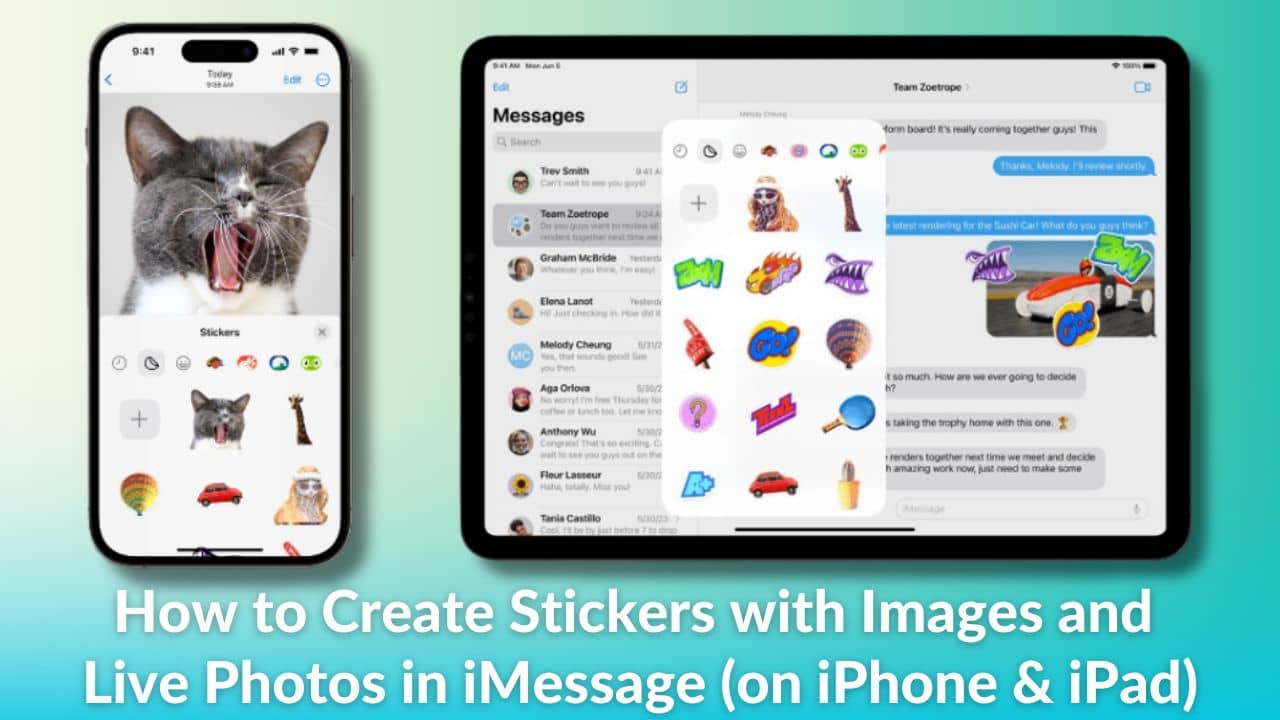
Being able to interact through custom-made stickers in iMessage is one of the coolest things you can do using an iPhone/iPad. With iOS 17, you can create the sticker with an image or Live photos right from the iMessage app. Apple says that the new iOS 17 update brings a brand-new sticker experience that will make group chats even more fun. One of the most talked about iMessage features at the WWDC 2023 keynote was Live Stickers. Not only you’ll be able to make stickers using your but also create stickers from Live Photos. To remind you, emoji stickers still exist and you’ll be able to use them just like before. You can easily customize those stickers using different effects such as shiny, puffy, comic, and outline. Apple also claimed that these stickers will be also available in
As it is a fairly new feature, some of you might face difficulty creating a custom sticker using your photo in iMessage. But, don’t worry, we are always here to help you out. In this article, we’ll explain to you how to make a custom sticker in iMessage on your iPhone and iPad.
Disclaimer: All the steps mentioned in this article to create a custom sticker and a Live sticker remain the same for both iPhone (with iOS 17) and iPad (with iPadOS 17).
How to create custom stickers in iMessage on iPhone and iPad
Creating a custom sticker in iMessage is not as tough as you’d have thought. If you are not aware of how to create stickers in iMessage using your photos, we will help you out. We recommend you follow the step-by-step instructions mentioned below:
Step 1: Open the iMessage app,
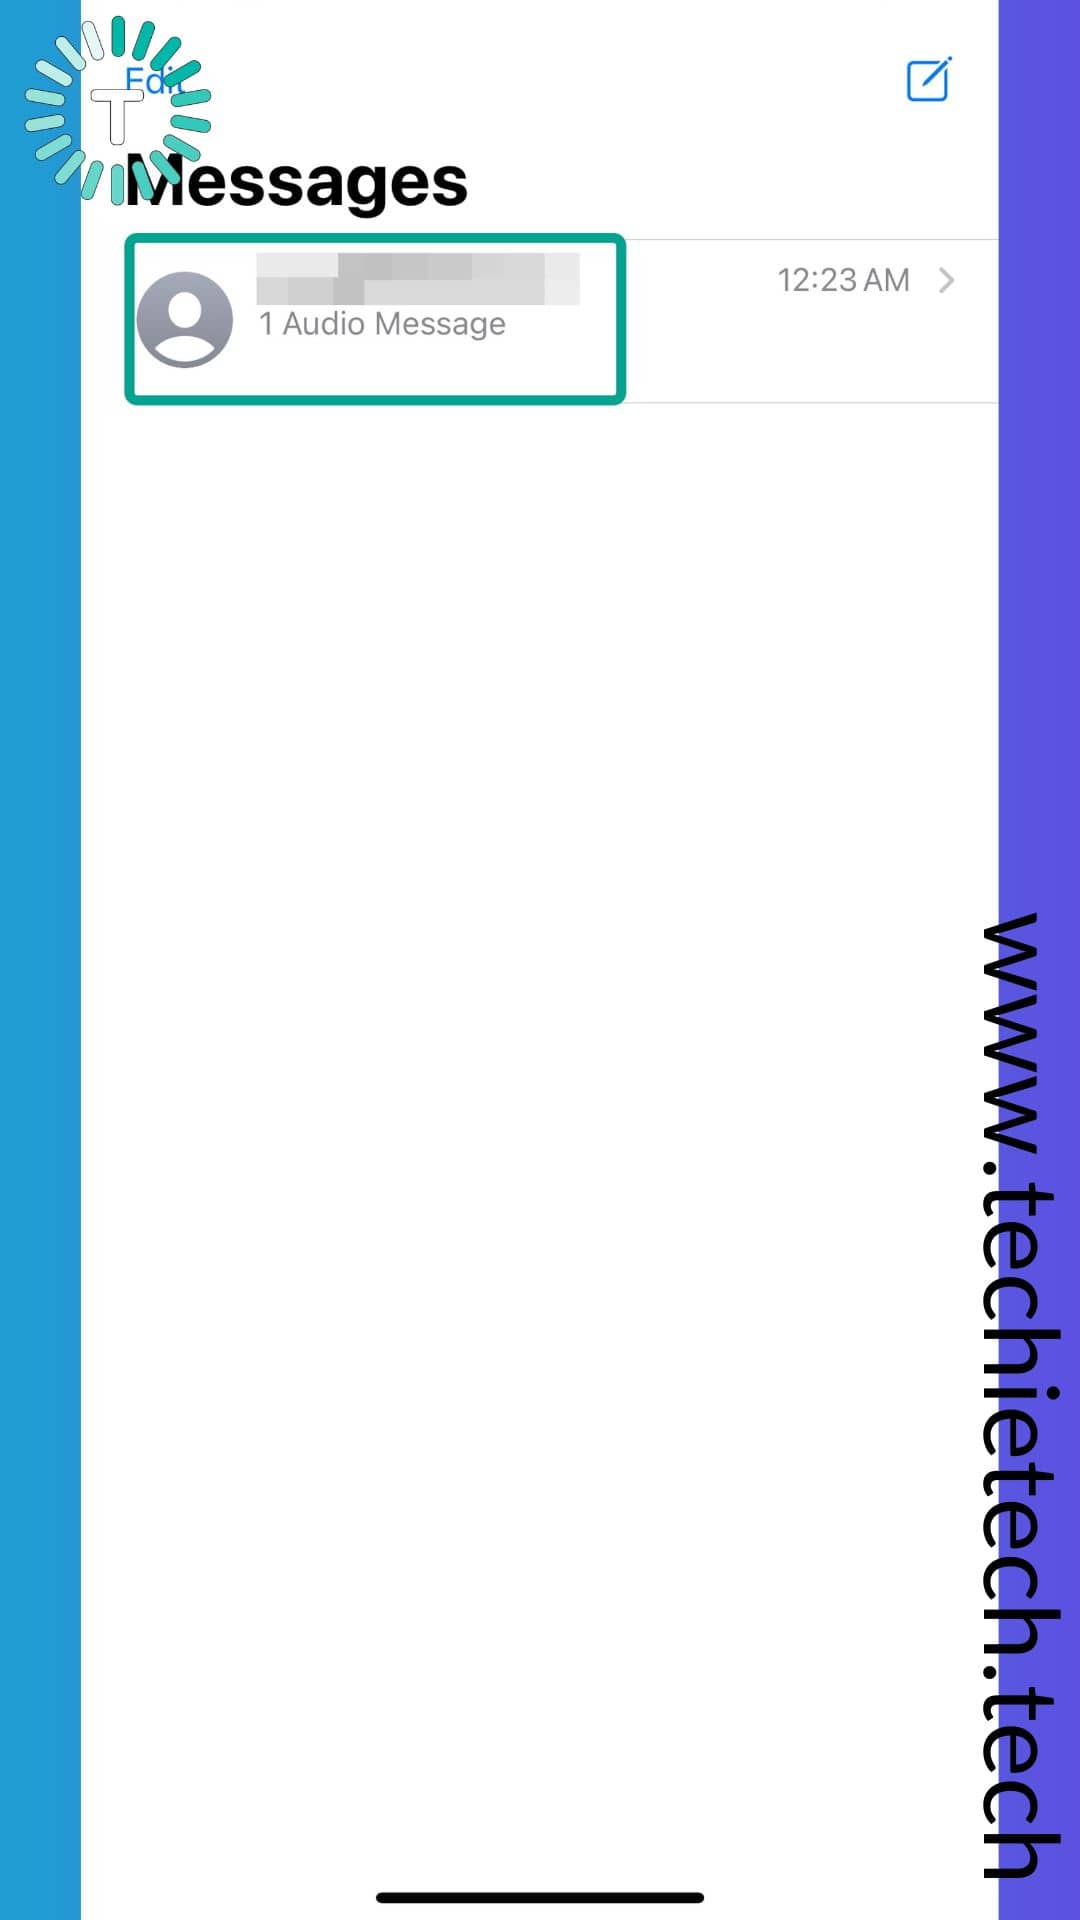
Step 2: Open the message chat of the person you want to send stickers to,
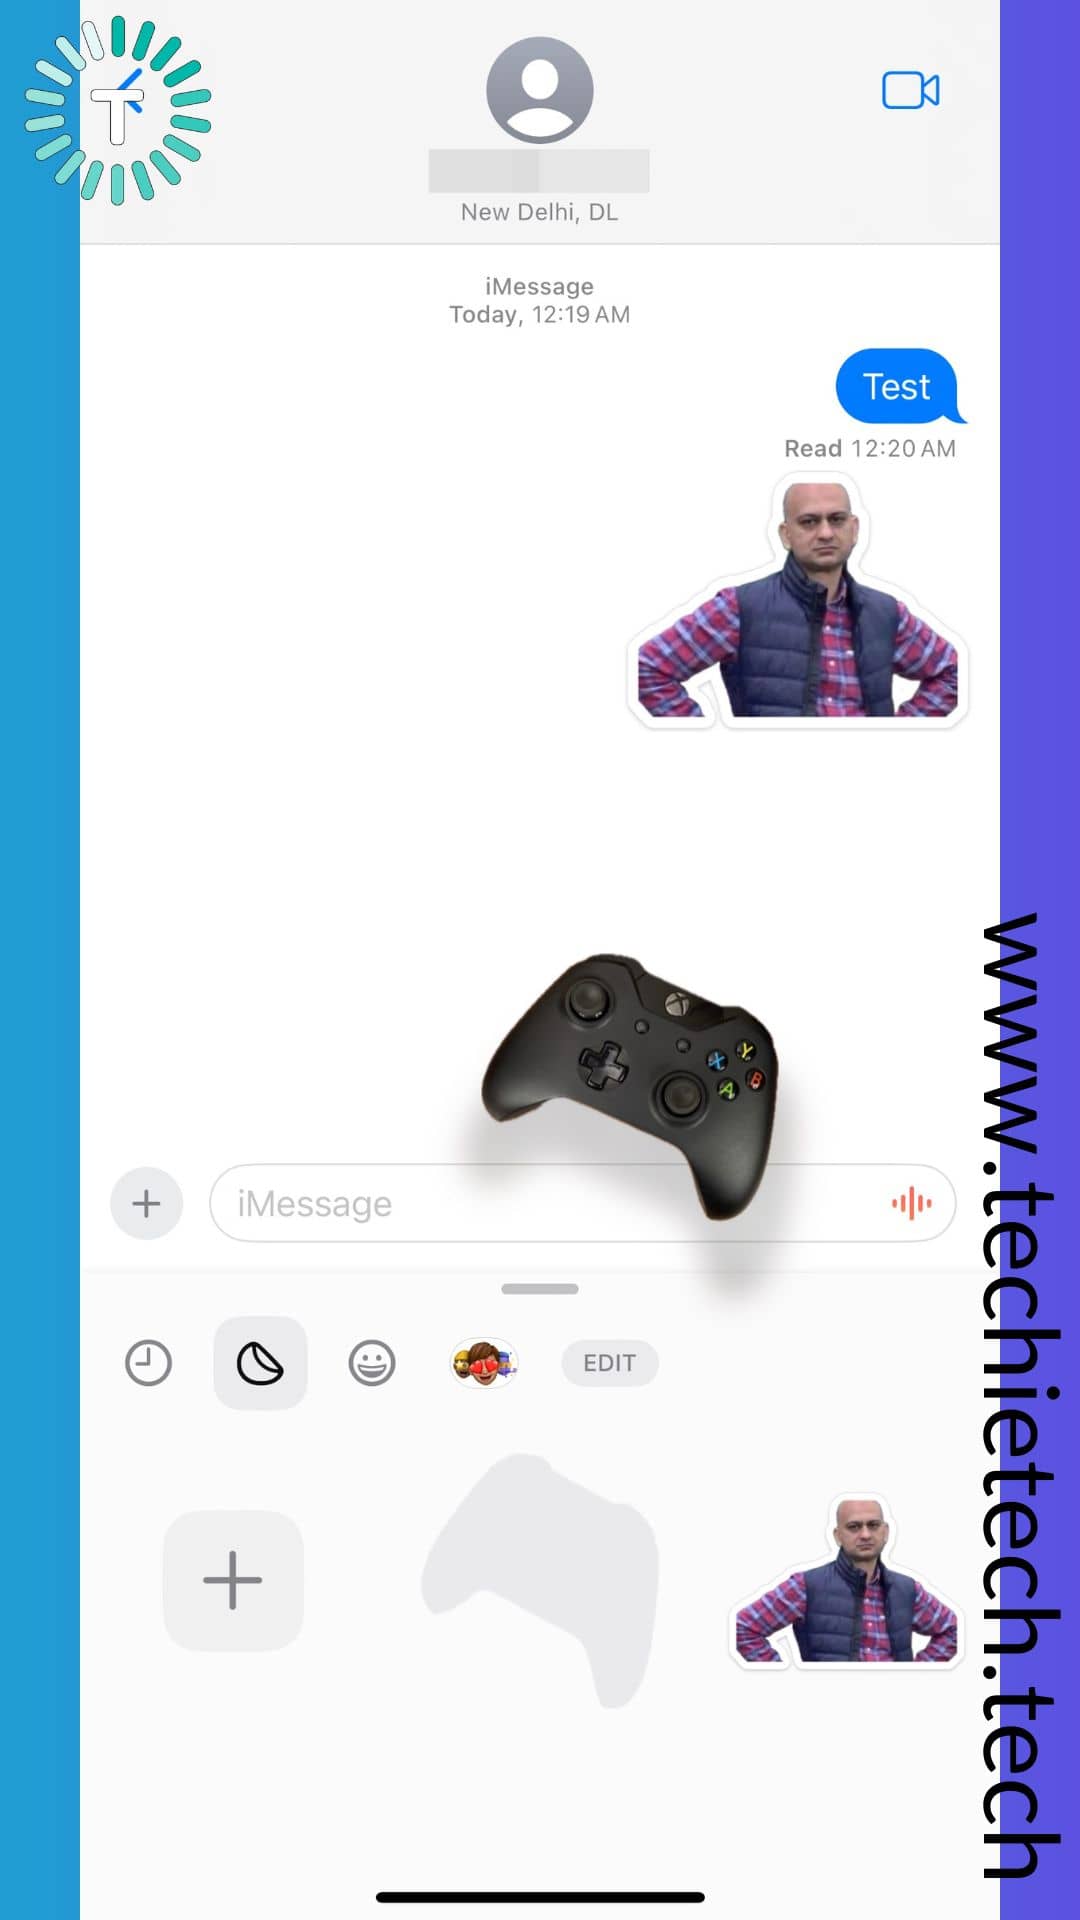
Step 3: Now, tap ‘+’ icon beside the message box,
![]()
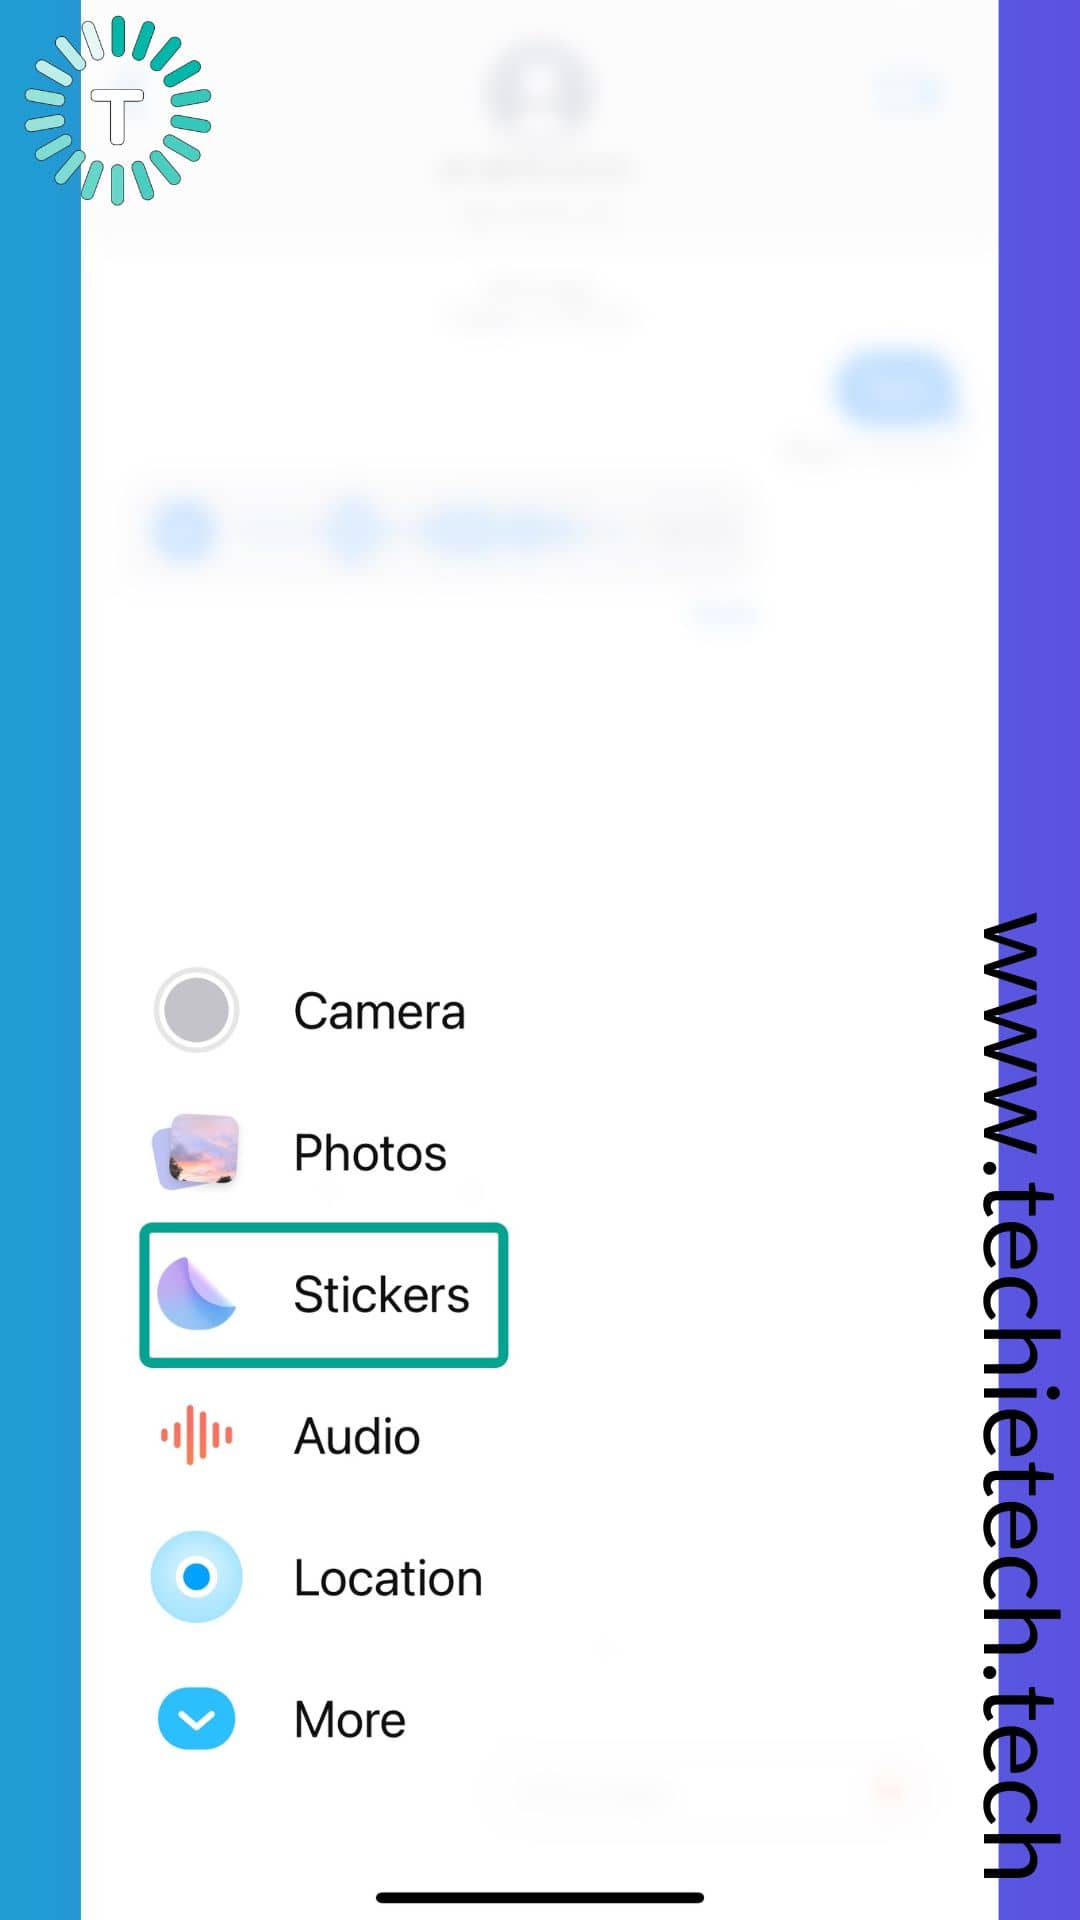
Step 4: From the list of options, tap Stickers,
Step 5: Then, tap New Sticker,
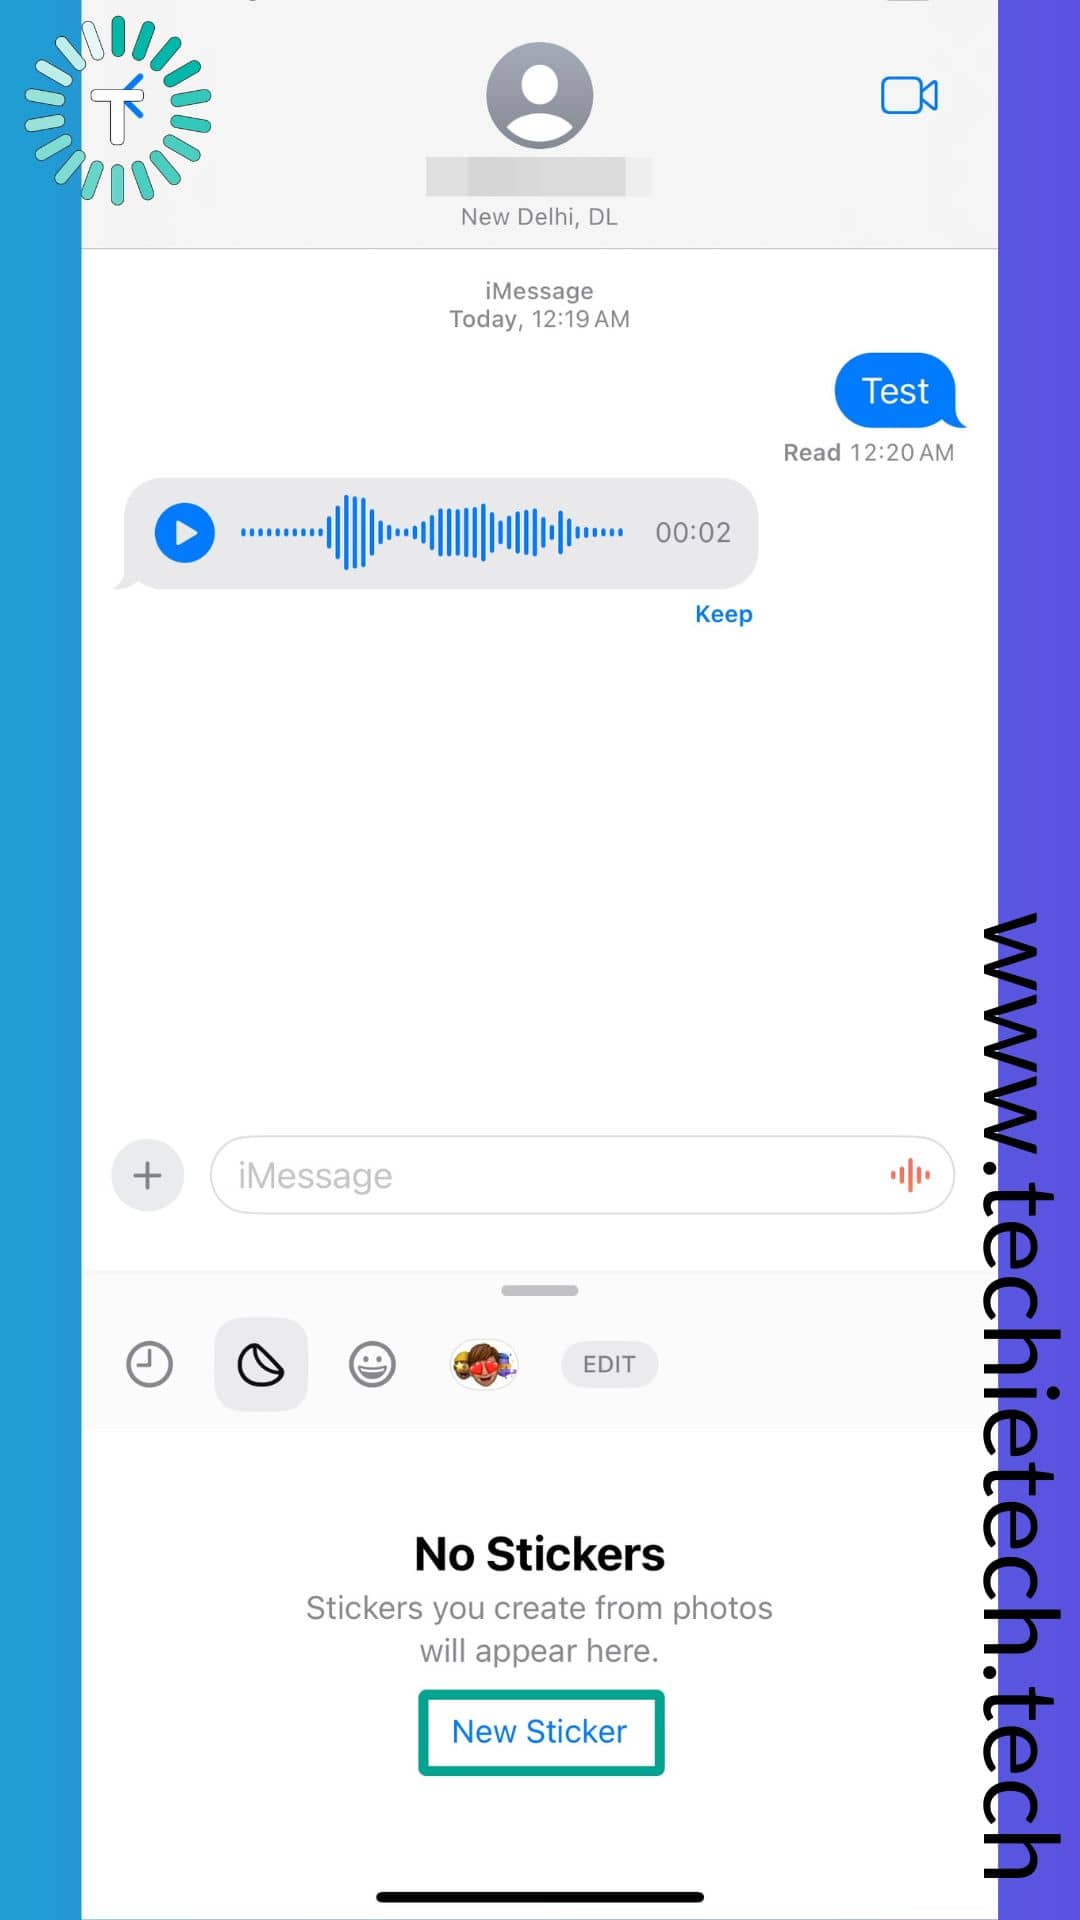
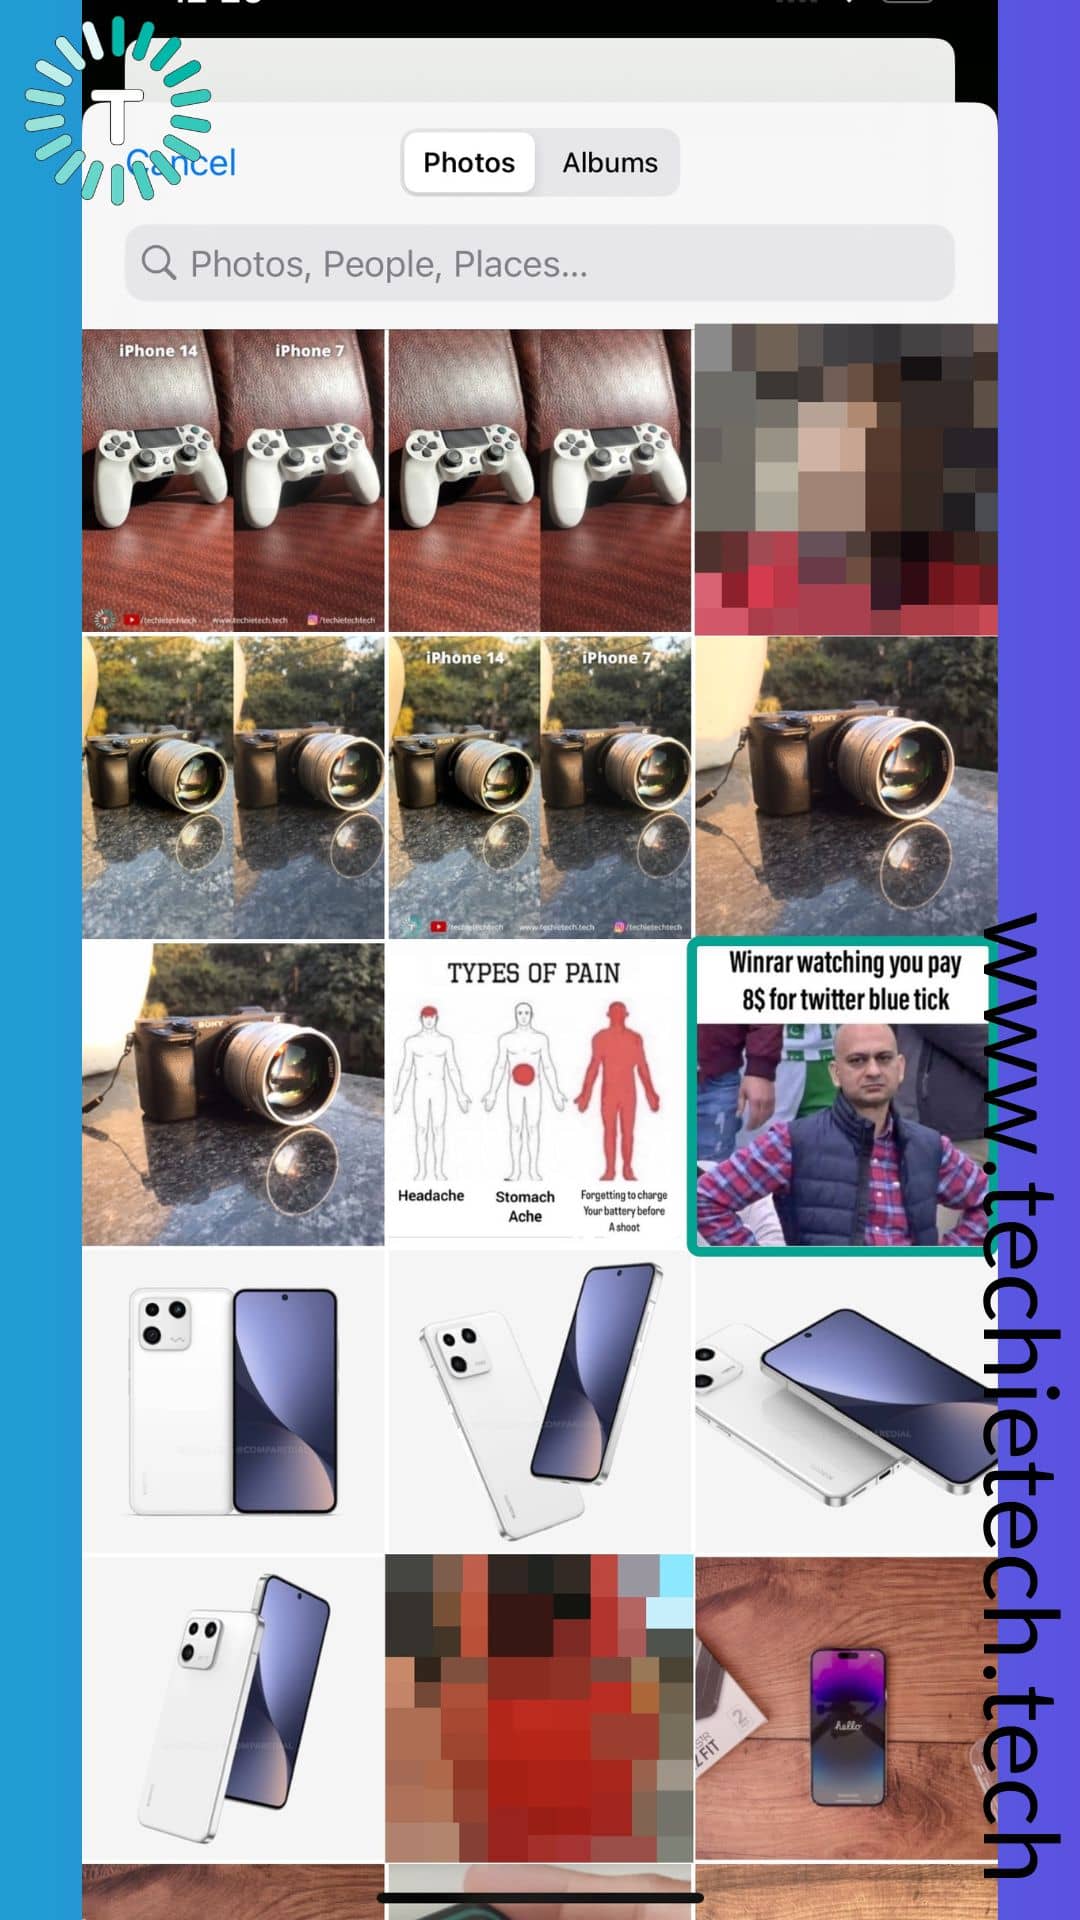
Step 6: Next, your photo library will open, you can choose a photo as per your liking,
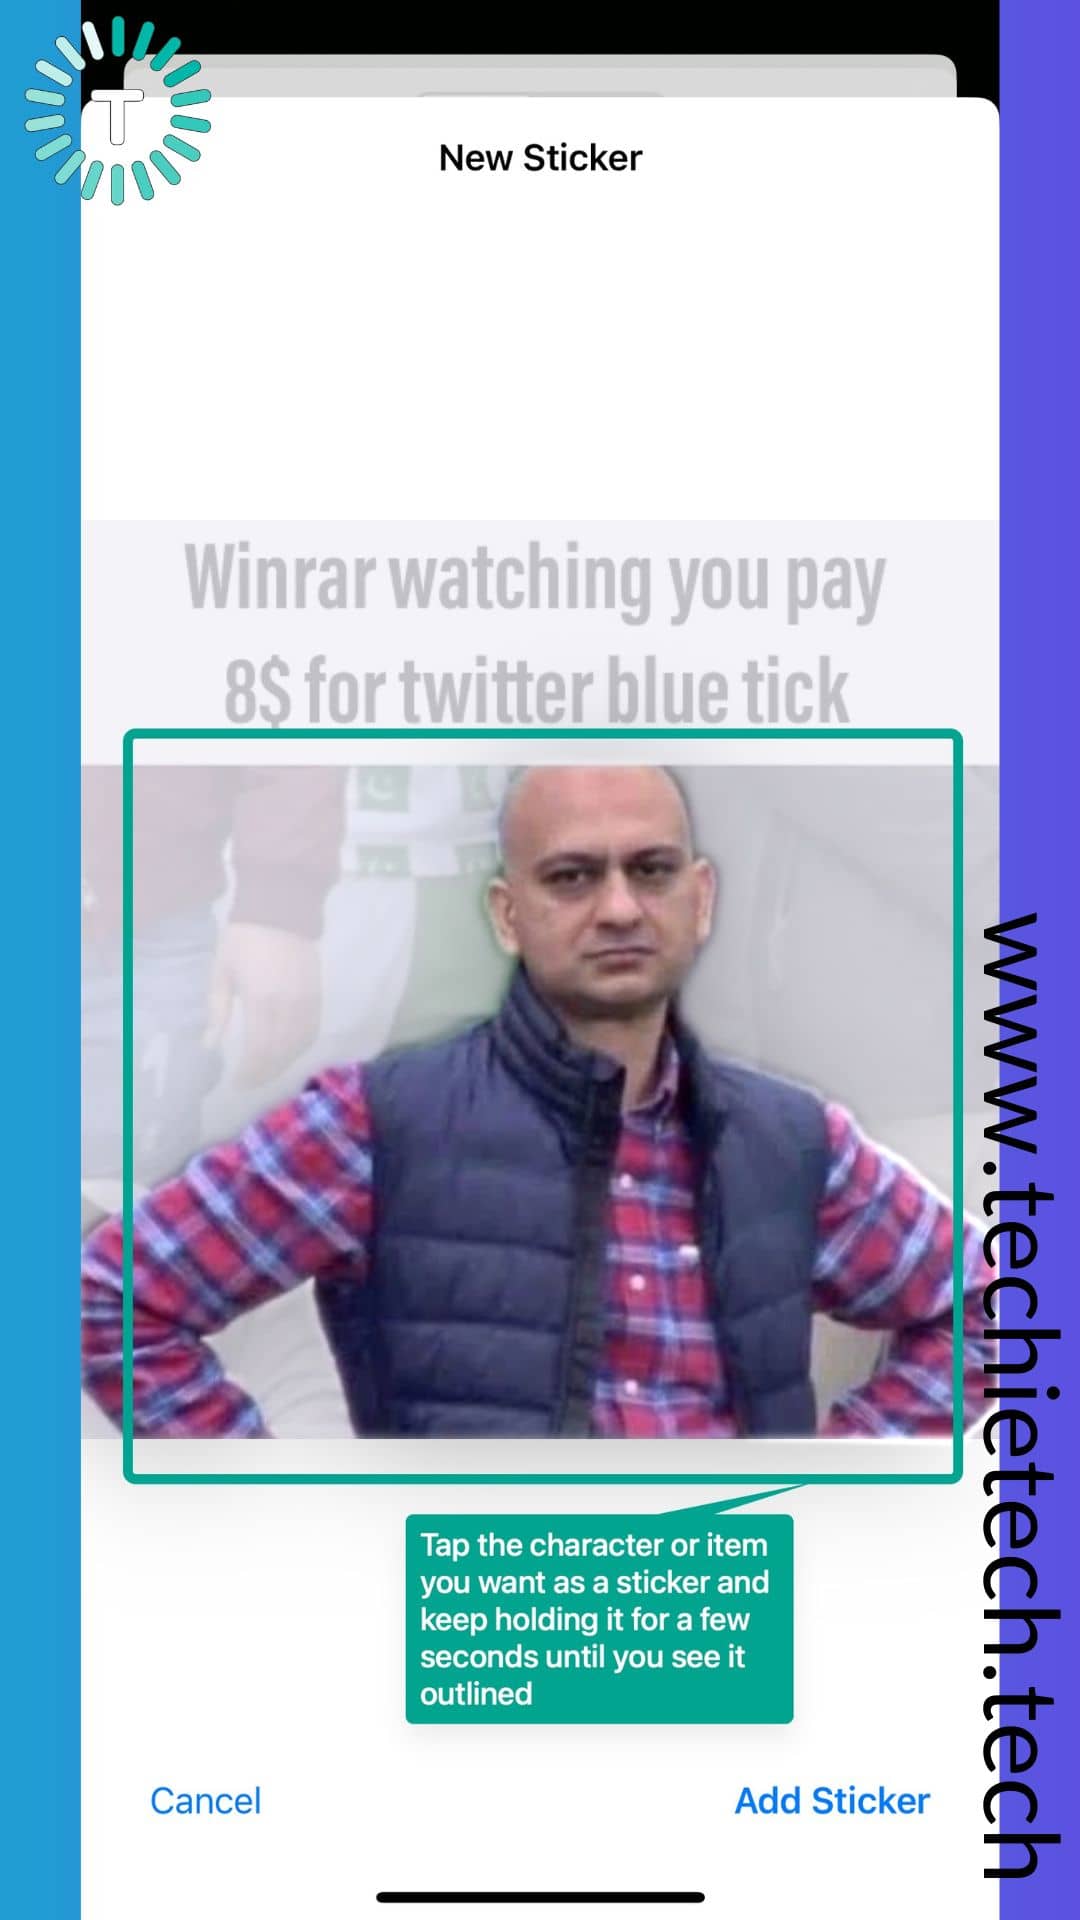
Step 5: When the preview is shown on the screen, tap the character or item that you want as a sticker and keep holding it for a few seconds until it is outlined. In most cases, it would automatically highlight the sticker area for you.
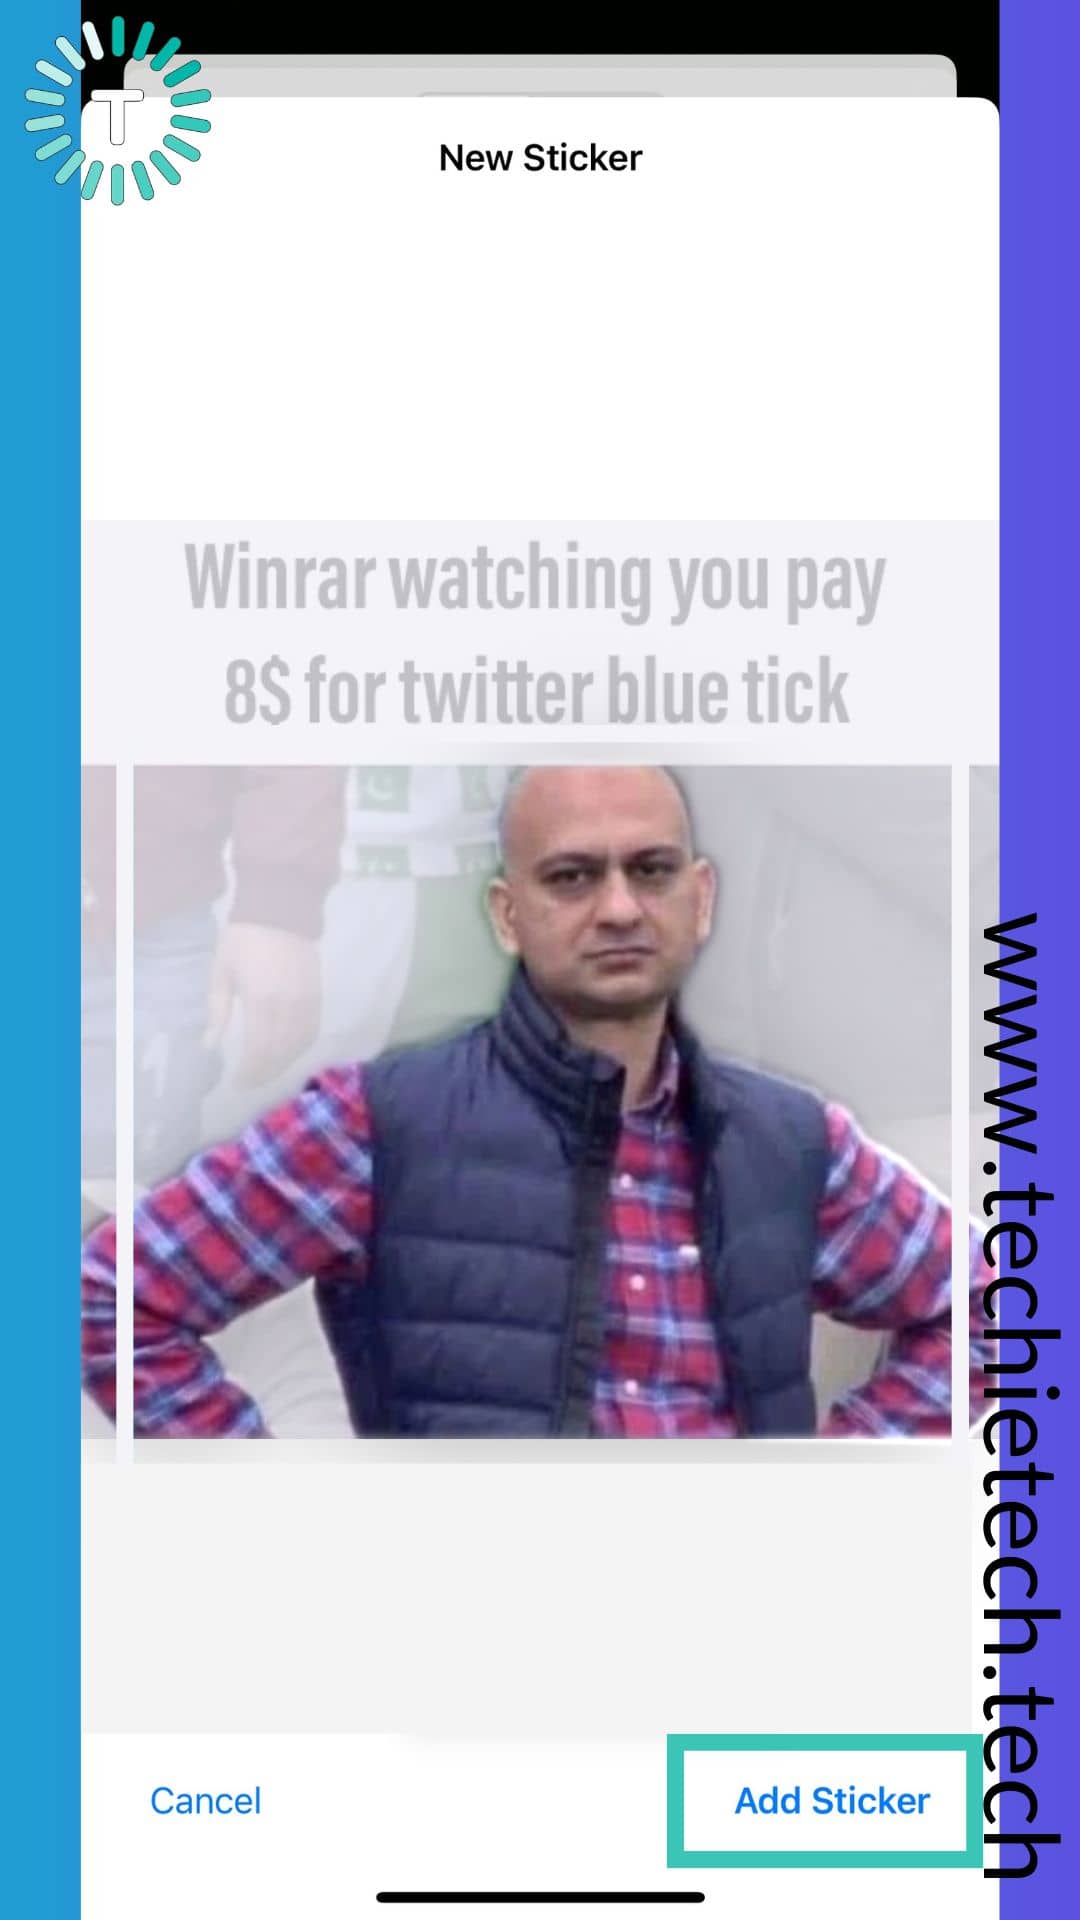
Step 6: Next, tap Add Sticker,
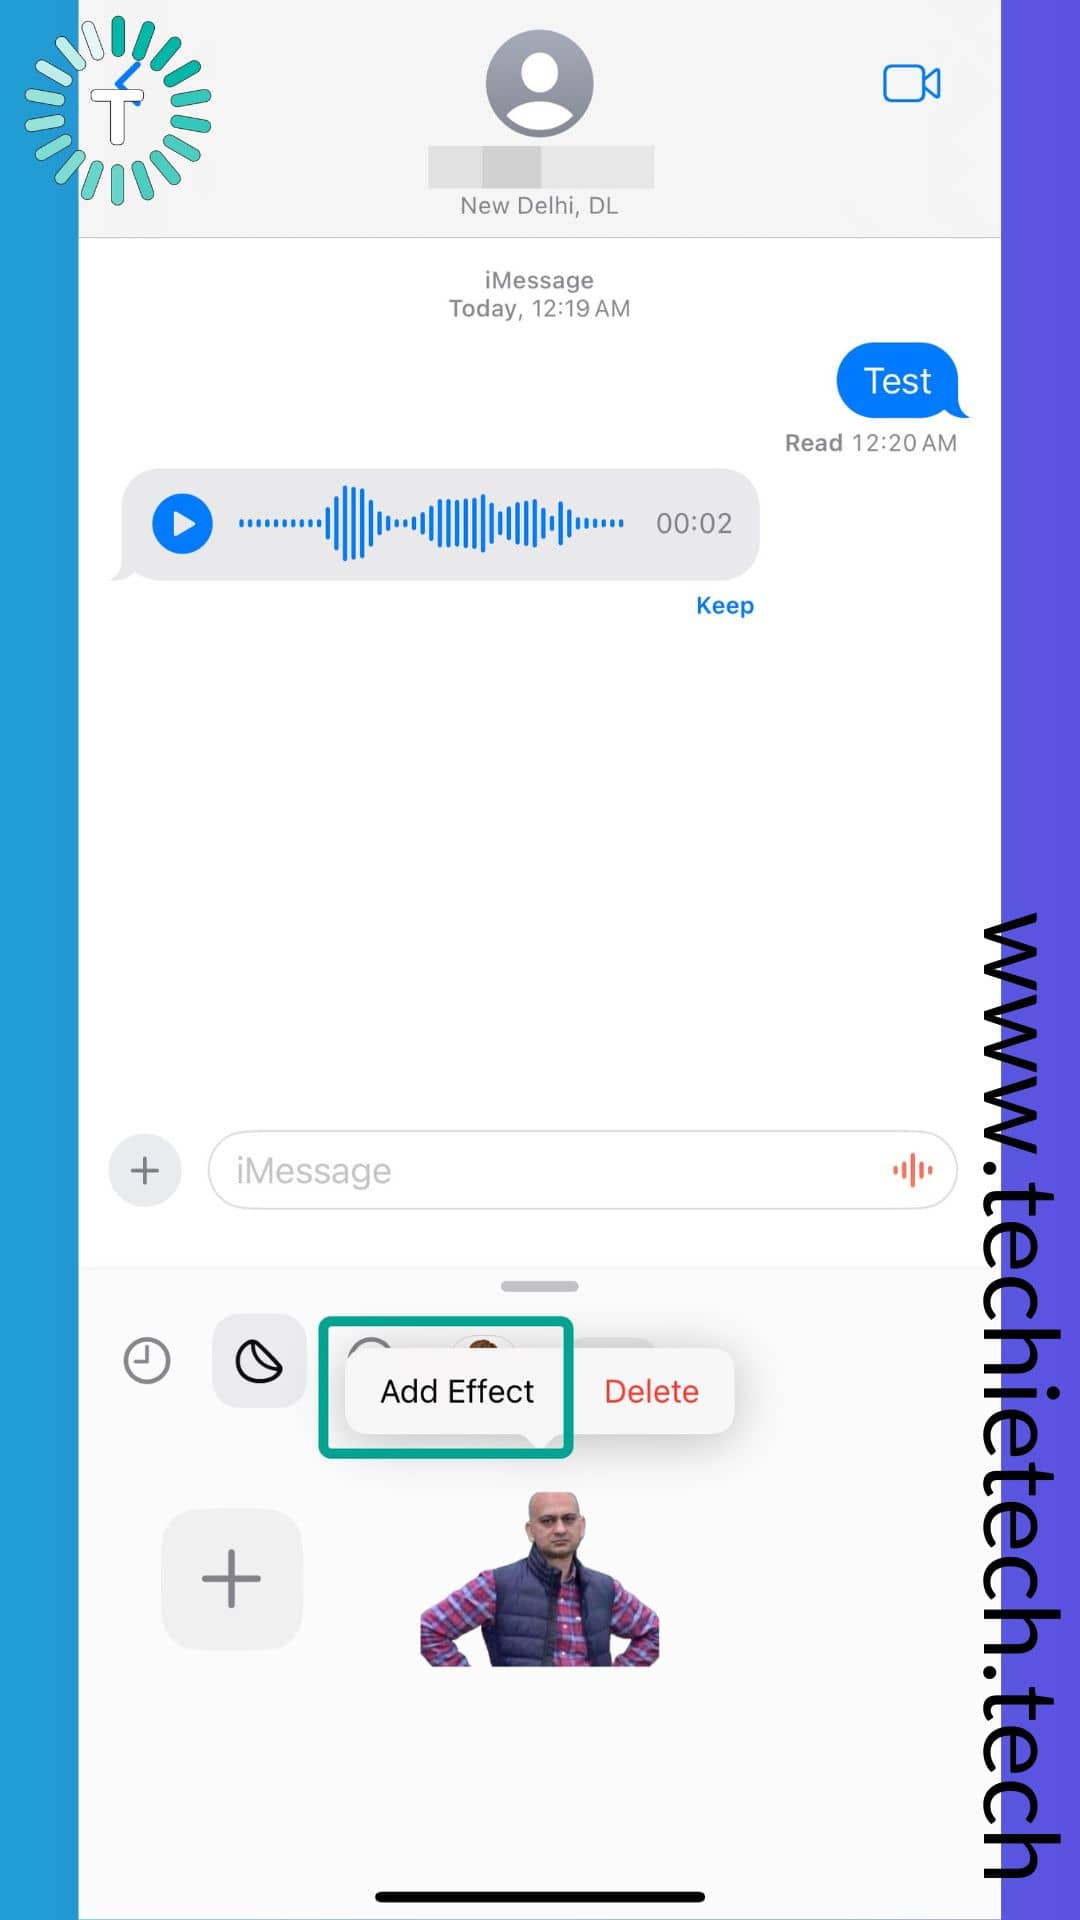
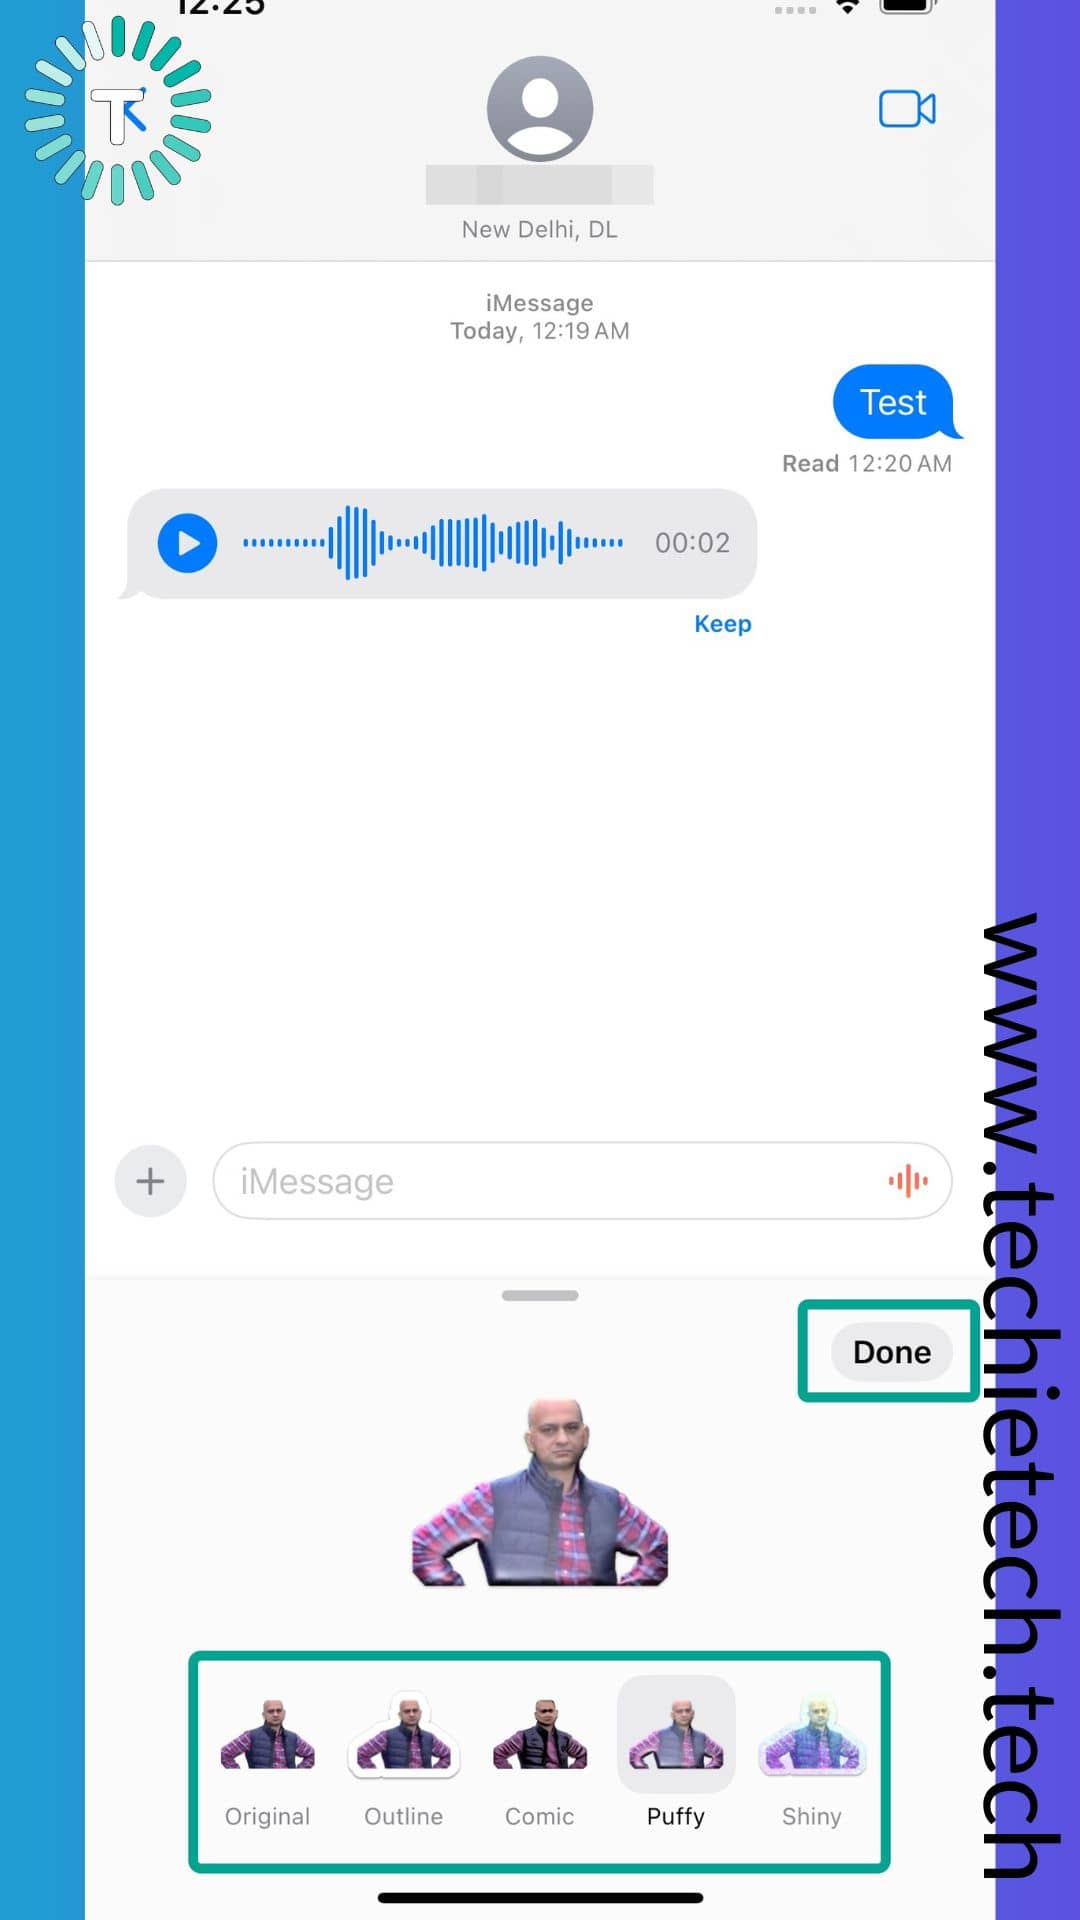
Step 7: After that, the sticker will be seen in the Sticker section. If you want to add an effect, tap the sticker, then tap Add Effect (you can choose from different effects). We have used the Puffy effect for demonstration. And, tap Done,
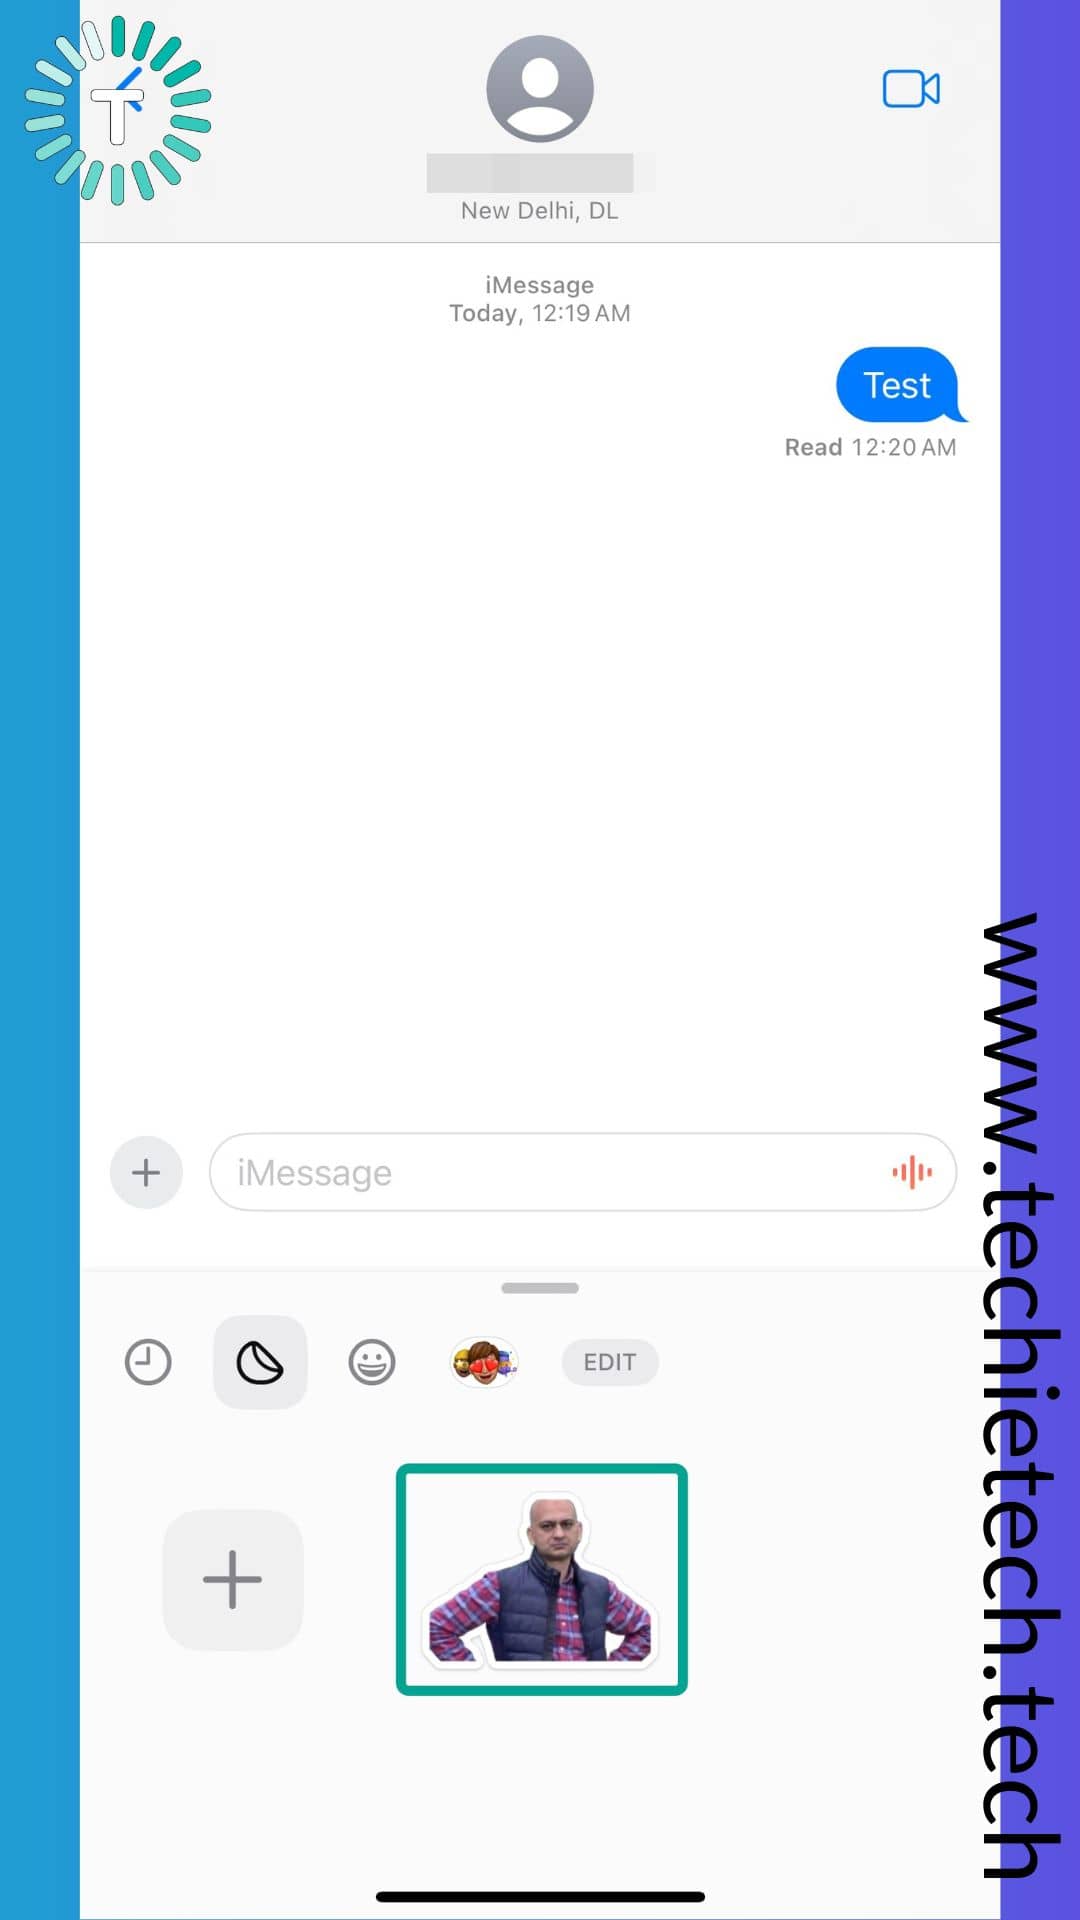
Step 8: Now, tap on the sticker,
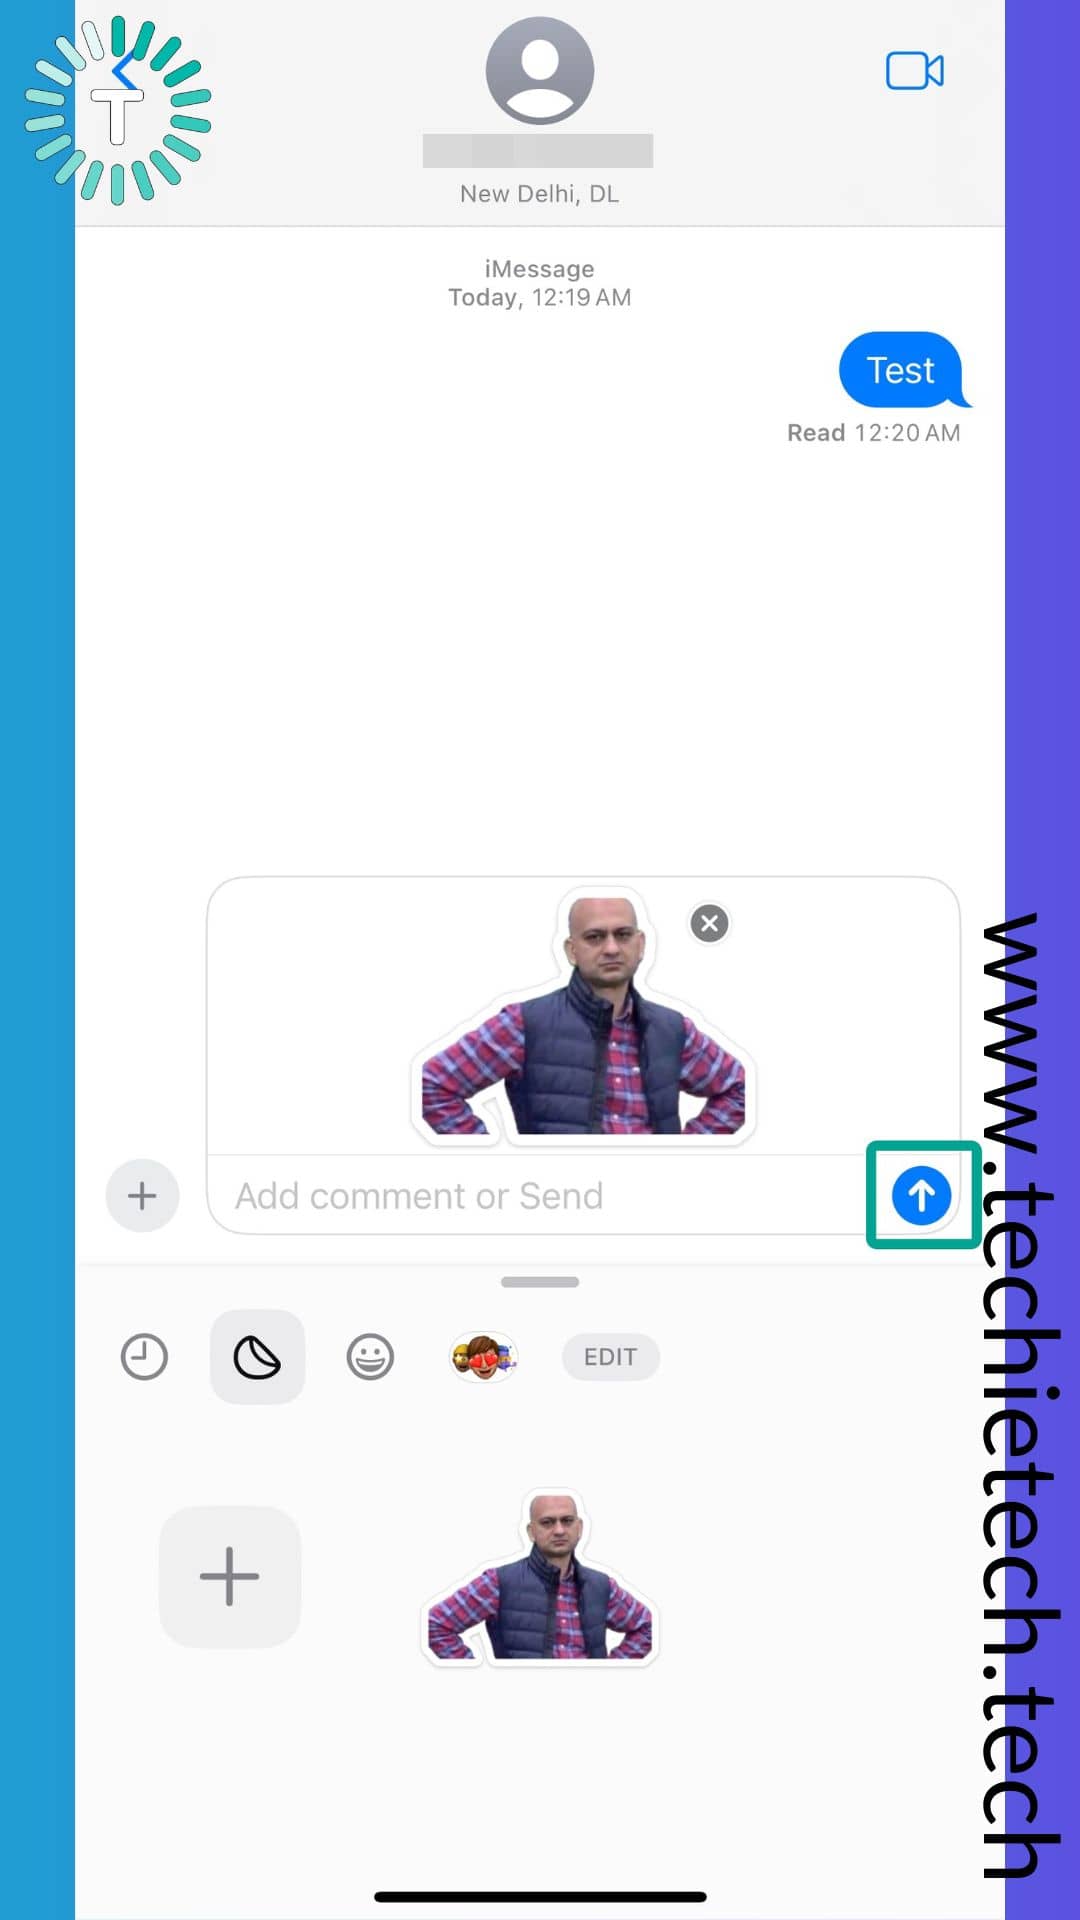
Step 9: Next, it will appear on the message box, simply tap the Sent (upward arrow) button, to send it to a person.
Let’s not forget that you can also drag and drop the sticker to paste it anywhere in the chat just like any real-life sticker.
That’s all, folks. Now you can share the recently made sticker with any contact by going to the sticker section in iMessage.
Also read: How to Create, Delete, and Switch Profiles in Safari on iPhone (iOS 17)
How to Create Live Stickers in iMessage on iPhone and iPad
As we mentioned earlier in this guide, iOS 17 also brings in a feature to create stickers using Live Photos in iMessage for iPhone. So, without wasting time, let’s jump on the steps.
Here’s how to create a sticker with Live Photos on iPhone & iPad:
Note: Follow steps 1 to 5 from the above section, then continue with the instructions given below.
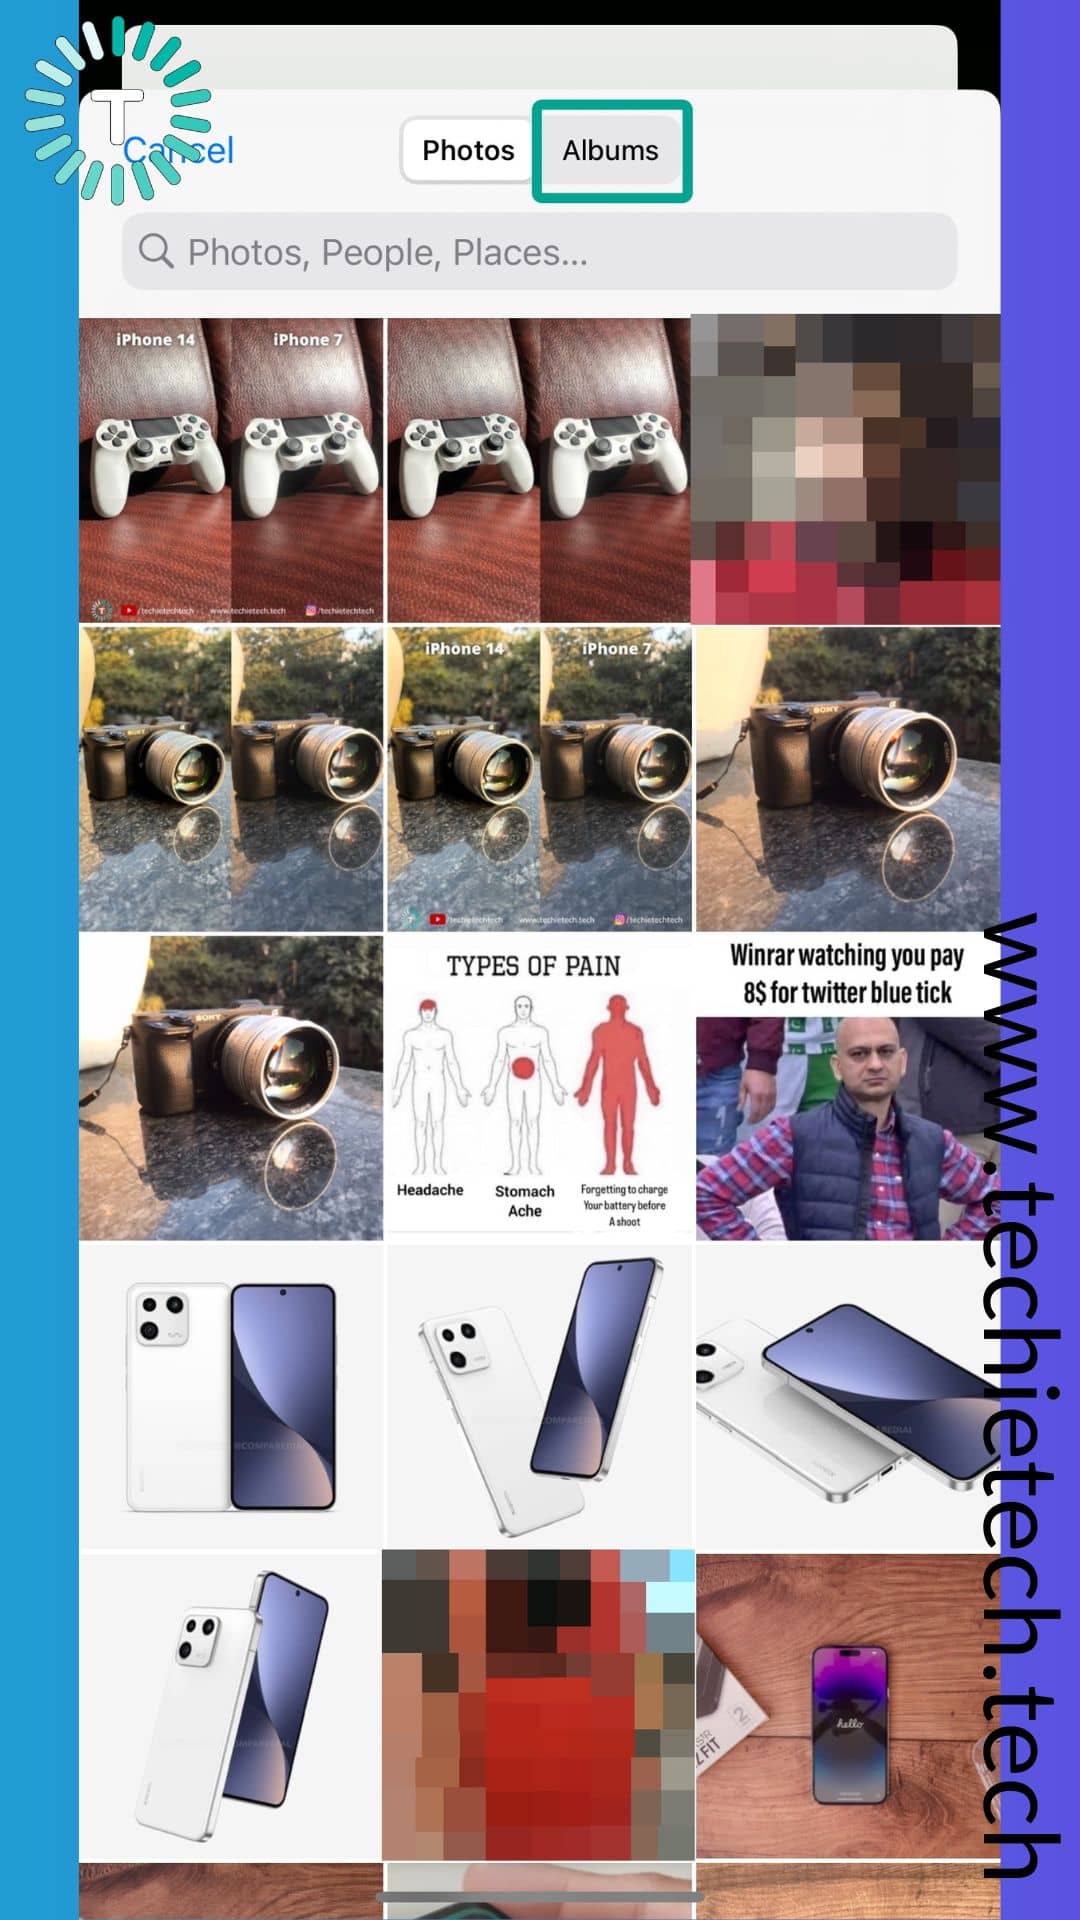
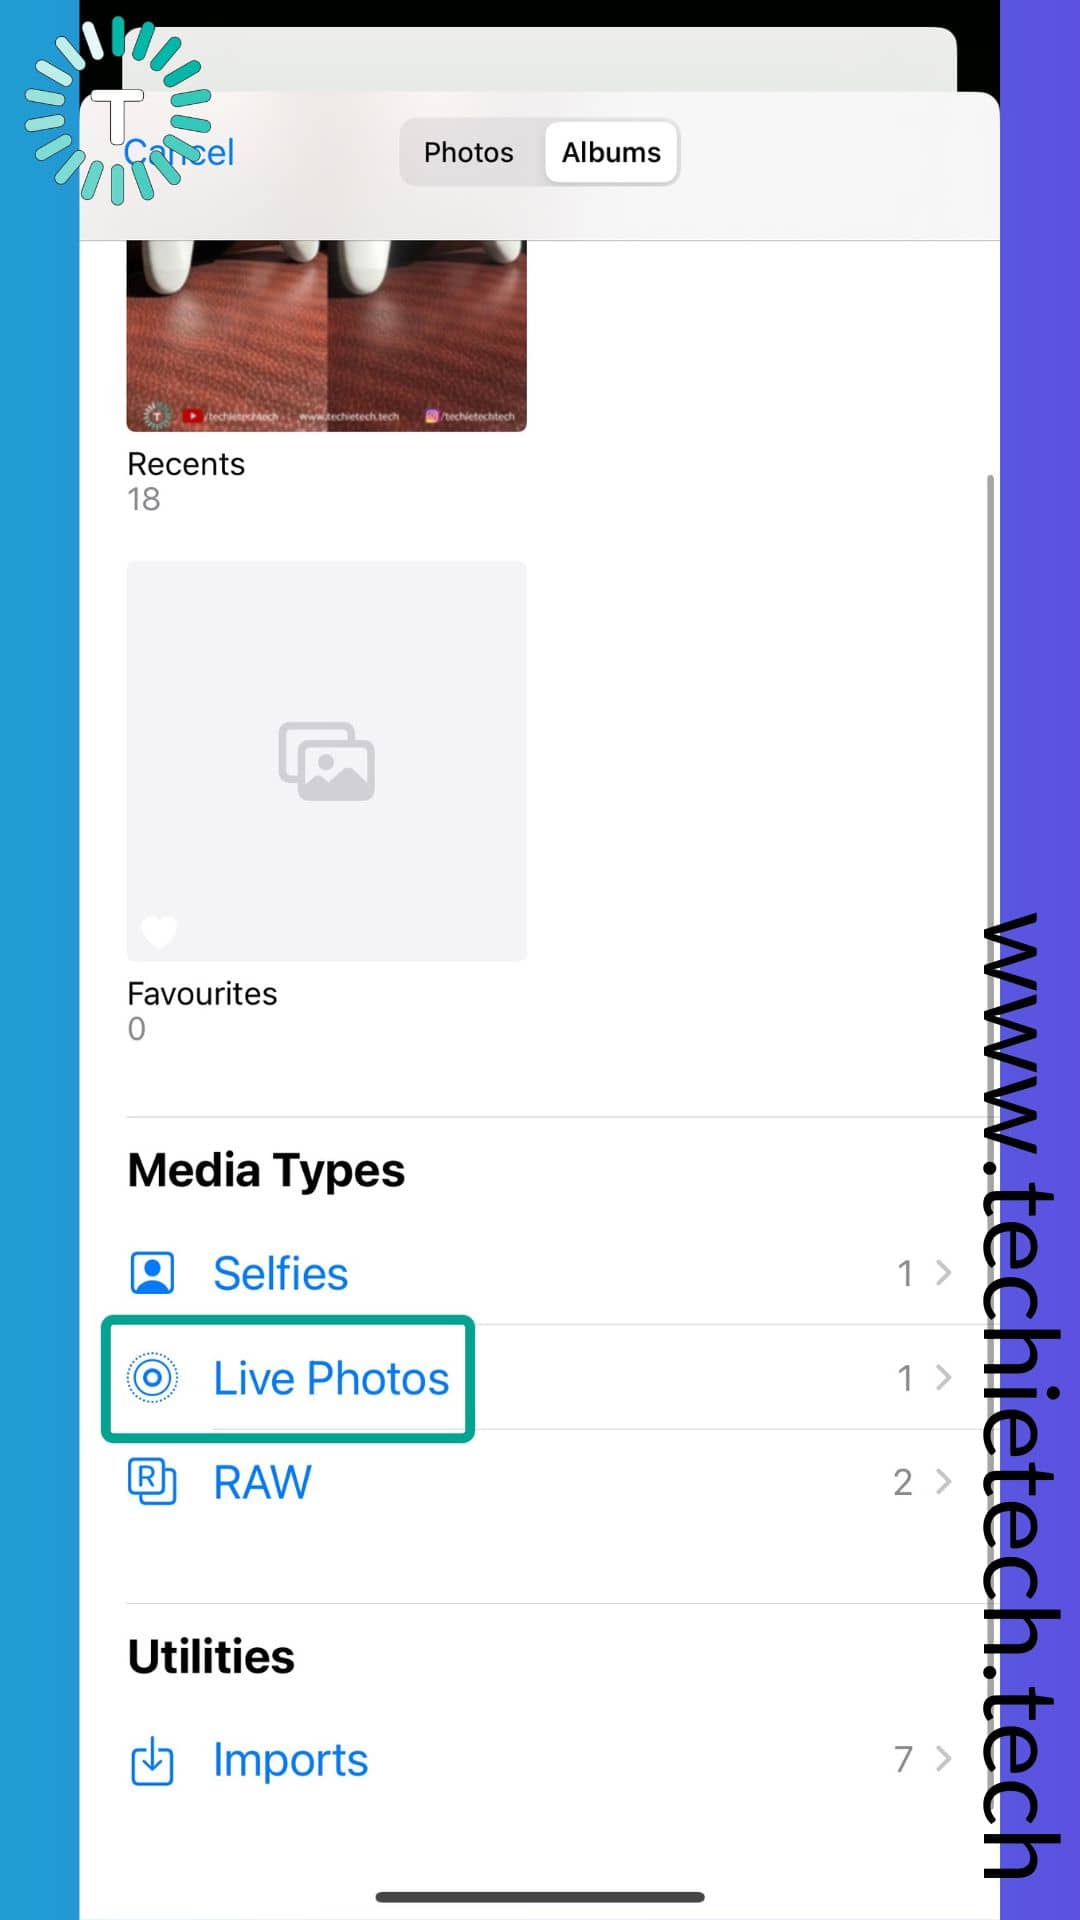
Step 6: When the photo library opens, tap Albums,
Step 7: Now, tap Live Photos,
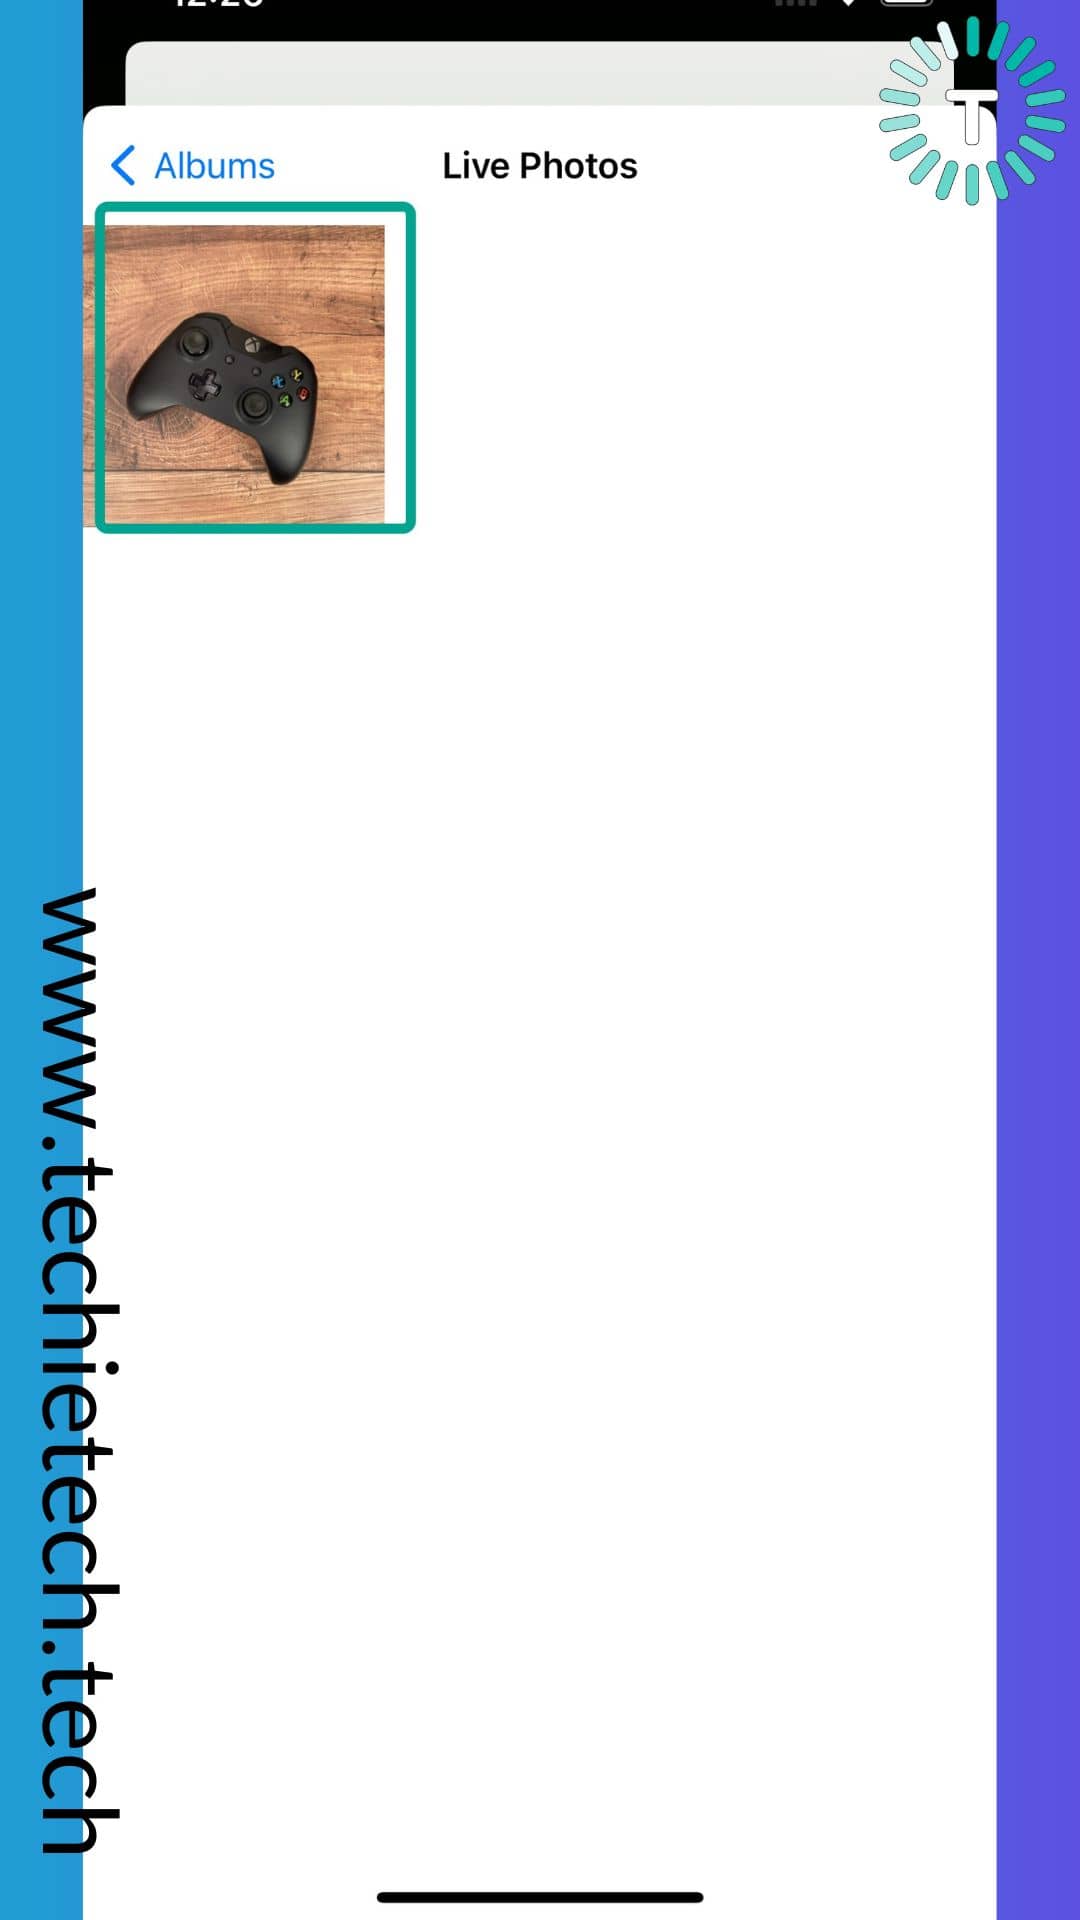
Step 8: Select the image,
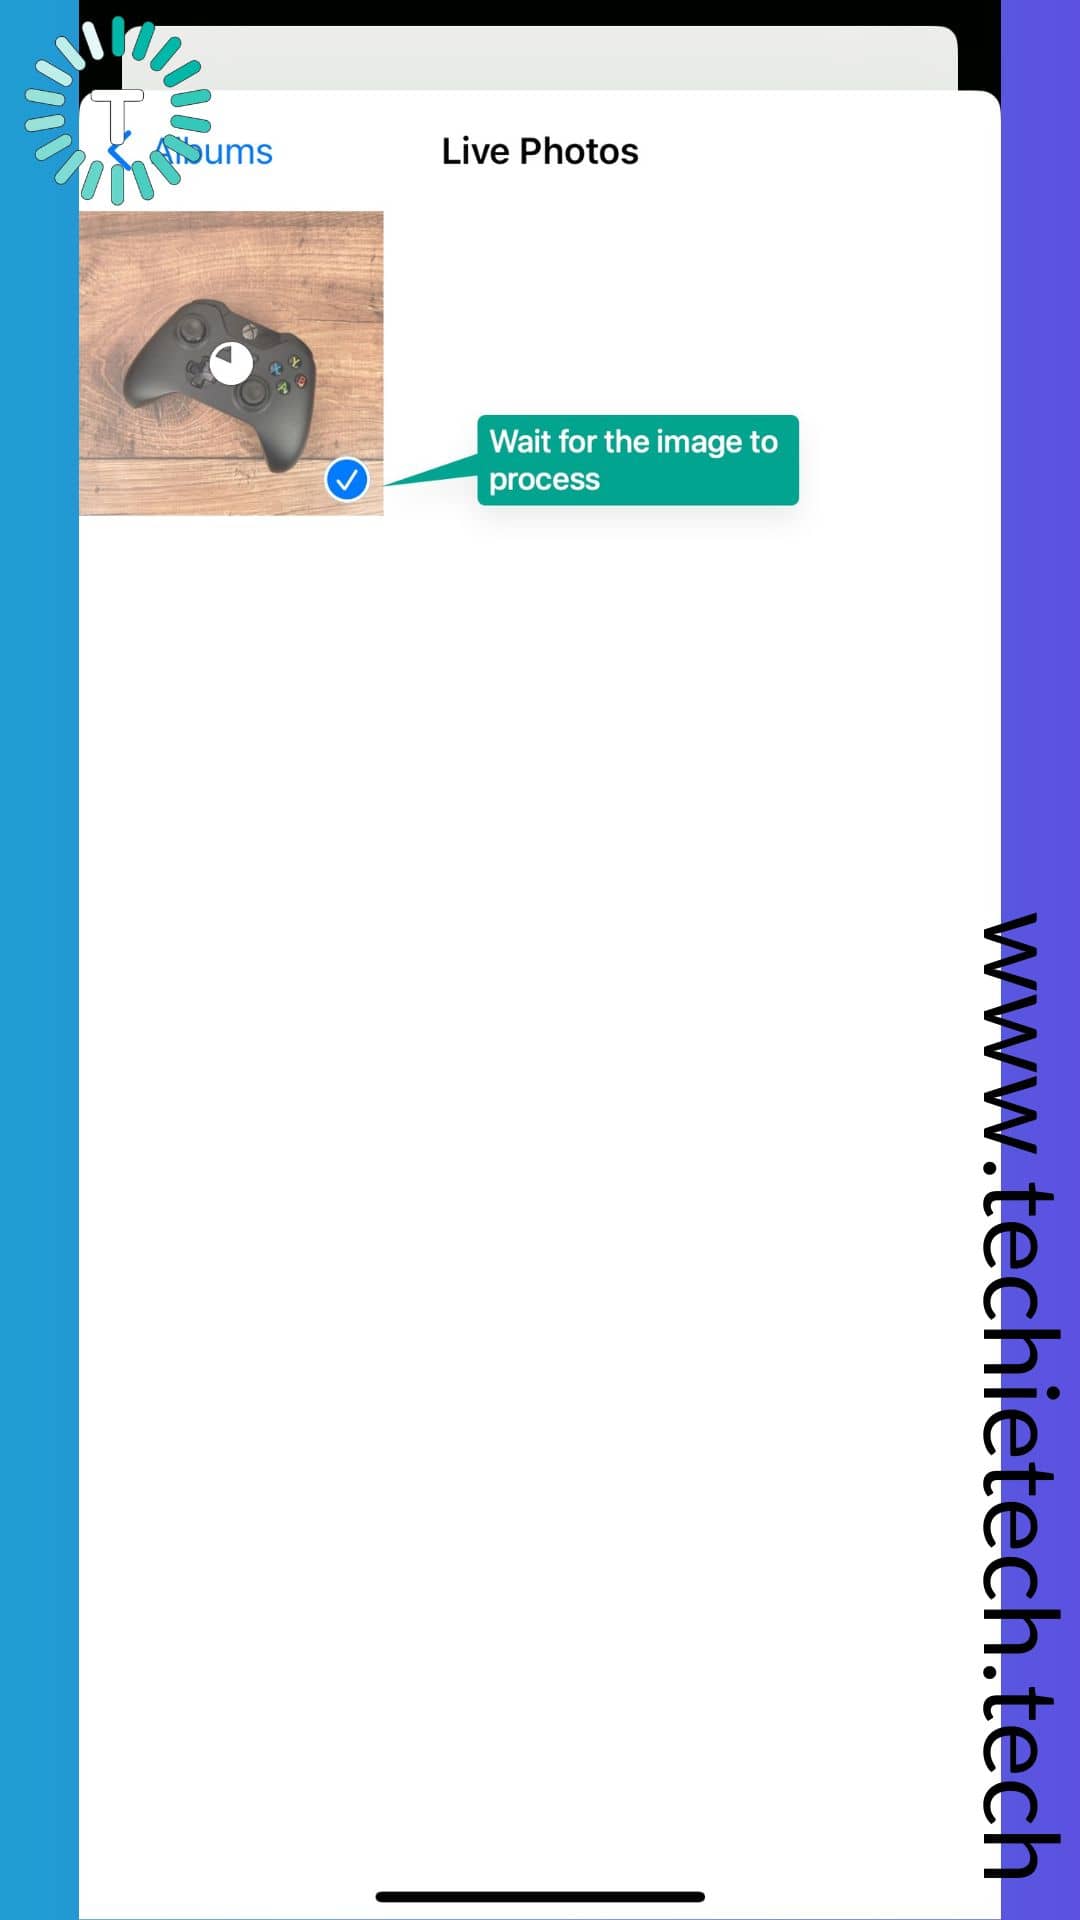
Step 9: Wait for the image to process,
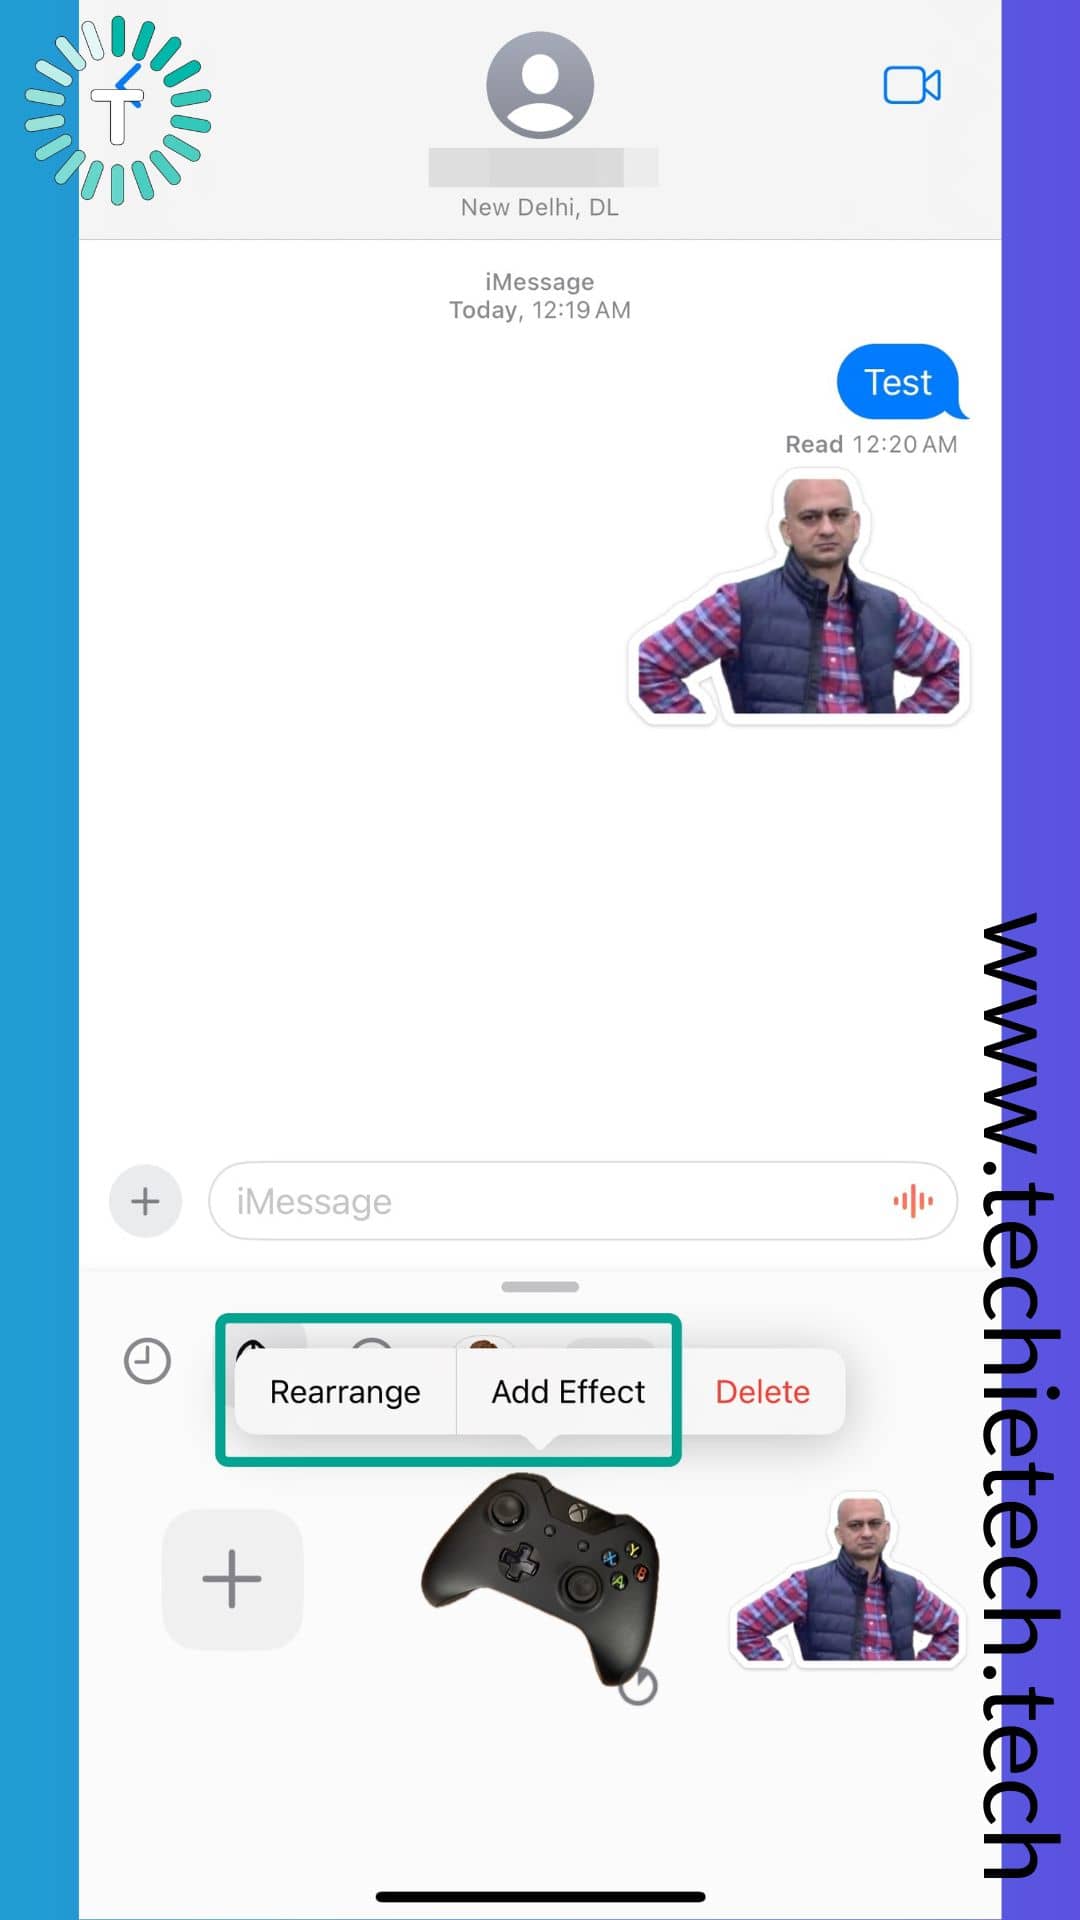
Step 10: You can tap Rearrange or use different effects by tapping Add Effect,
Step 11: Lastly, you can drag and drop the sticker to paste it anywhere in the chat just like you would paste a real-life sticker,

Let’s not forget that you can also send the stickers created using Live Photos via the chat feature just like you’d do to send a regular sticker on WhatsApp.
Also read: How to Create, Delete and Share Contact Posters on iPhone (iOS 17)
That’s all we have for you in this guide where we have explained how to create stickers using your photo and Live Photos in iMessage on iPhone and iPad. If you want to create, delete, and switch Profiles in Safari, make sure to check our guide.
Banner Image Source: Apple