
A screenshot, also known as screen capture or screen grab lets you capture exactly what you are seeing on the screen. They are handy and helps you with a lot of things. You can save a chat with your friend, a technical error on which you need help, or when you are reading something online and there’s no option to save.
Thanks to the screenshots, you can save anything you want to without an exclusive save option.
Every smartphone and laptop have a method to capture what’s on its screen. Whether it requires to press a combination of keys, or a simple screenshot hot-key, every device has one or more ways to capture its screen.
Here’s a simple and quick guide that will help you to capture the screen on iOS, Android, macOS, and Windows PC.
How to take a screenshot on Mac
The current versions of macOS( Mojave or later) come with a Screenshot app that helps you in taking all types of screenshots or making a video recording of your screen. Simply press Shift-Command (⌘) -5 or use Spotlight to find the app.
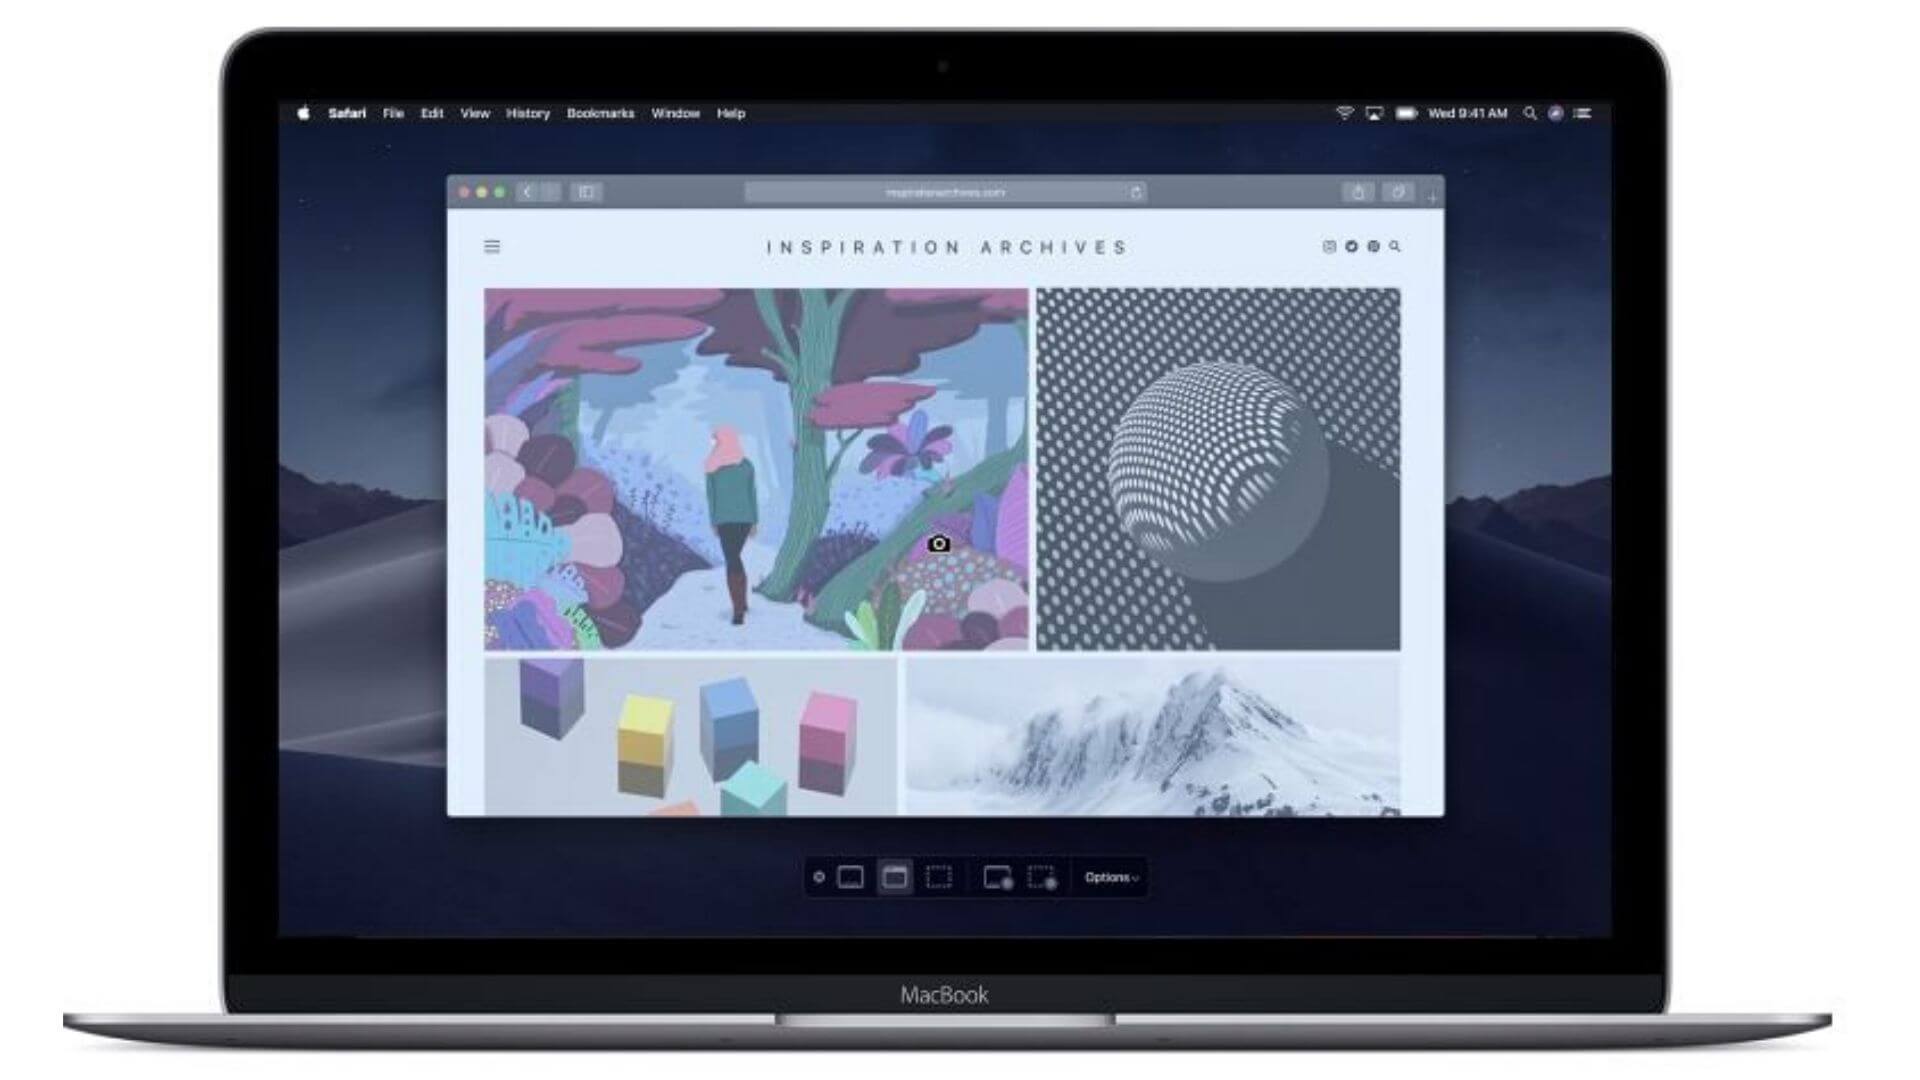
You can capture the entire screen, a selected portion of the screen, a window, a menu bar, or a touch bar. You can also take a video of a part, or the entire screen. The “Options ” button lets you choose the location for your screenshot. Click on the “Capture” button to take a screenshot or hit the “Esc” key if you want to cancel the capture.
| What to capture? | macOS Mojave or later | All versions of macOS |
| Entire screen | 1. Press Shift-command-5
(Onscreen capture controls appears) 2. click “Capture Entire Screen” |
1. Press-command-3 |
| A portion of the screen |
1. Press Shift-command-5 2. click “Capture Selected Portion” 3. Drag to select the screen area. |
1. Press Shift-Command-4
2. Drag to select the screen area. |
| A specific Window |
1. Press Shift-command-5 2. Click “Capture selected Window” 3. Click a window to capture it.
|
1. Press Shift-Command-4
2. Hit Space-bar 3. Click a window to capture it |
| A Menu | 1. Click on the menu to reveal its contents
2. Press Shift-command-5 Now use one of the following methods: A) Capture a window B) Capture a selected portion of the screen.
|
1. Click on the menu to reveal its contents.
2. Press Shift-Command-4 Now use one of the following methods: A) Drag to select the area of the menu and then release the mouse or trackpad button. B) Press the space-bar and then click the menu to capture it. |
How to capture the Touch Bar?
If you have a Mac with a Touch Bar and macOS Sierra 10.12.2 or later, then Press Shift-Command-6 to capture the contents of the touch bar.
By default, all screen captures are saved on the desktop with the name “Screenshot date at time.png”.
How to take a screenshot in Windows PC
Regardless of which version of Windows you are using on your system, there is a simple and quick method to capture your screen.
A) Using key/Combination of keys
You just need to press the PrtScn(Print Screen) key to capture your entire screen. On some systems, you need to hold the Fn (Function) key and then press PrtScn.
Windows will capture the entire screen and then paste it on the clipboard(invisible). You can paste this screenshot wherever you want to by pressing Ctrl+V.
In case you want to do some editing like resize the shot, add some text to it, or save it as a graphic file. You can paste the screenshot in the Paint, make required changes, and then save it at required location.
B) Snipping Tool
Type snip in the search box and then select the Snipping Tool from the list of results.
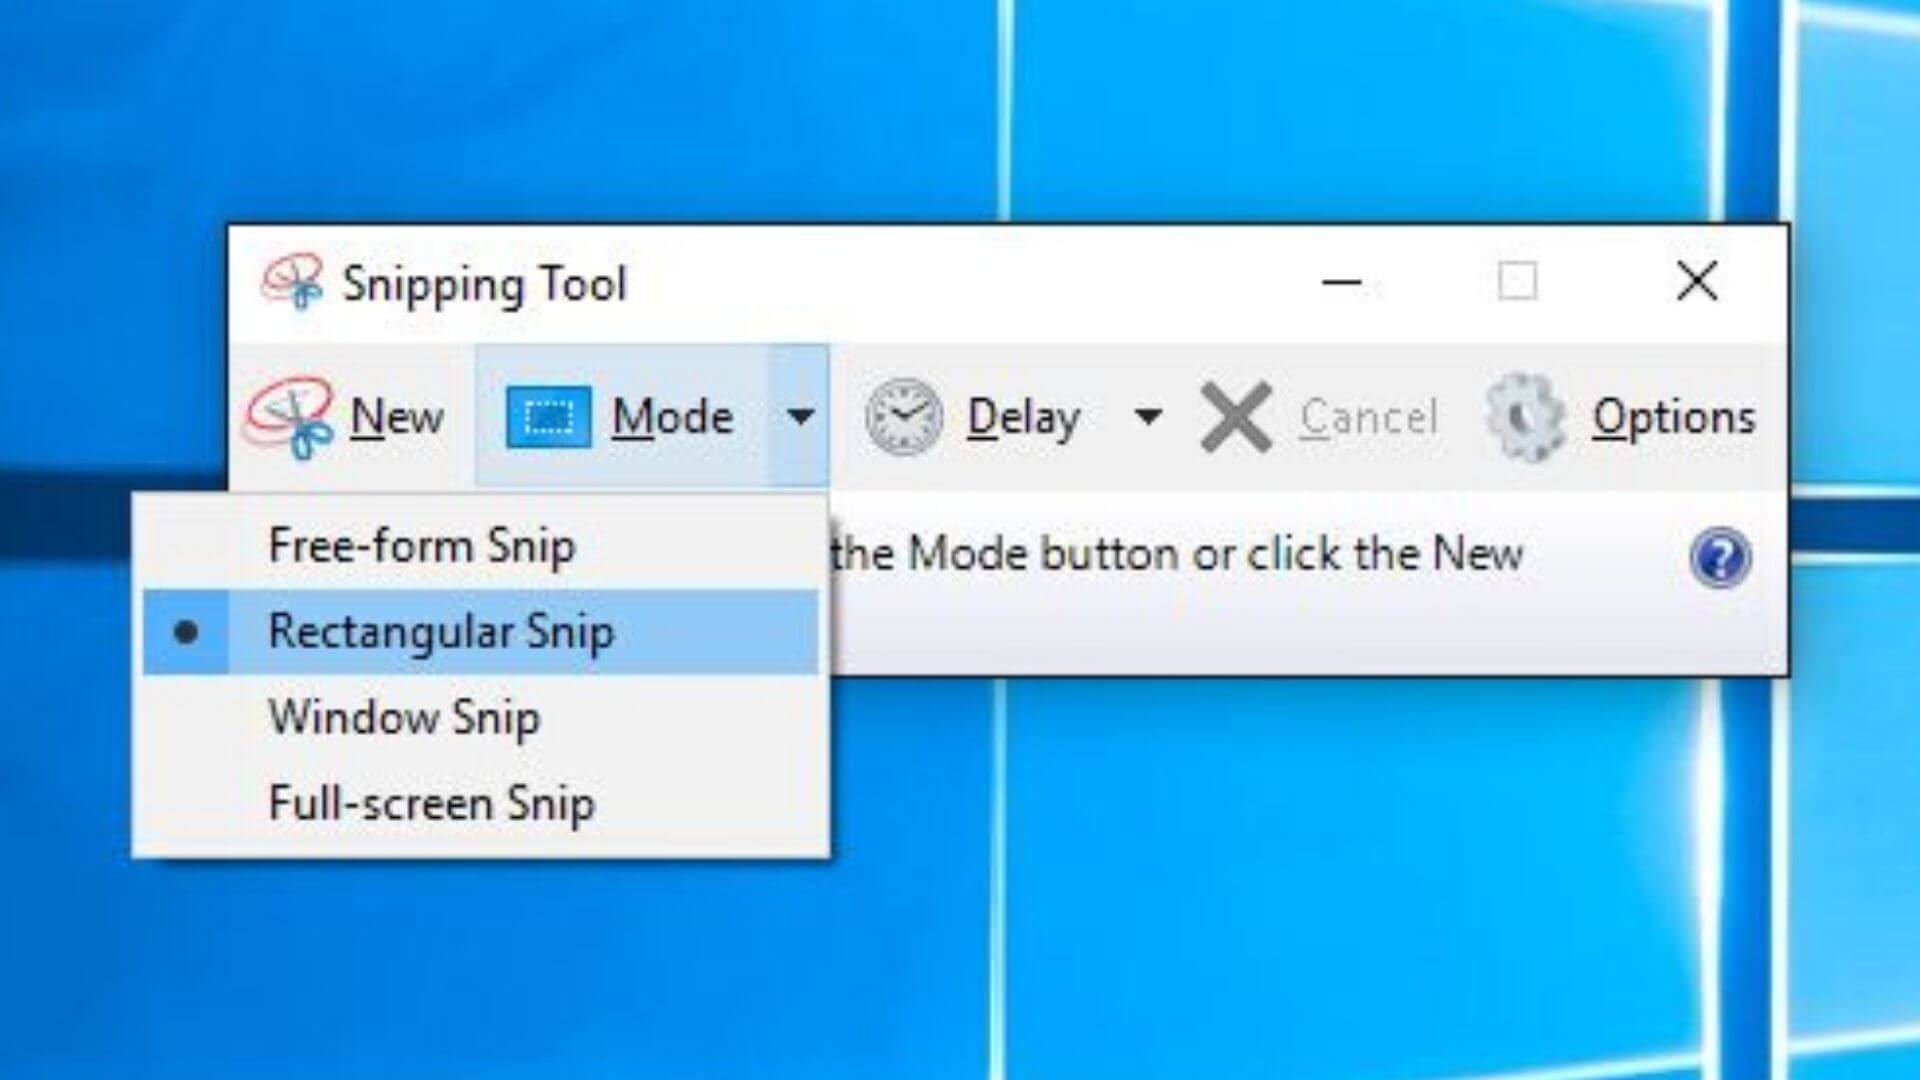
You can capture Free-form, Rectangular, Window, or a Full-screen snip by selecting it from the toolbar under the NEW option.
The cursor is then turned into a Plus sign, you can select a portion of the screen or the entire screen.
When you capture a snip, it gets copied to the Snipping Tool window where you make changes, save to your preferred location, and share. You can save the snip as a GIF, HTML, PNG, or JPG file.
How to take a screenshot on Android Phone
There’s a quick and simple method to capture the screen in an Android phone. This works well on almost every Android device.
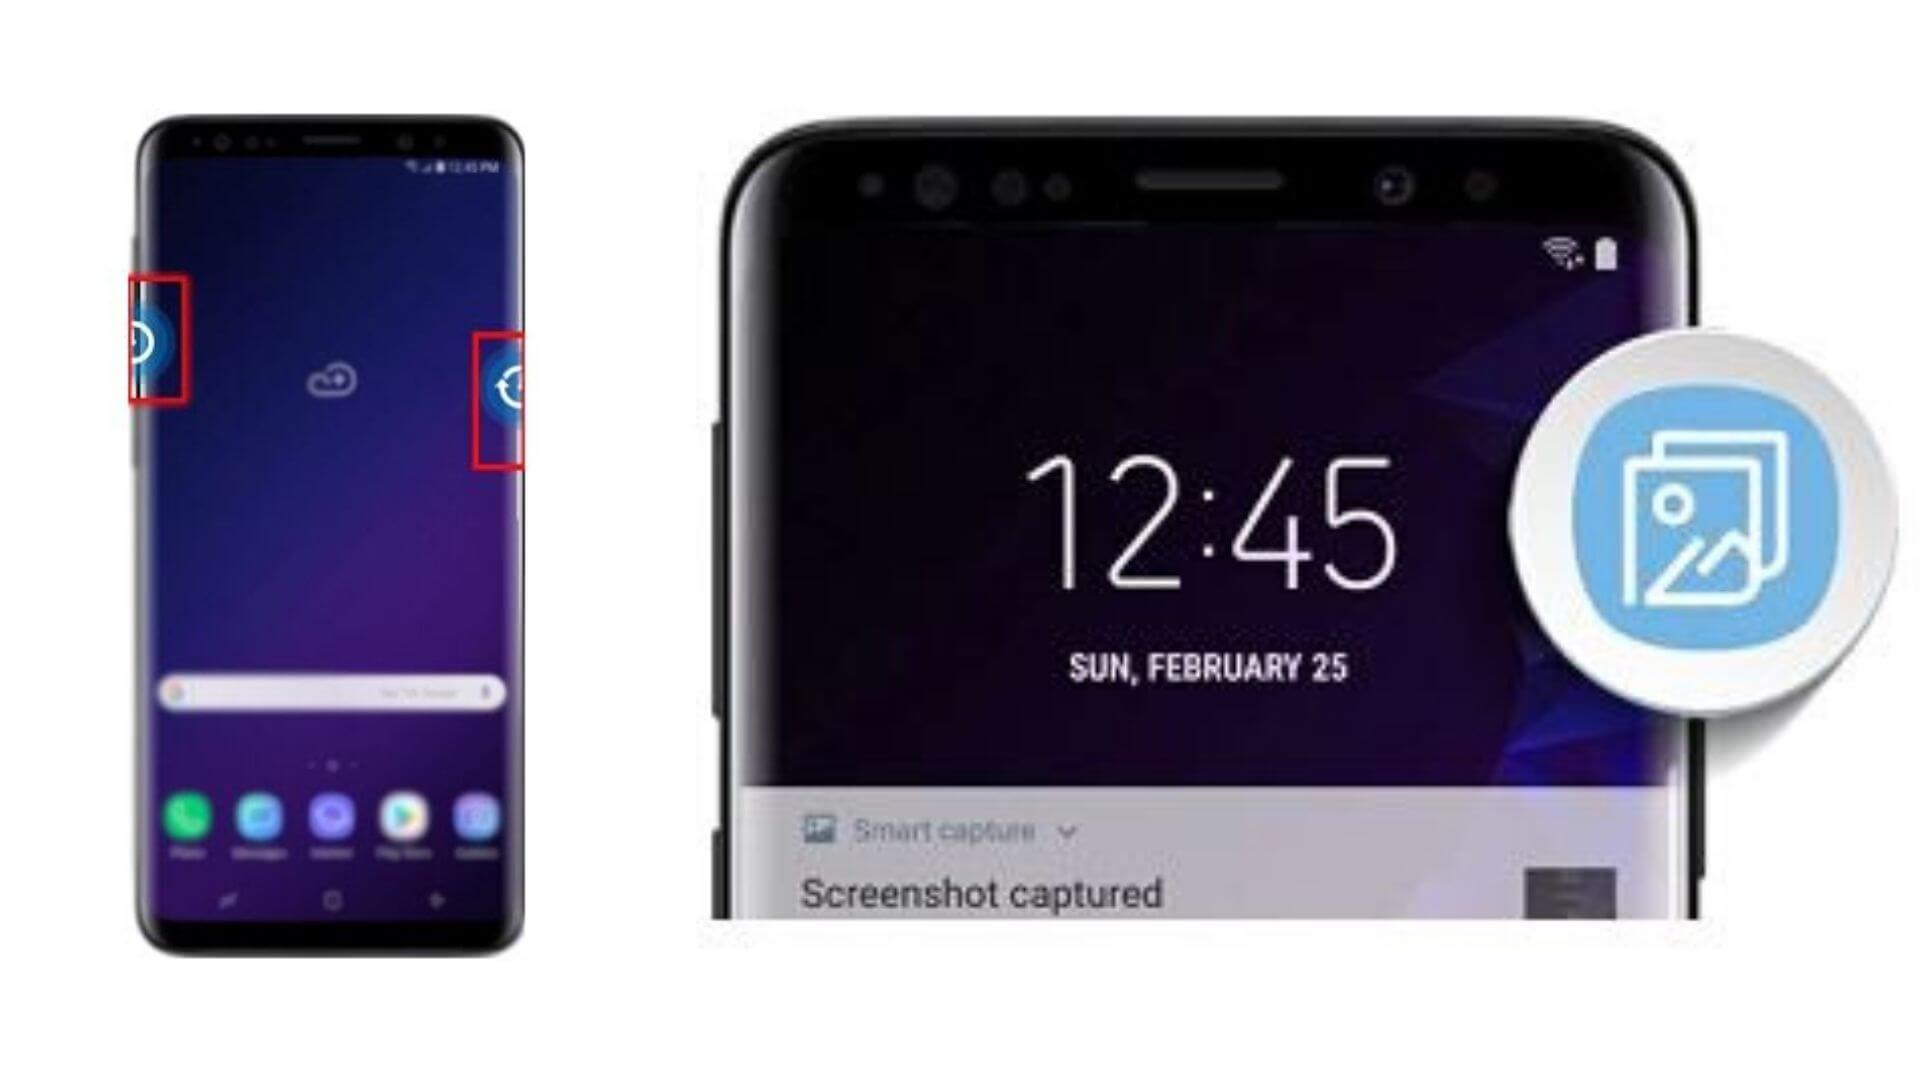
- You just need to hold the Power button and press Volume-down key simultaneously, until screen flashes indicating screenshot captured. This will be accompanied by a shutter sound and that’s it, your screen is captured.
- You’ll get a notification on the top that allows you to edit, share, or delete it.
- All your screen captures are saved in the Screenshot album inside the Gallery.
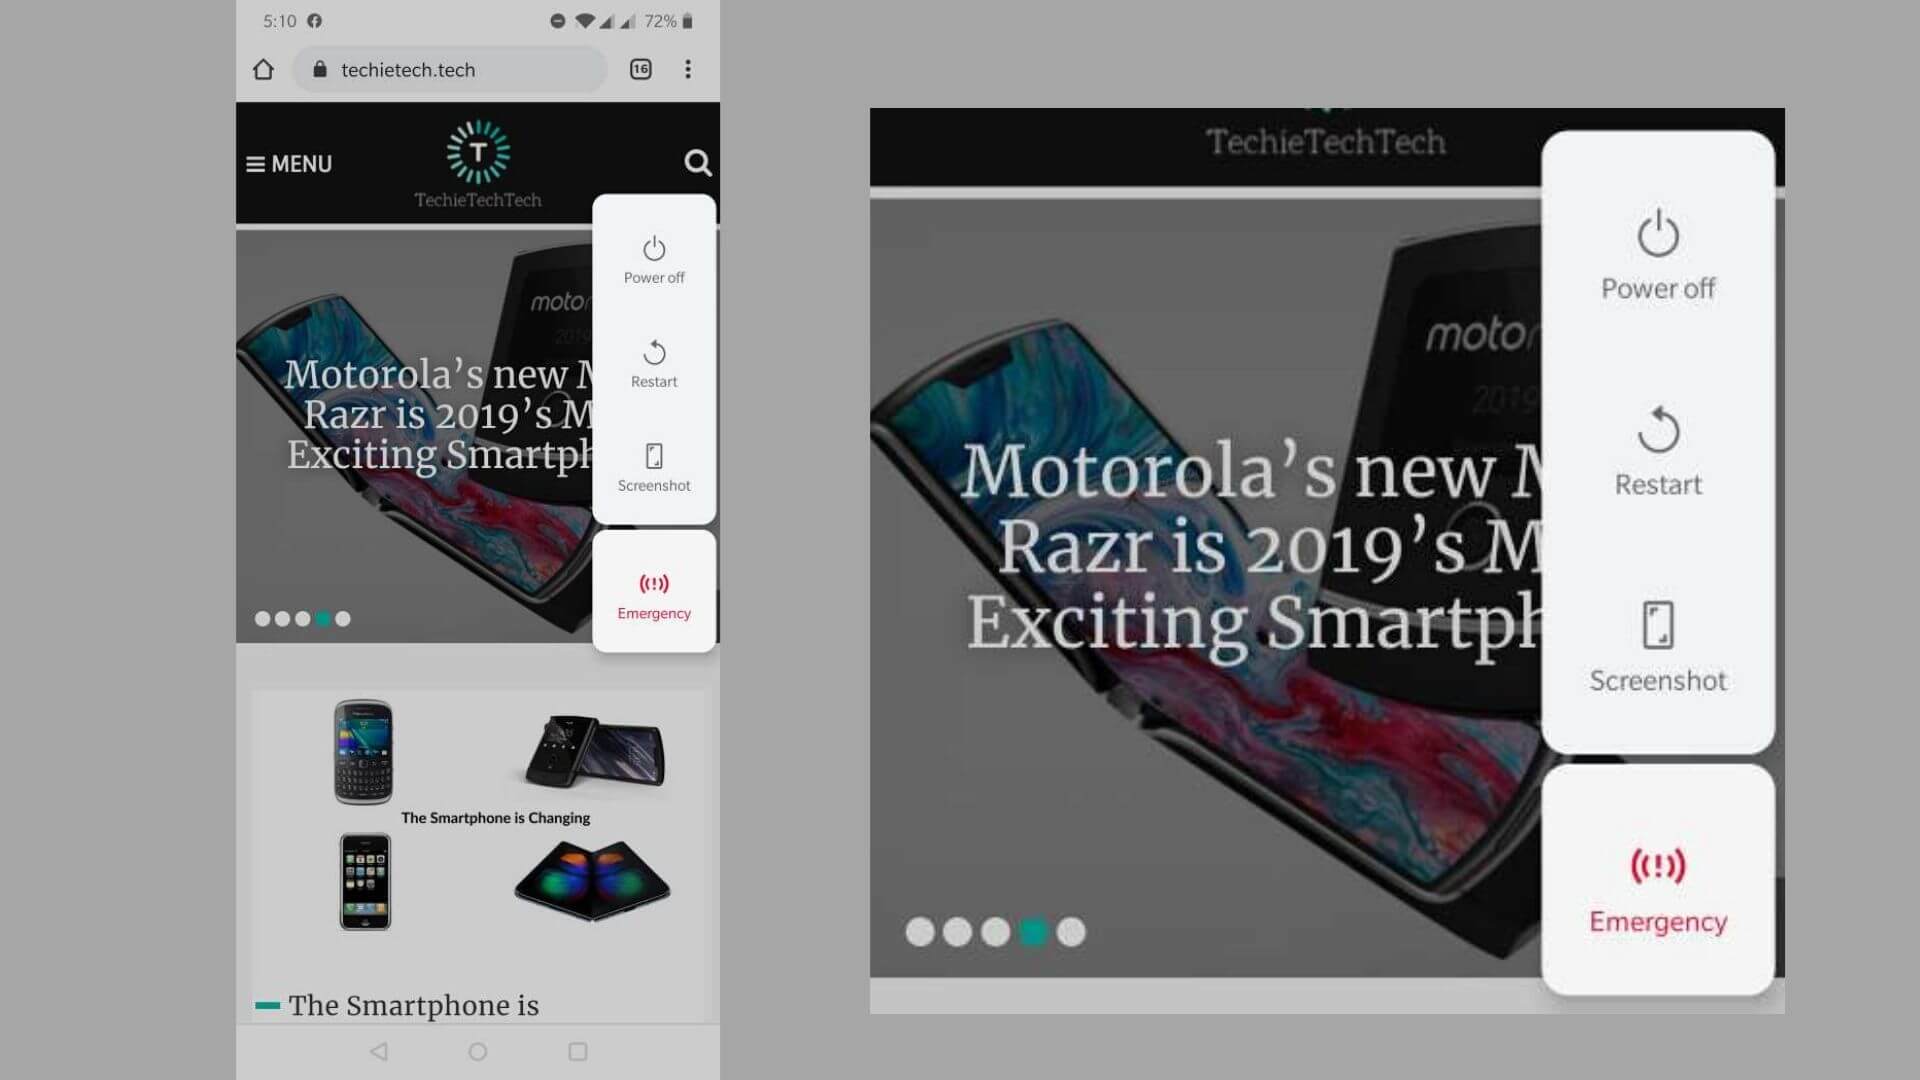
OnePlus smartphones allow you to capture the screen in one more way. You just need to hold the Power button on your phone. You’ll then get a pop-up menu on the right-hand side of your screen. It will contain options like power off, restart, take a screenshot, or call an emergency number.
How to take a screenshot on an iPhone

On iPhone 8 or earlier
- Press the side or top button and the Home button simultaneously. Release the buttons quickly.
- A Thumbnail of the shot appears on the bottom-left corner of the screen. You can tap it to add text and drawings, press and hold the thumbnail to share it, or simply swipe left to dismiss the thumbnail.
- You can find all your screen-captured shots under the Screenshots folder in Photos.
On iPhone X or later
- Press the side and the Volume-up button simultaneously. Release the buttons quickly.
- A Thumbnail of the shot appears on the bottom-left corner of the screen. You can tap it to add text and drawings, press and hold the thumbnail to share it, or simply swipe left to dismiss the thumbnail.
- You can find all your screen captures under the Screenshots folder in Photos.