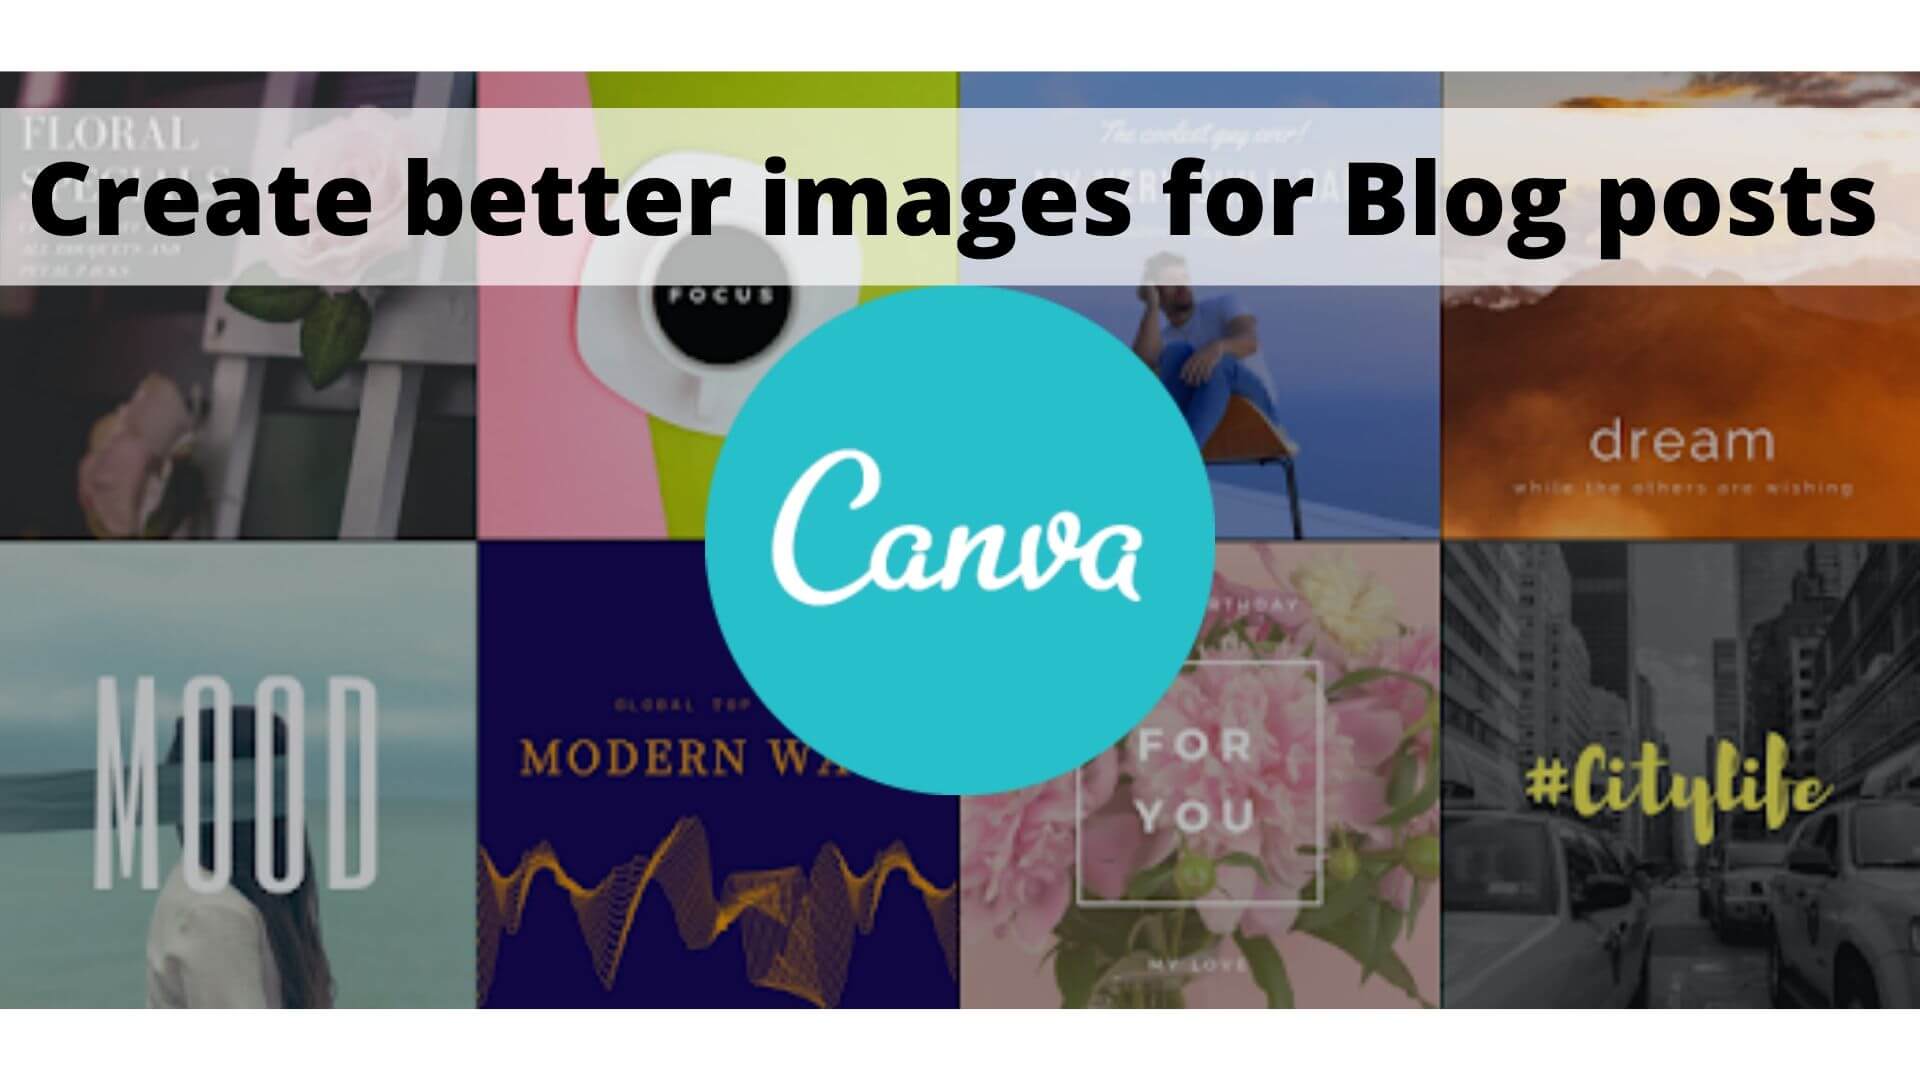
Why do we need images for blog posts?
Years back, it was normal for a blog post to be just text. But now, you should give your blogs some visual content to make them stand out. Obviously, who would be interested in reading blocks of text without any images?
Also, it’s been found that articles with an image once every 75-100 words tend to get more shared than articles with fewer images. Moreover, the featured image of your blog posts plays an inevitable role in increasing the CTR and hence drive more traffic. For instance, when your blog gets shared across social media, feature image is embedded with it.
As not everyone is a designer, many people face difficulties in creating professional images. But, thanks to Canva and a bunch of other free tools that have made it very easy for anyone to create attractive images.
Canva is a cloud-based design tool, loaded with easy-to-use features and functionality and hundreds of professionally designed templates. But there are some steps that you need to follow before you can create professional images using Canva.
So, in this blog, we’ll learn how to create professional images for blog posts using Canva.
How to create images for blog posts?
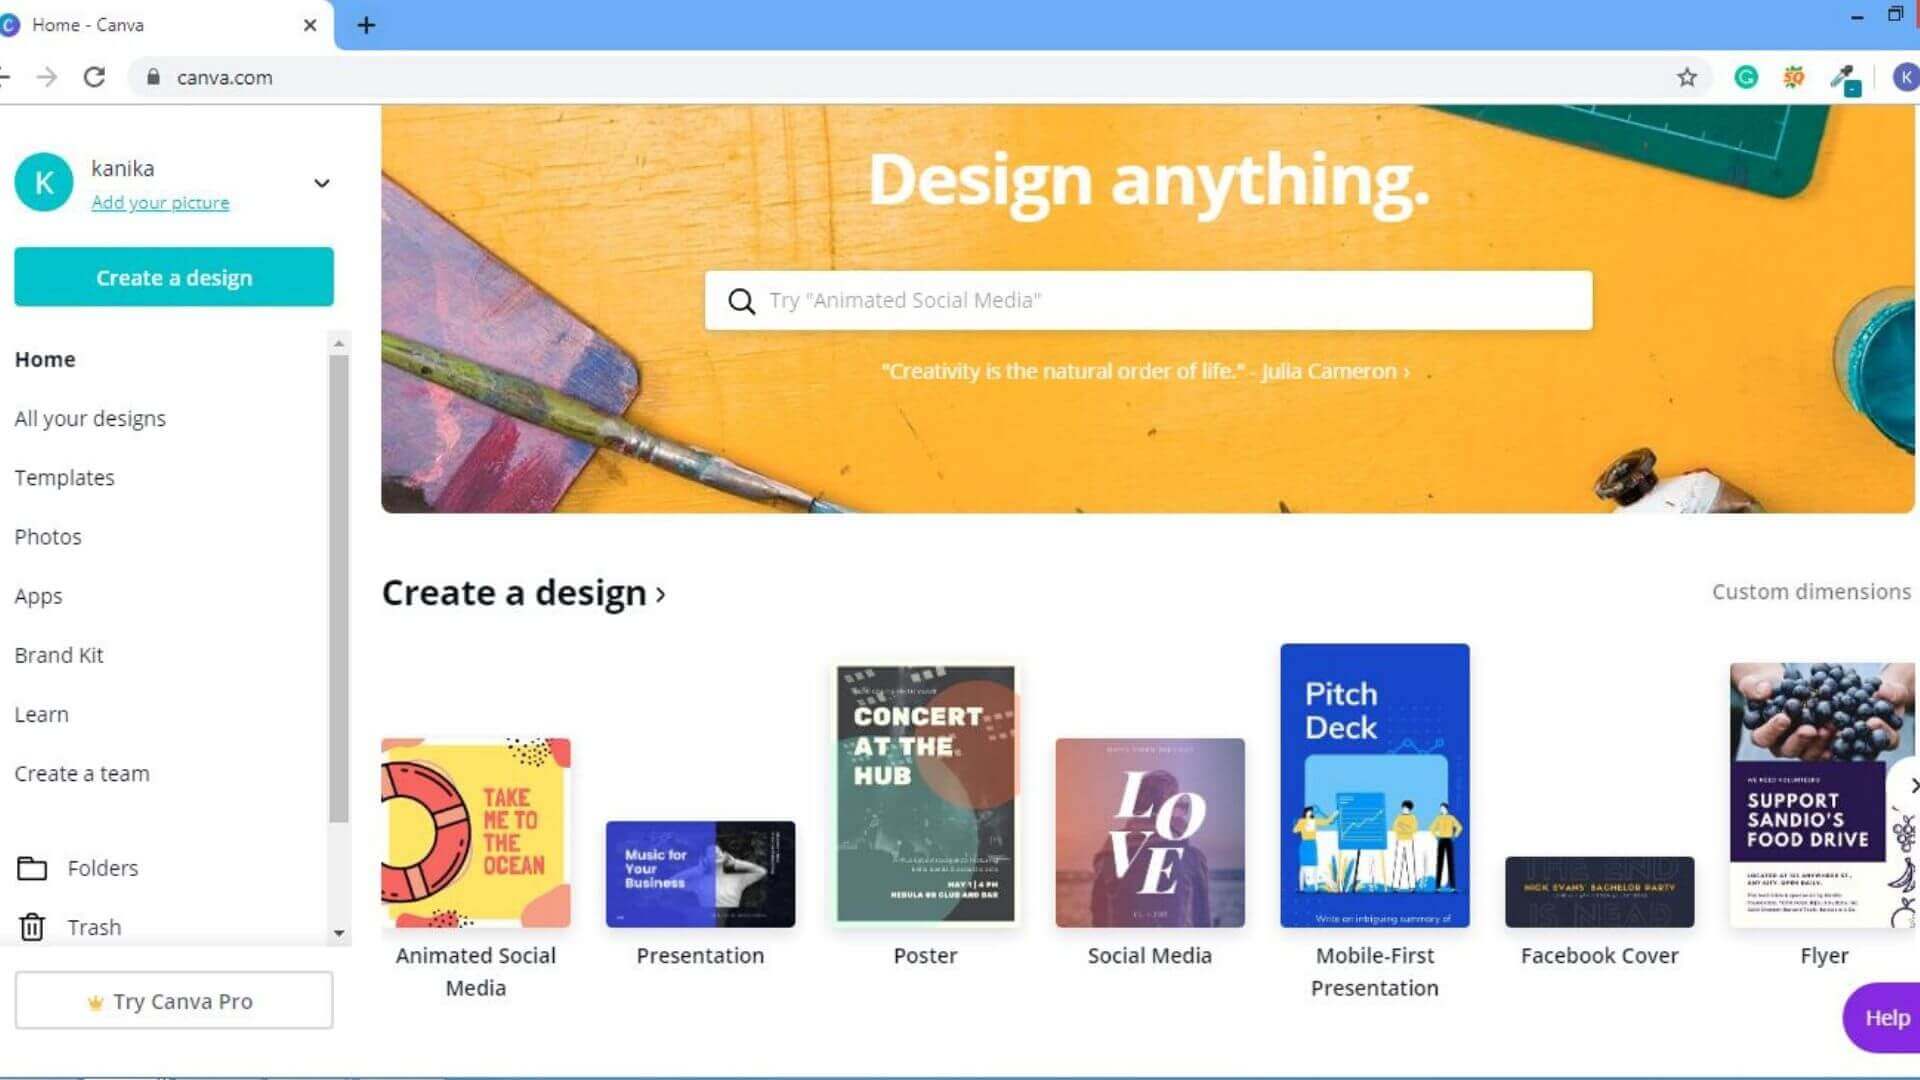
First, you need to go to Canva.com and create a free account. You can sign up with Google, Facebook, or an email.
You can also opt for the Pro version to have access to additional features, including transparent background and different color palettes. But there are some supporting tools as well that you can use with the free version of Canva to get your work done.
Here are the tools which you will need to create stunning images:
- Canva
- Photopea
- ColorZilla Web Browser Extension
CANVA
1. Choose the right dimensions for your design
To start, choose your design from a variety of image sizes. There are various options like Facebook covers, presentations, posters, Instagram stories, etc. You’ll have a good amount of templates to choose from. You can also go for custom dimensions.
2. Template Library
Canva already includes a library of gorgeous templates made by professional designers. Templates are already optimized for the right dimensions and act as your springboard to start designing. So, you don’t need to create your content from scratch. Once you have selected a template, you can customize it according to your requirements.
For example, here are some templates for creating a presentation (1920×1080) in Canva:
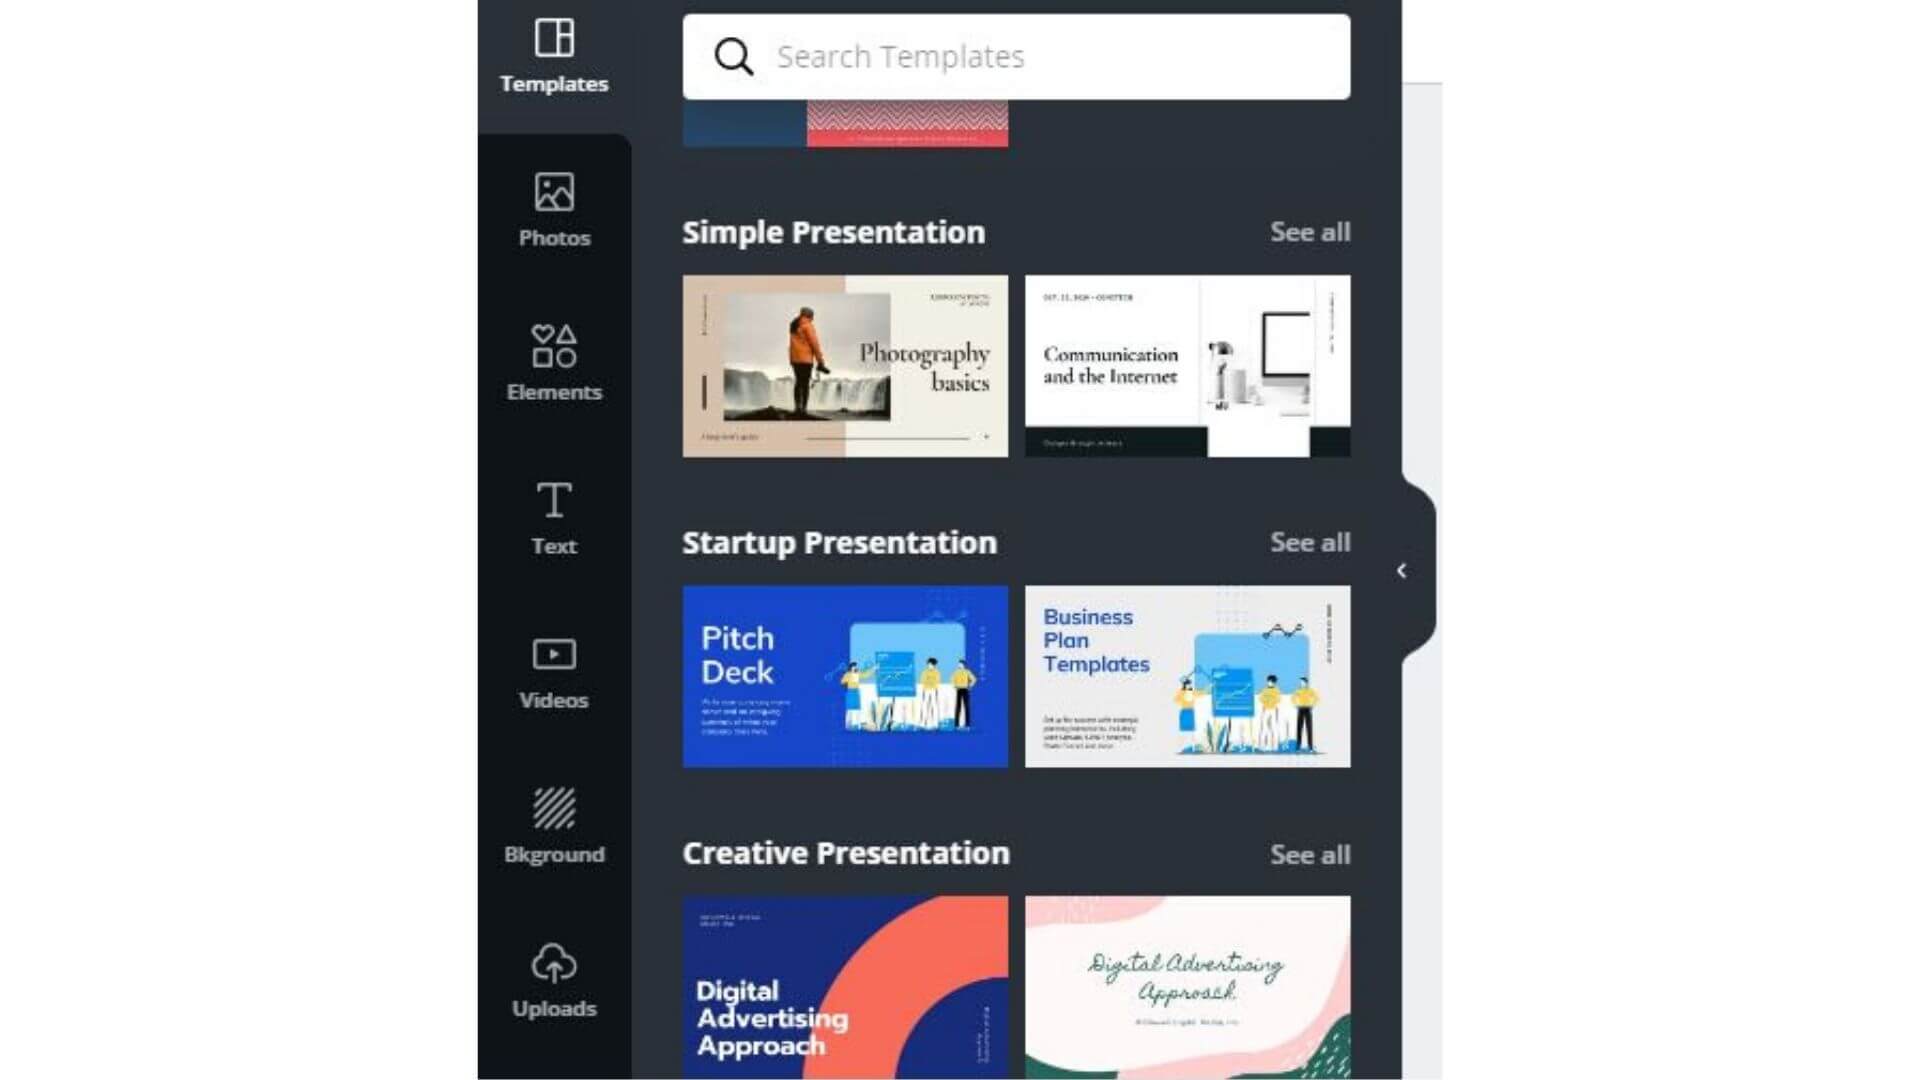
You can browse through the sub-categories to find the best-suited template for your blog post.
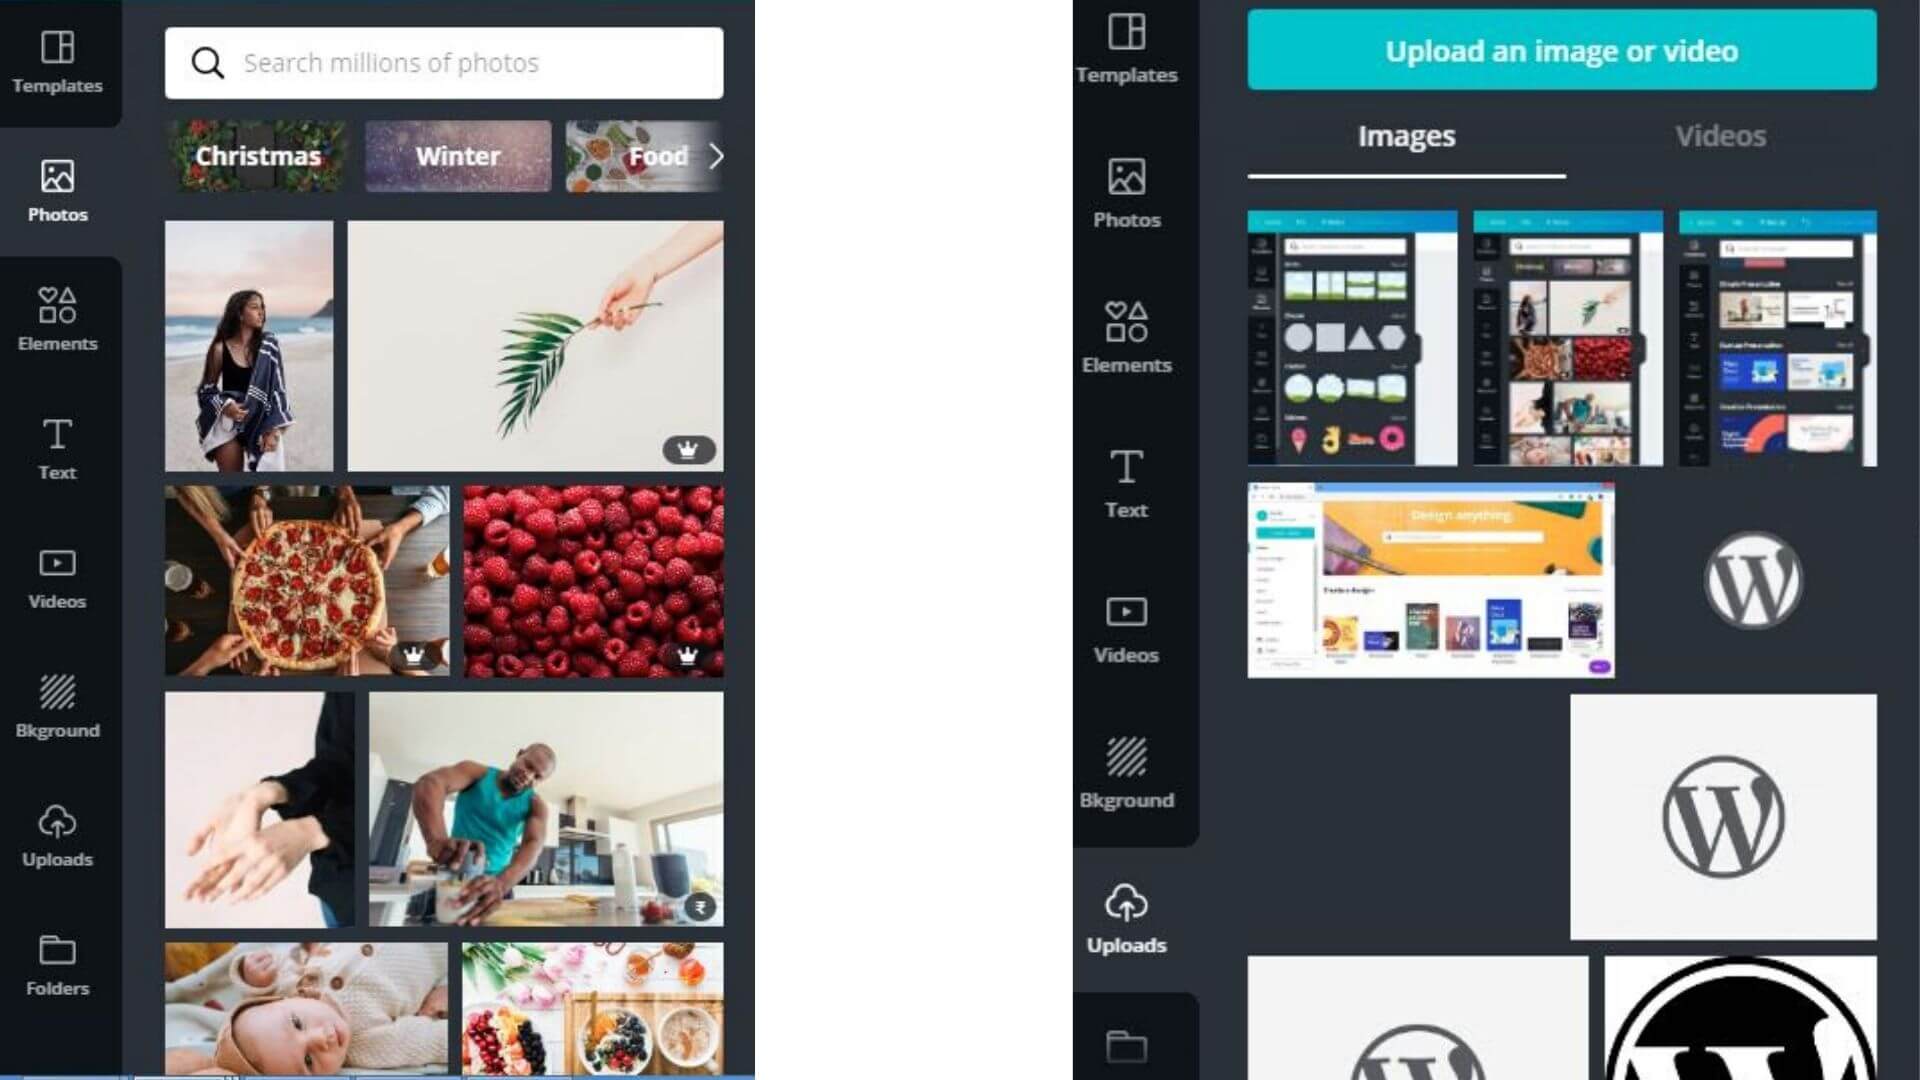
3. Photos
You can add photos to your design either by uploading your image or browsing through the Canva library of free and paid images. Uploading an image in Canva is quite simple, and there are two ways to go about this. You can either drag and drop an image or click on upload an image or video and then browse to select the desired image.
4. Elements
Canva allows you to add multiple elements to your design. You can choose from icons, gradients, charts, shapes, grids, or illustrations. You must ensure that all the elements are well-balanced in a visually appealing way. Do not overload your design with lots of elements, rather keep it simple to deliver your visual message.
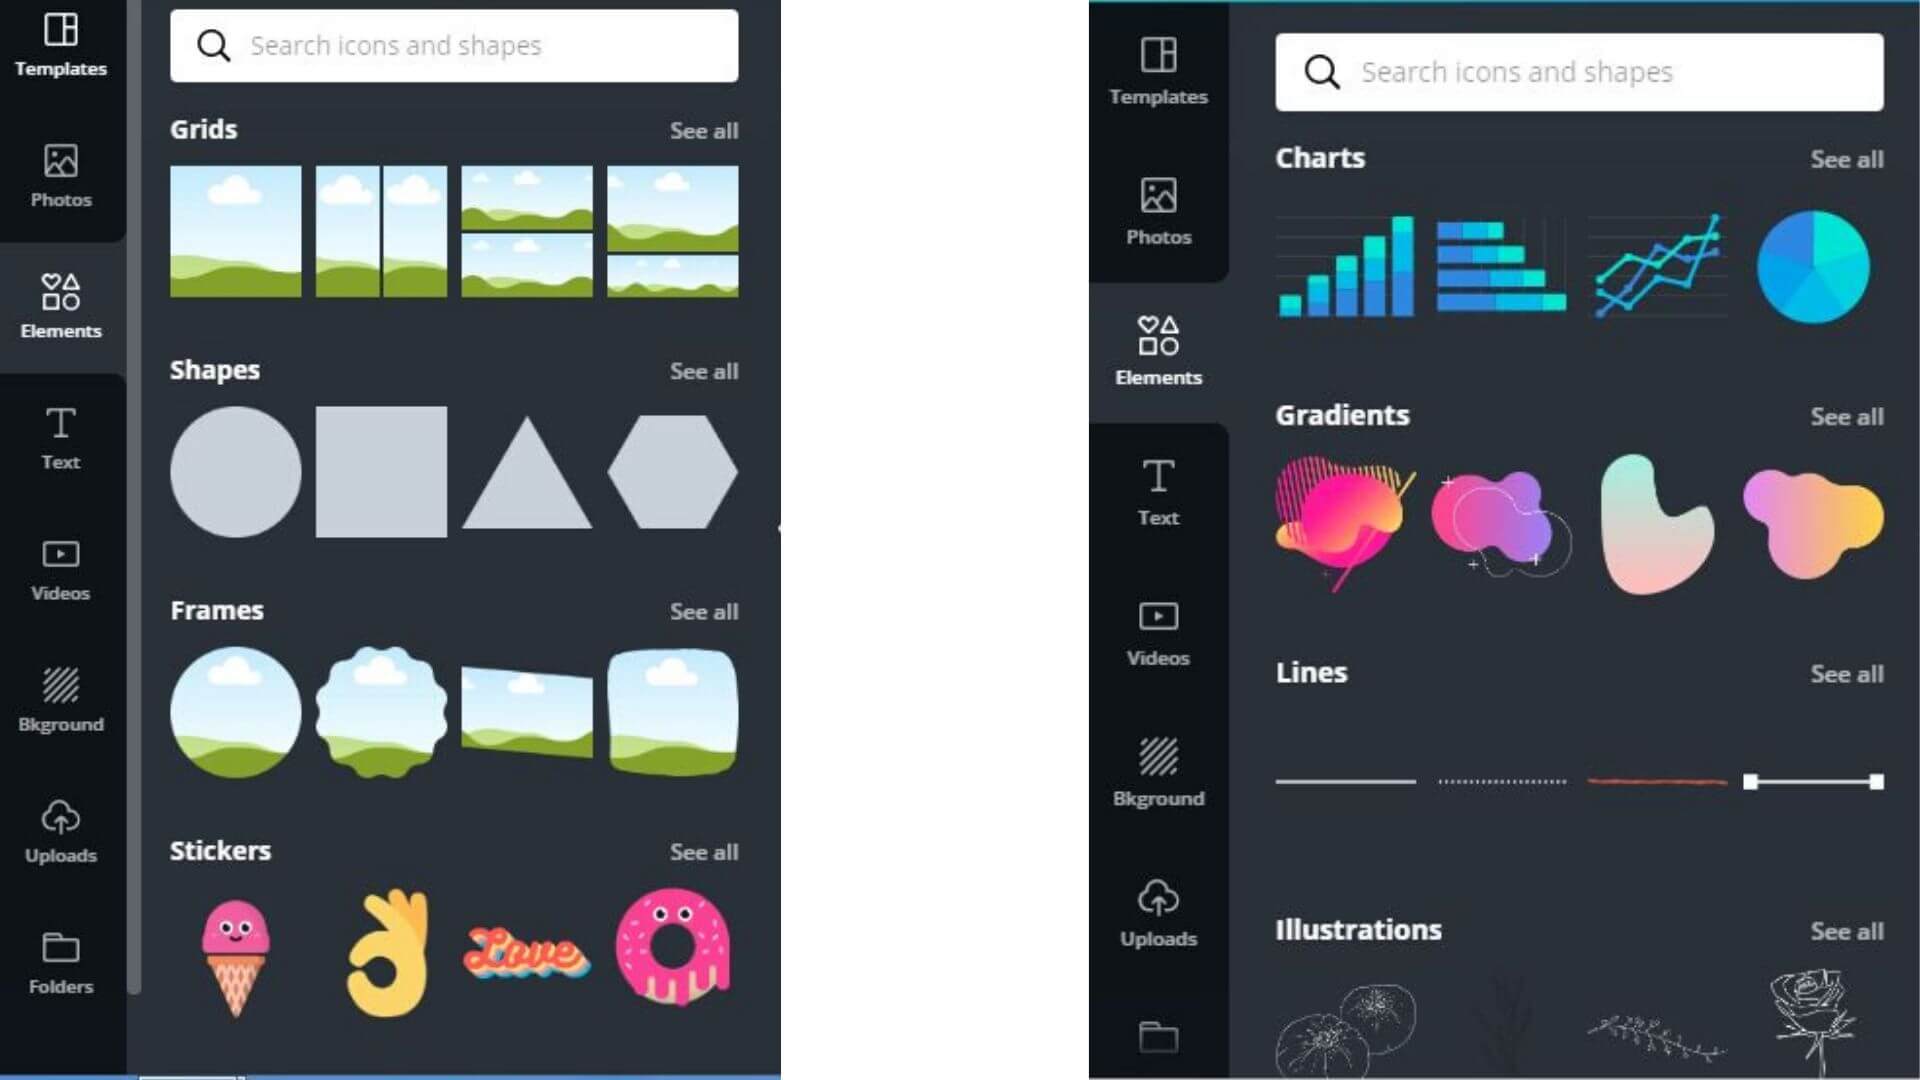
For example, you can use grids to create a before-after post or a comparison post or use gradient overlays as they’re widely used these days.
5. Text
If you choose a template, you would already see some placeholder text. You can edit the text by clicking on it. Also, there are options at the top to change font size, style, or color.
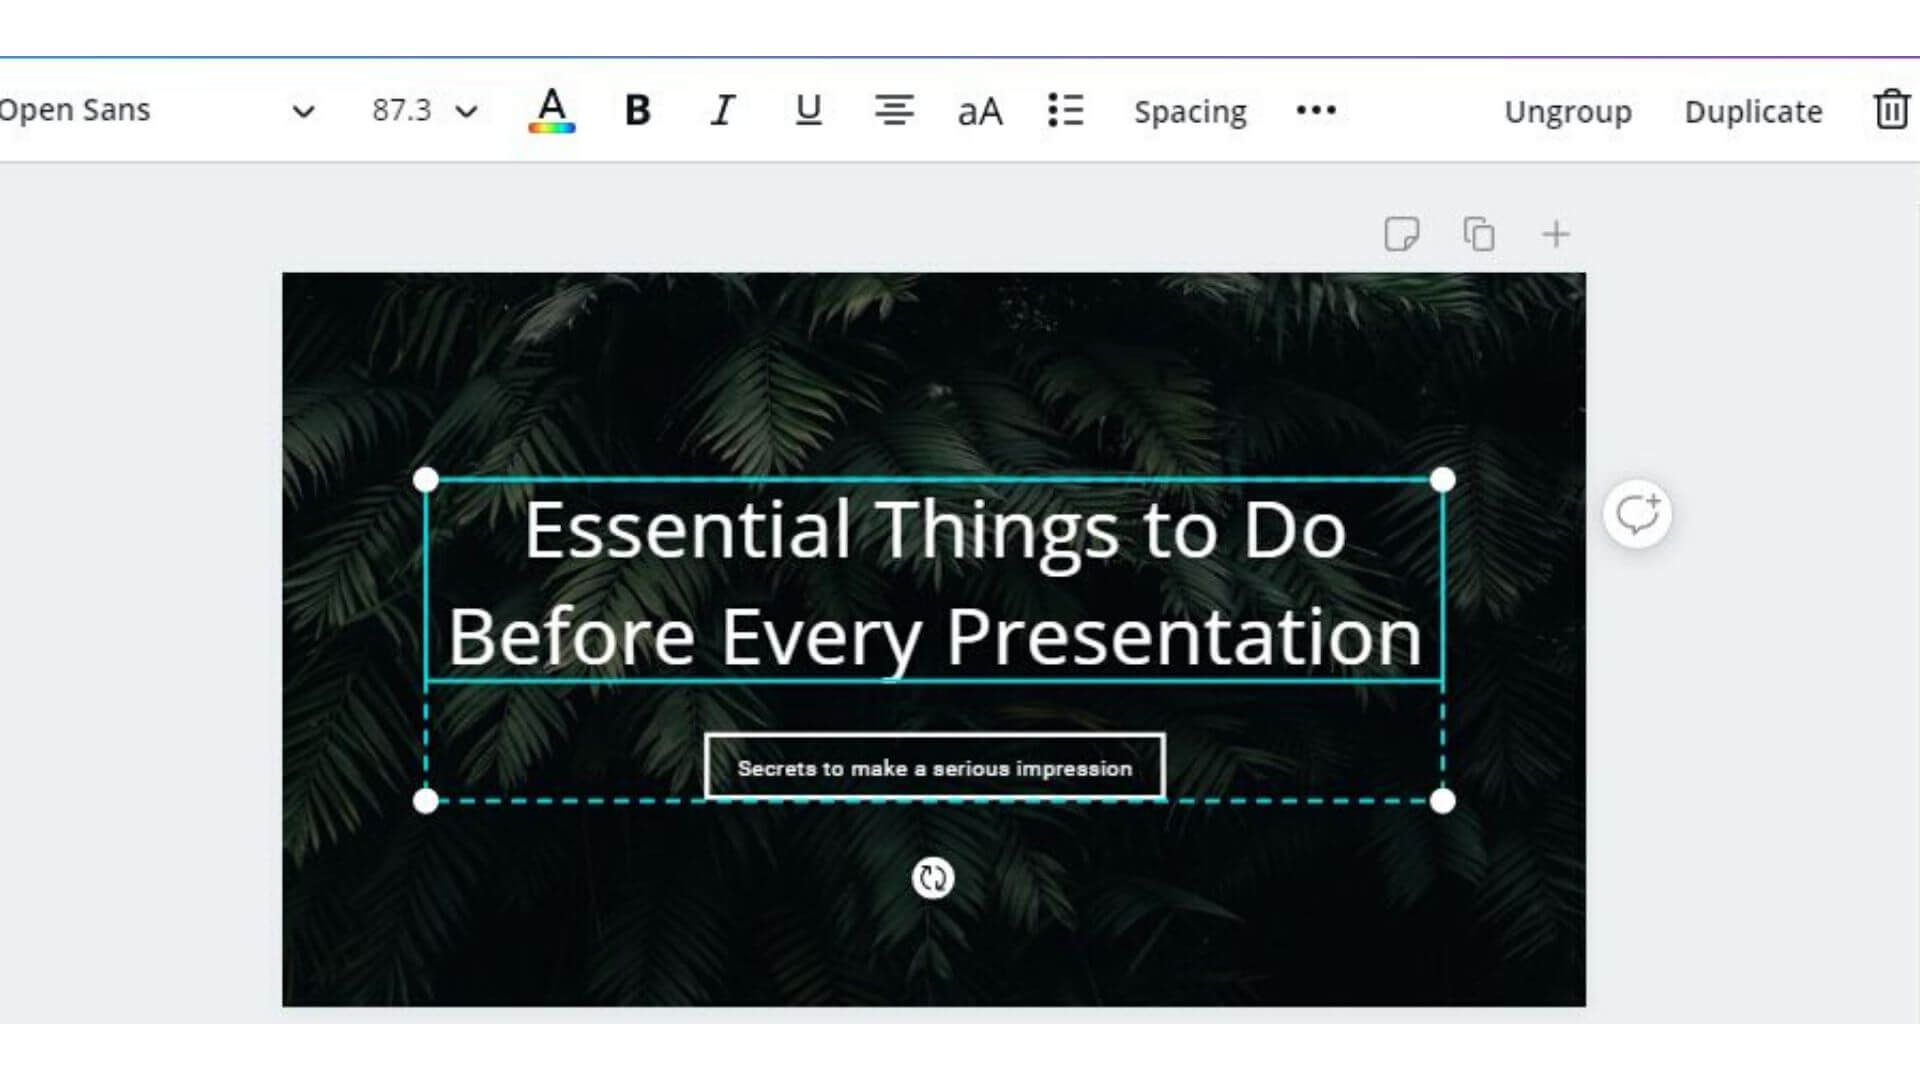
And, if you want additional text, you can do it from the Text Tab. You can add two fonts together, Canva does a good job in suggesting the pairings. And, if you want to create your font pairing, Font Pair tool would be a great help.

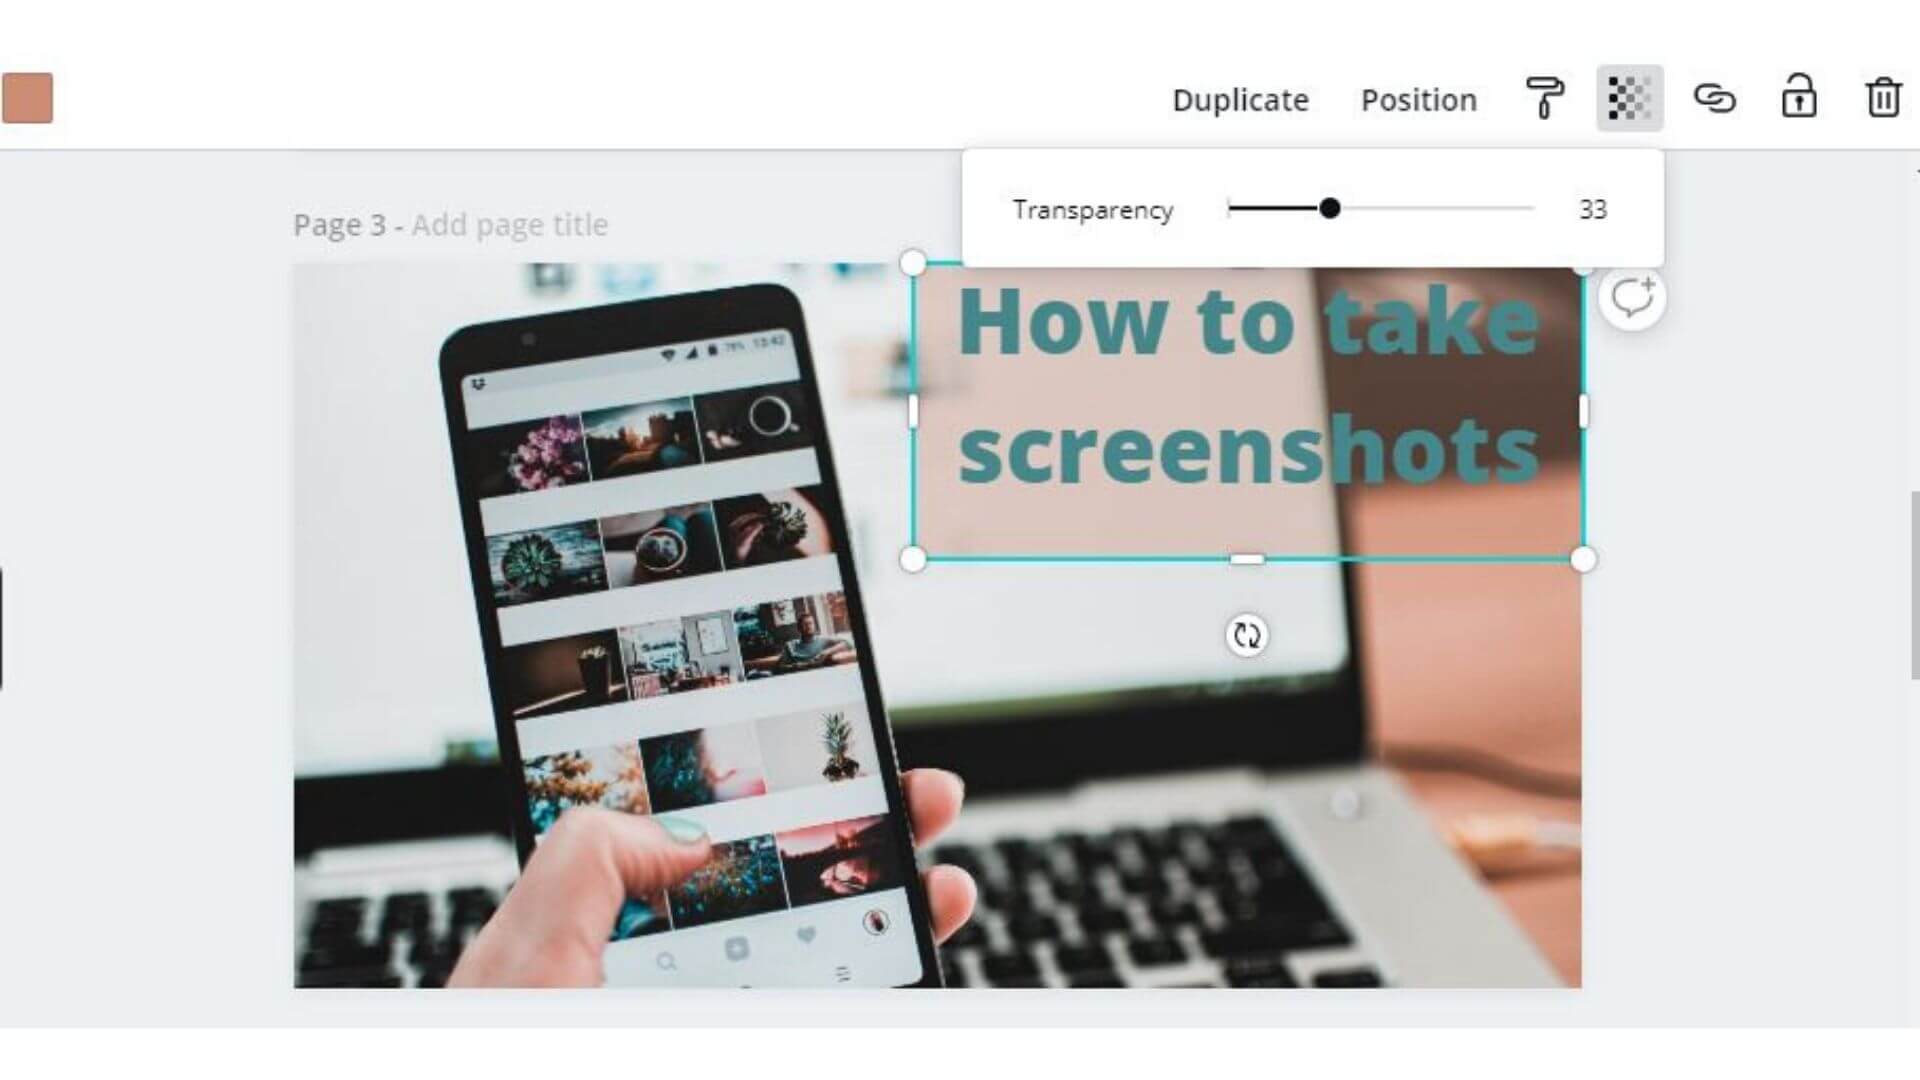
6. Make your text pop
If your text is difficult to read, you can add a transparent box overlay to make your text pop out. To add an overlay, go to the Elements tab and select your desired shape. Now, you need to choose a color and make your shape transparent. Click on the shape and find the transparency button on the top-right.
Turn your Imagination into a Finished Design
Now, when you are clear with the tools and features of Canva, let’s dive into the world of creating gorgeous images.
A Design Tip
Sketch a rough outline of your design on paper, and this will help you bring your vision to life. You can manage different elements of your design on Canva.
Image Structure
When you are creating images for your blog posts, make sure you are clear with:
- Number of images required
- Resources required: example PNG files, icons, etc.
You must save all the required resources in an offline folder, to avoid any confusion.
Design Palette
HEX Codes
Maintain a list of the HEX codes that you’ll need for blog posts based on your website theme. By doing so, you can save time and avoid any mistakes.
You can use the ColorZilla plugin for choosing the exact colors you want. We have explained the plugin later in this blog.
Font
The look of your fonts can make a huge impact on your design. Canva suggests not to use more than two fonts, as it can make your design look messy. You can choose complementary fonts to add a visual appeal to the design. Lato, Open Sans, and Montserrat are the most commonly used fonts and they offer better readability as compared to the other fonts
A Design Tip
It’s better to use the same font across all the images for a blog post. It gives a uniform look to your blog post.
Fine Tuning your Canva designs
Two amazing free-tools can be used with the free version of Canva to fine-tune your designs are Photopea and Colorzilla Extension.
Photopea
It is an advanced image editor that runs in a web browser. It helps you with tasks such as resizing the image, processing photographs and removing the background of an image within minutes.
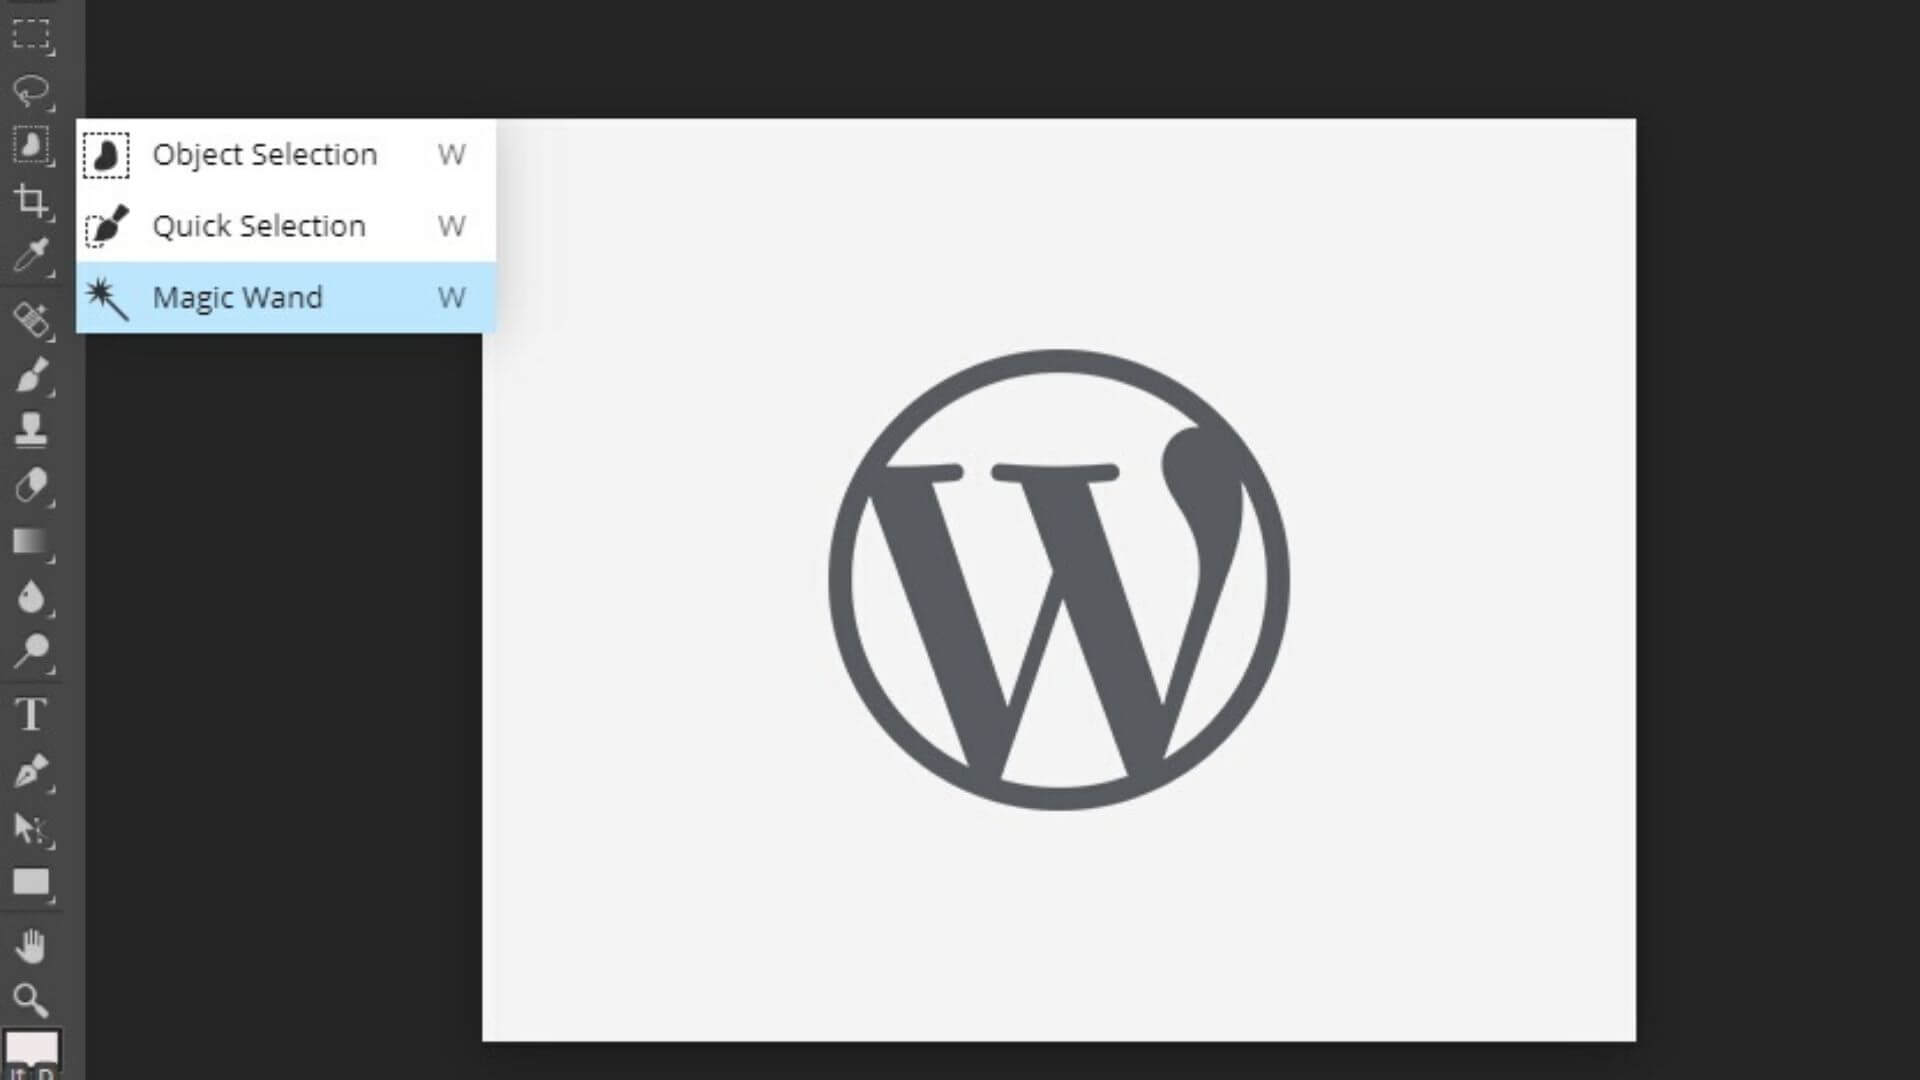
Let’s suppose that you want to insert a WordPress logo to your design, but you are not able to get a PNG logo for that.
![]()
You can easily remove the background in just 2-3 clicks using Photopea.
- Go to photopea.com
- Drag and drop your image.
- Go to the Magic Wand tool on the left-hand side
4. Select your logo and enter backspace key.
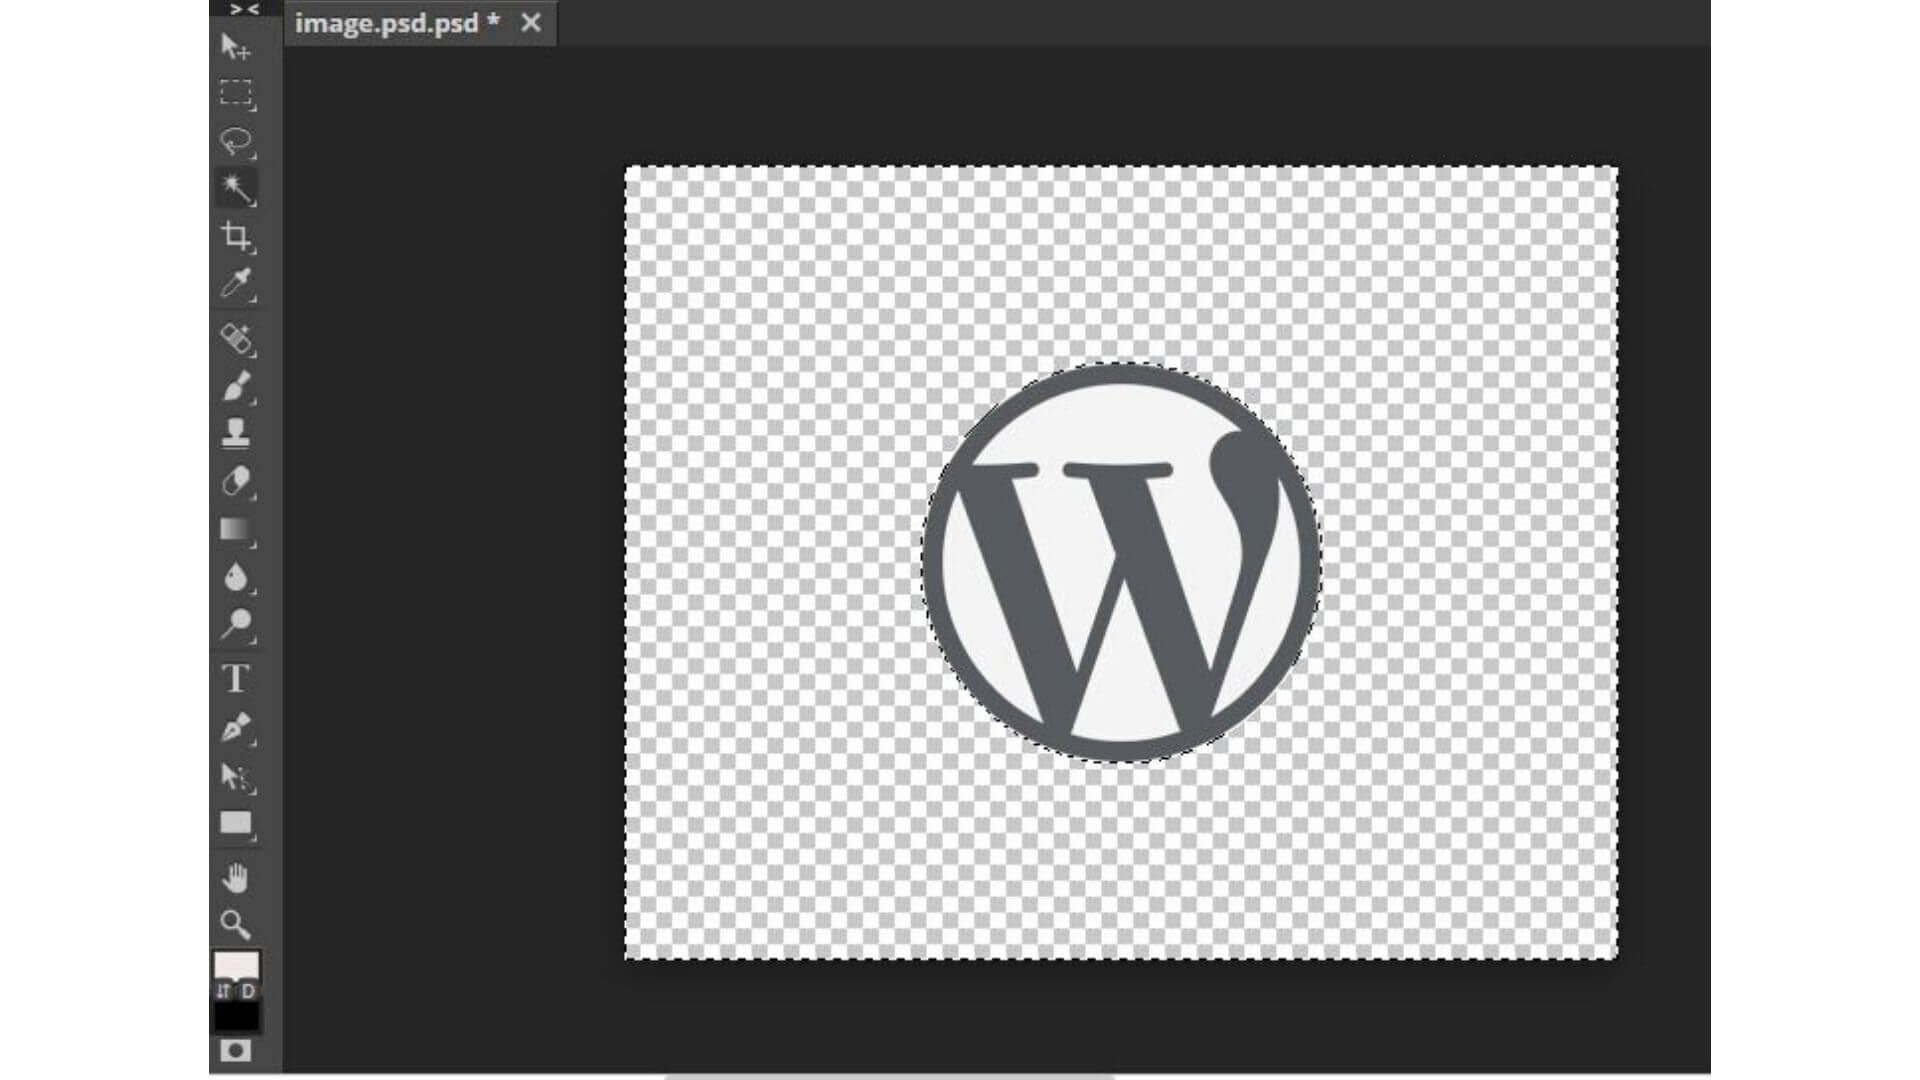
5. Export your image as PNG.
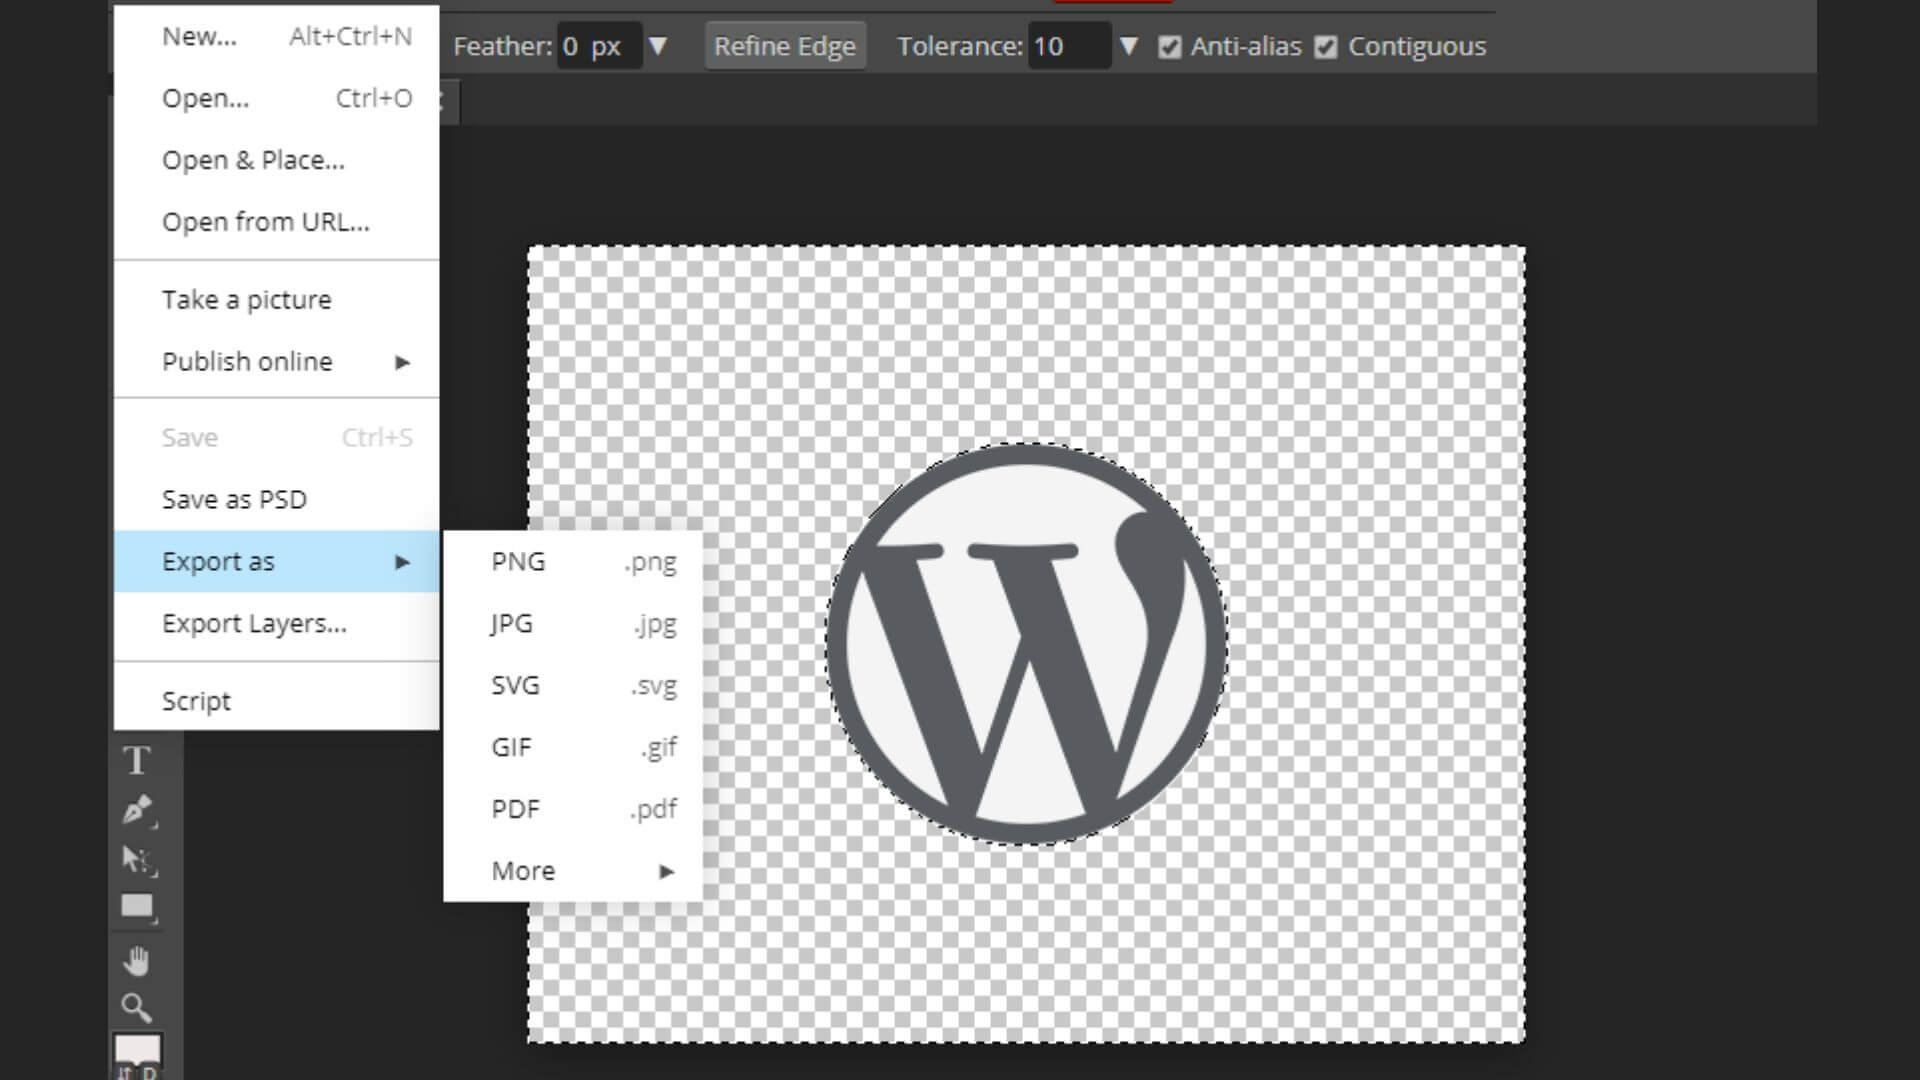
Now, the logo is ready-to-use for your design.
2. ColorZilla Extension
ColorZilla is a browser extension that assists designers with color-related tasks. It includes a Color Picker, Eye Dropper, Gradient Generator, and several additional advanced color tools.
This extension offers you great help while designing images. You don’t need to limit your creativity with the color-palette provided with the free version of Canva.
Need your blog post image to match the theme of your website?
- Use ColorZilla Plugin by clicking on it and pointer will convert into the eyedropper.
- Hover the eyedropper onto any colored element and it’ll pick up the HEX code for the same by copying it to the clipboard. For example, I’ve hovered the eyedropper on the blue color of the Canva logo.


3. Now, go to the select color option in Canva and hit Ctrl + V.
4. You’ll get the same color in your color palette on Canva.
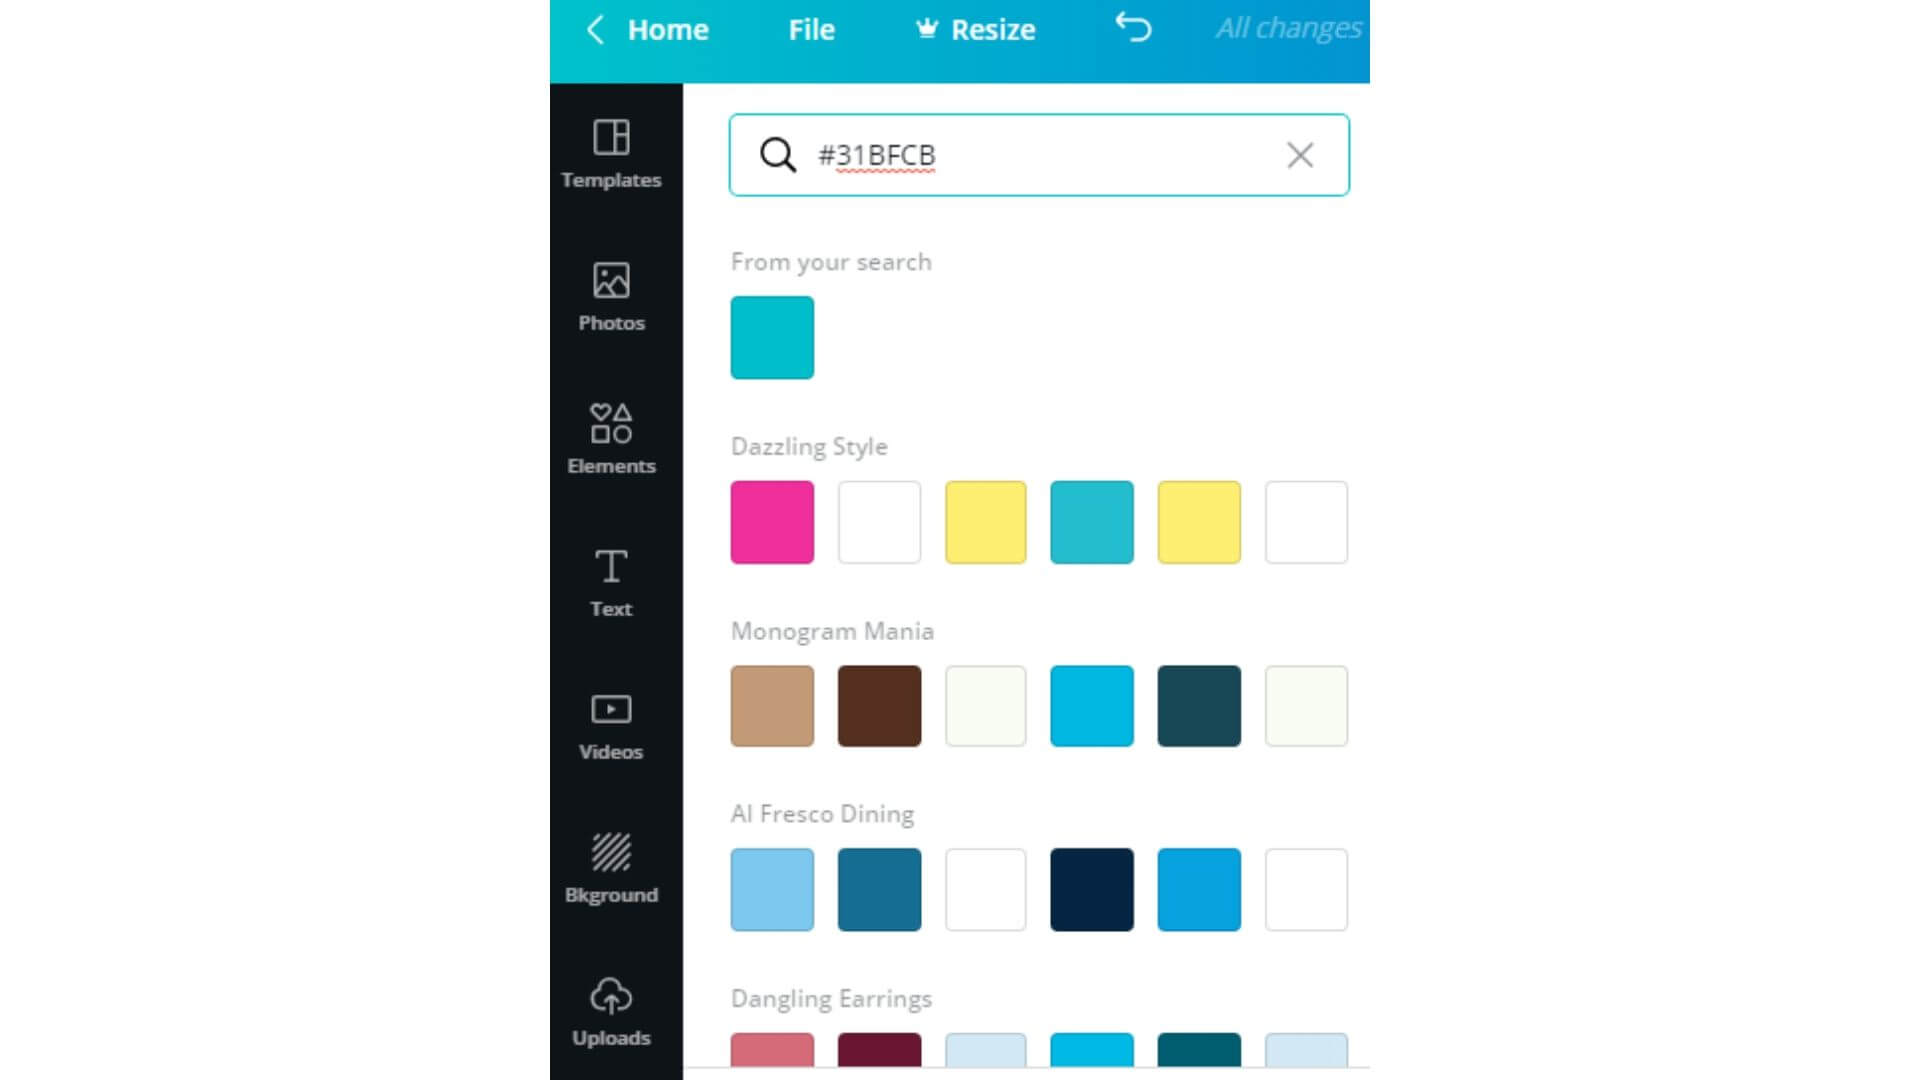
Image Compressing and Uploading
After creating the designs, you need to compress them so that they do consume a large portion of your total page size. Also, it’s important to lower down the page loading time of a blog as it has a direct impact on the search engine rankings.
A study has shown that 40% of the visitors click on the back button if a site takes more than 3 seconds to load.
Compress images with TinyJPG
You can use TinyJPG to reduce the size of your JPEG images. When you upload an image to tinyjpg.com, it is analyzed to apply the best possible JPEG encoding. And, it results in a quality image.
Alt tags and file title
Alt tag to images is the first and foremost principle of web accessibility. An alt tag describes your image for search engines and screen readers. All your images must have a title and an alt tag. Both of them can make for a better experience and help in contributing to image SEO. You can add your keywords in the alternative text, but make sure that it does not contain spammy attempts at keyword stuffing.
Let’s sum up
Now, you need not add the time-consuming task of creating images to your list. You can easily create professional-looking designs with Canva, Photopea, and ColorZilla. They offer you the magic of Photoshop with a massive learning curve.
Make sure that you compress your designs and upload them with proper alt tags and file titles.